How to Install WordPress on WAMP Server!

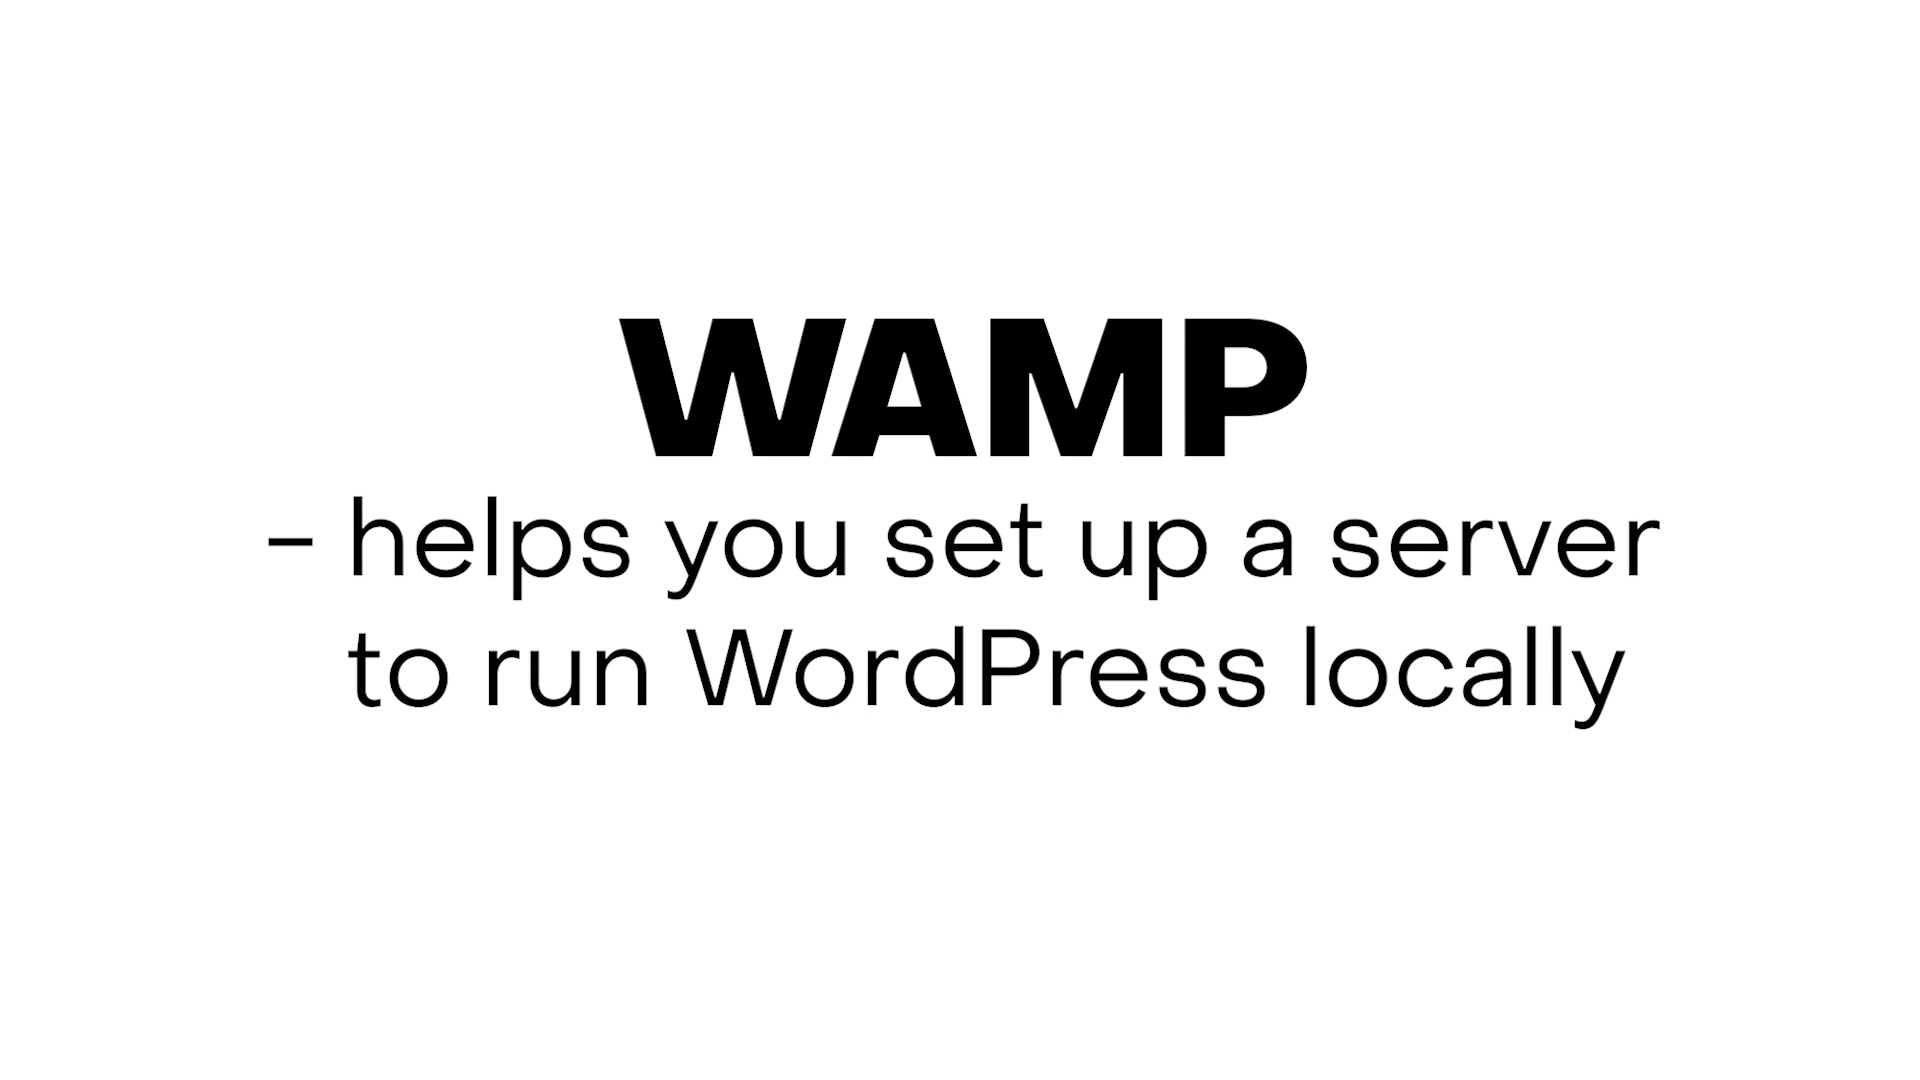
Wordpress is a web development platform and if you want to run Wordpress locally on your PC, you can use WAMP.
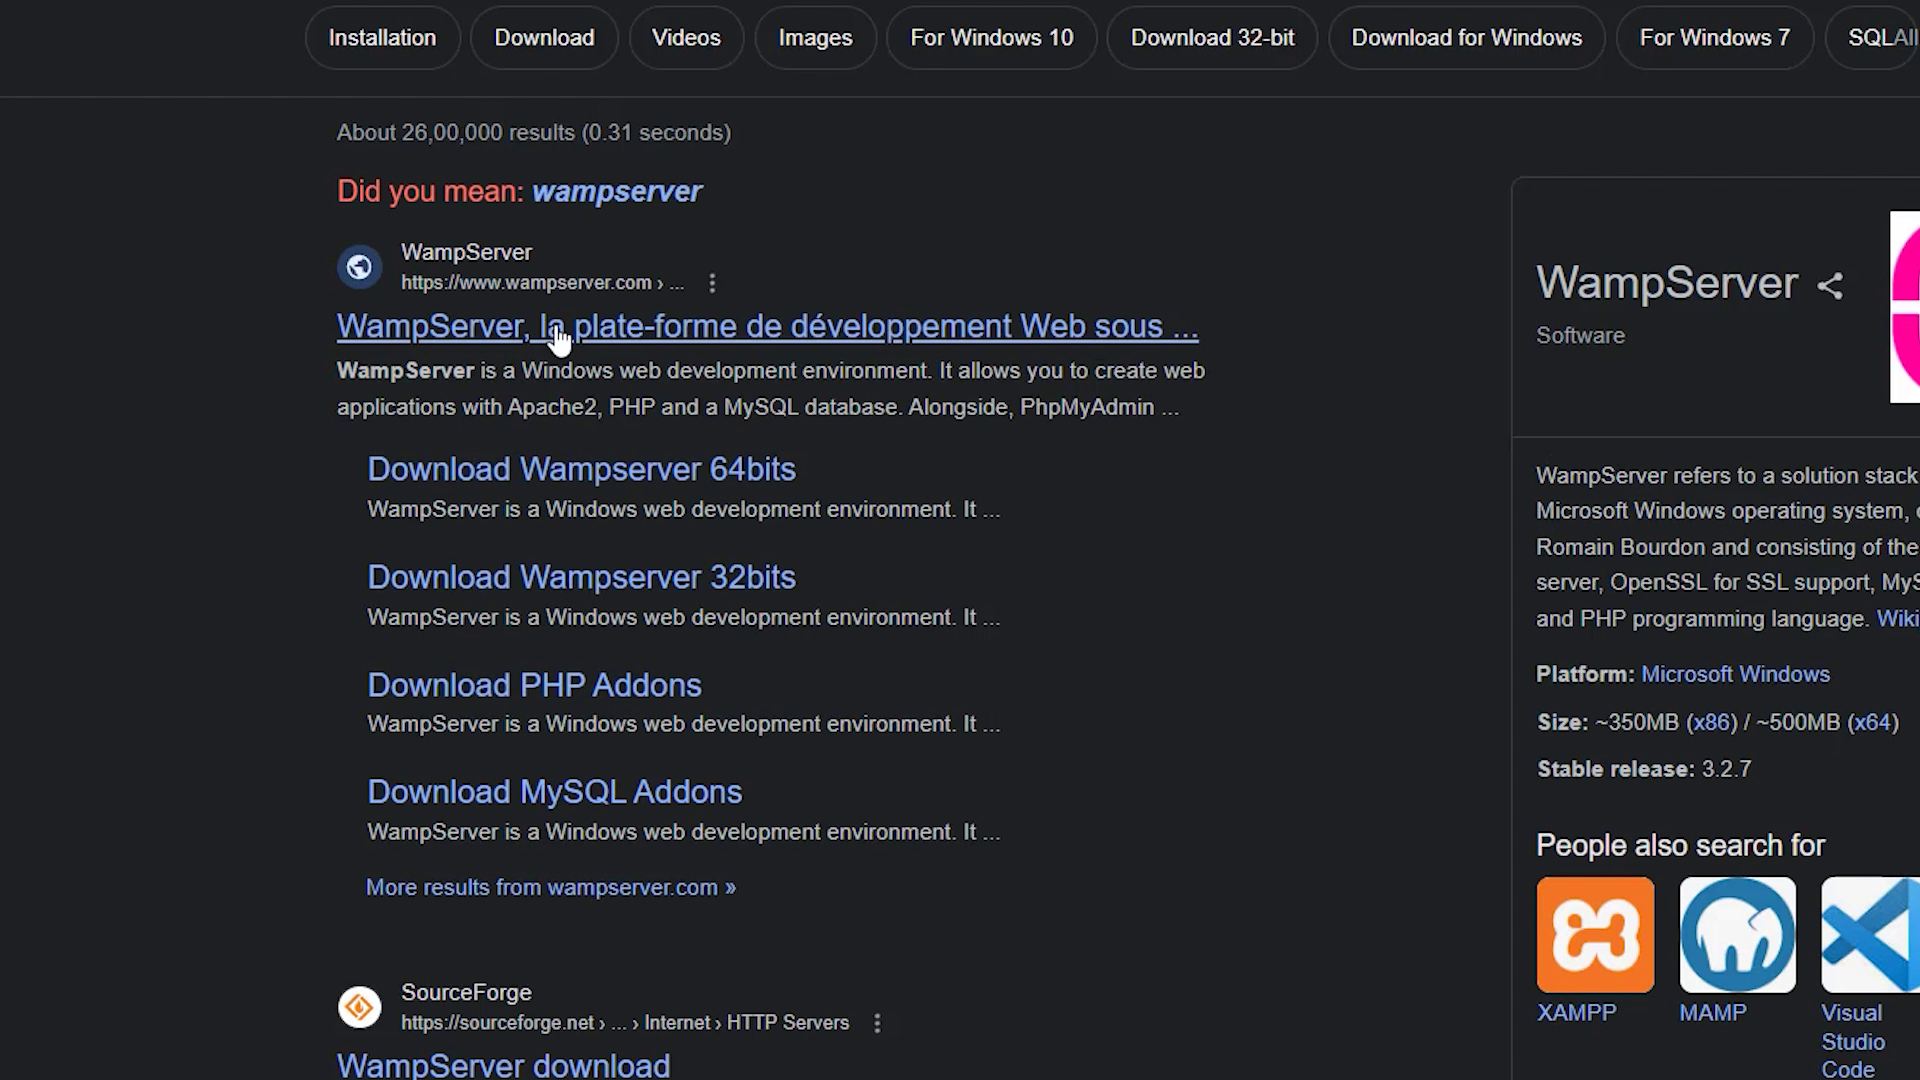
First thing you do is search up 'wamp server' on google and select this link.
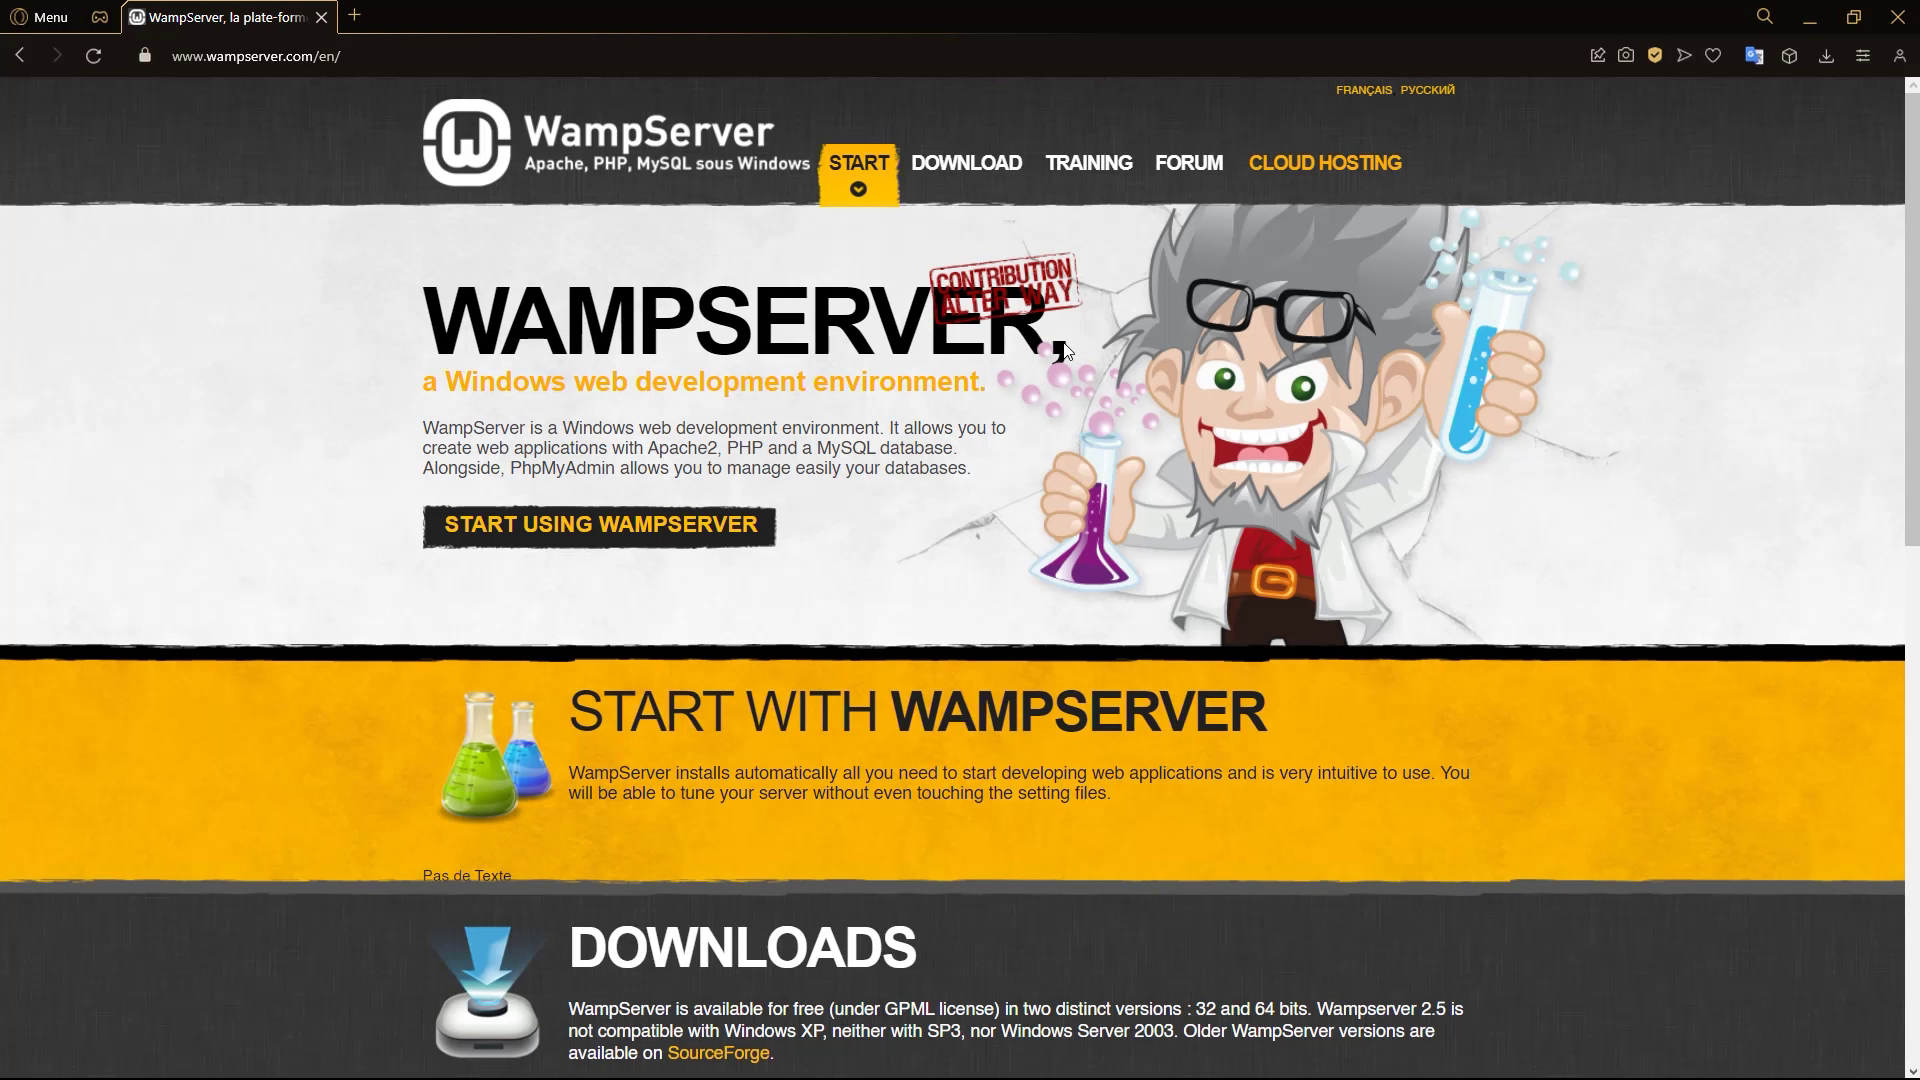
Here is the landing page of the WAMP website.
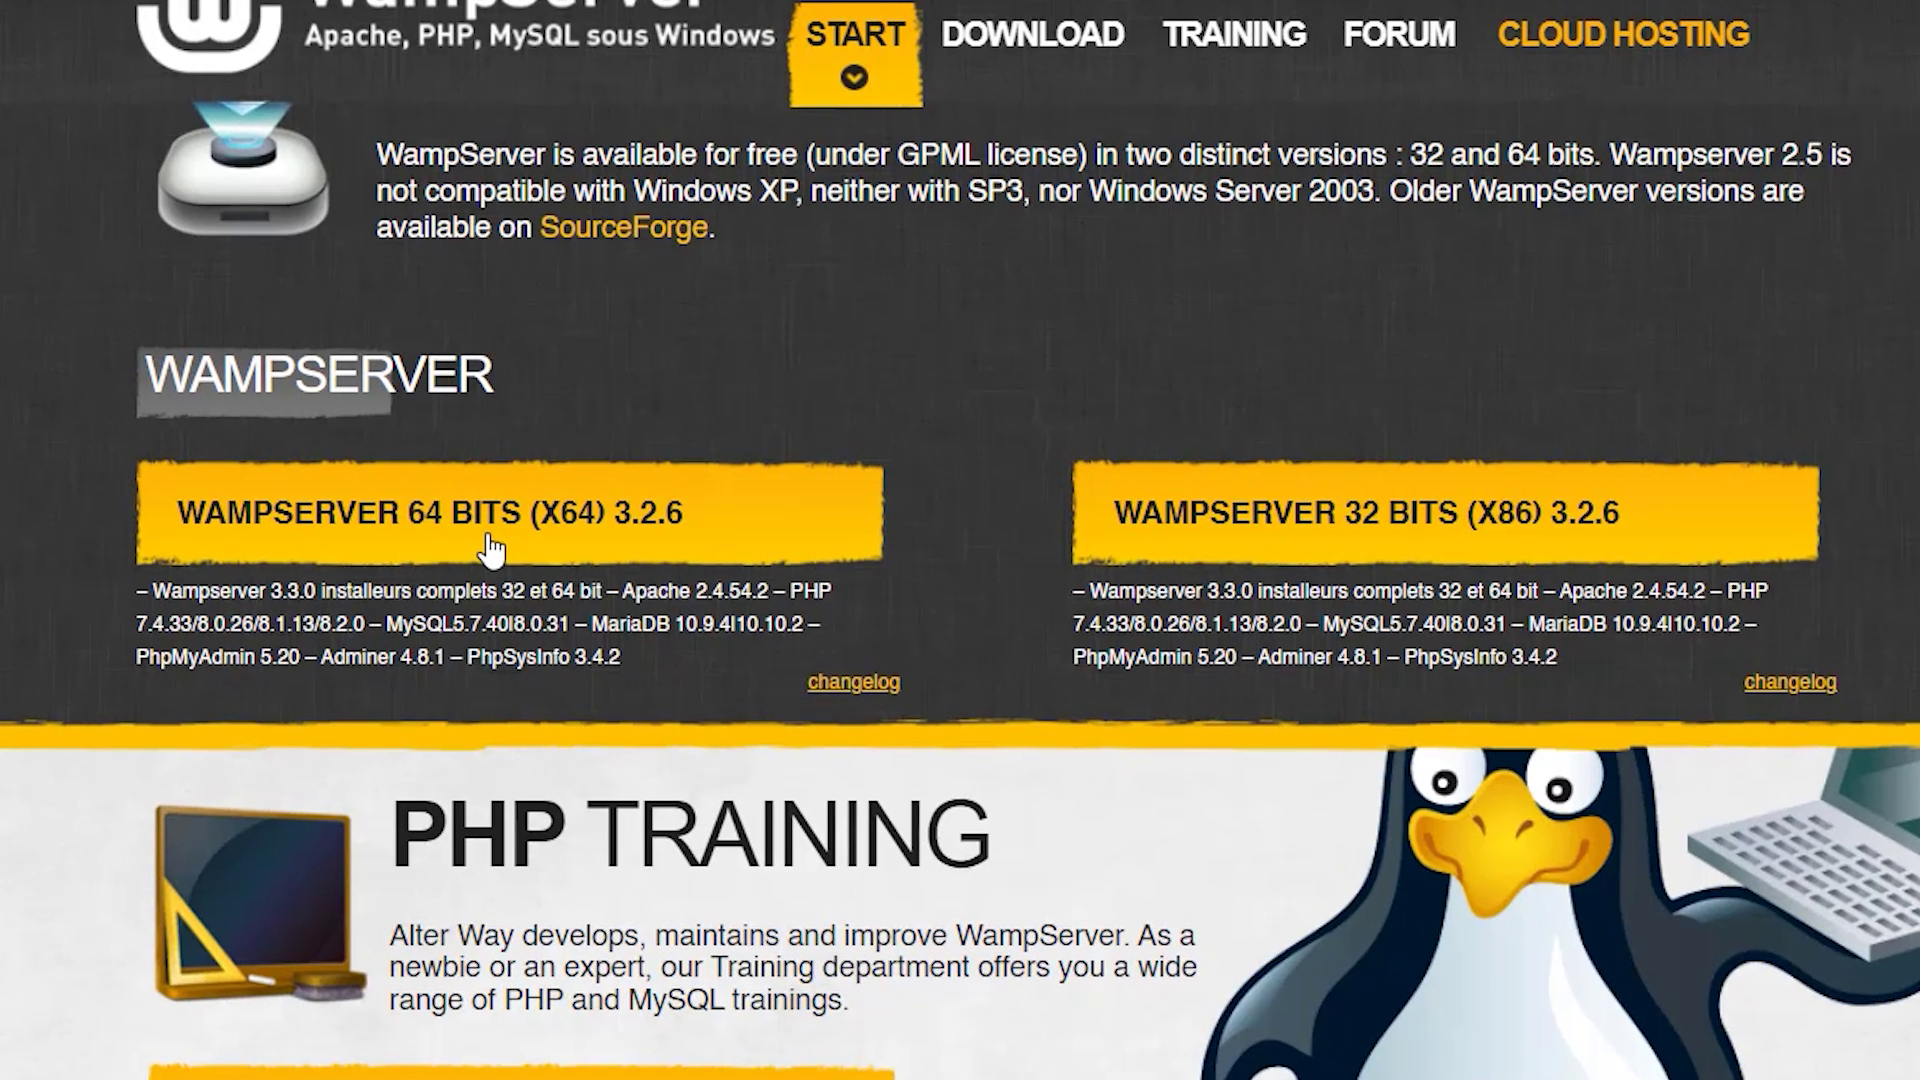
Download the 64 bit or 32 bit version, based on your requirement.
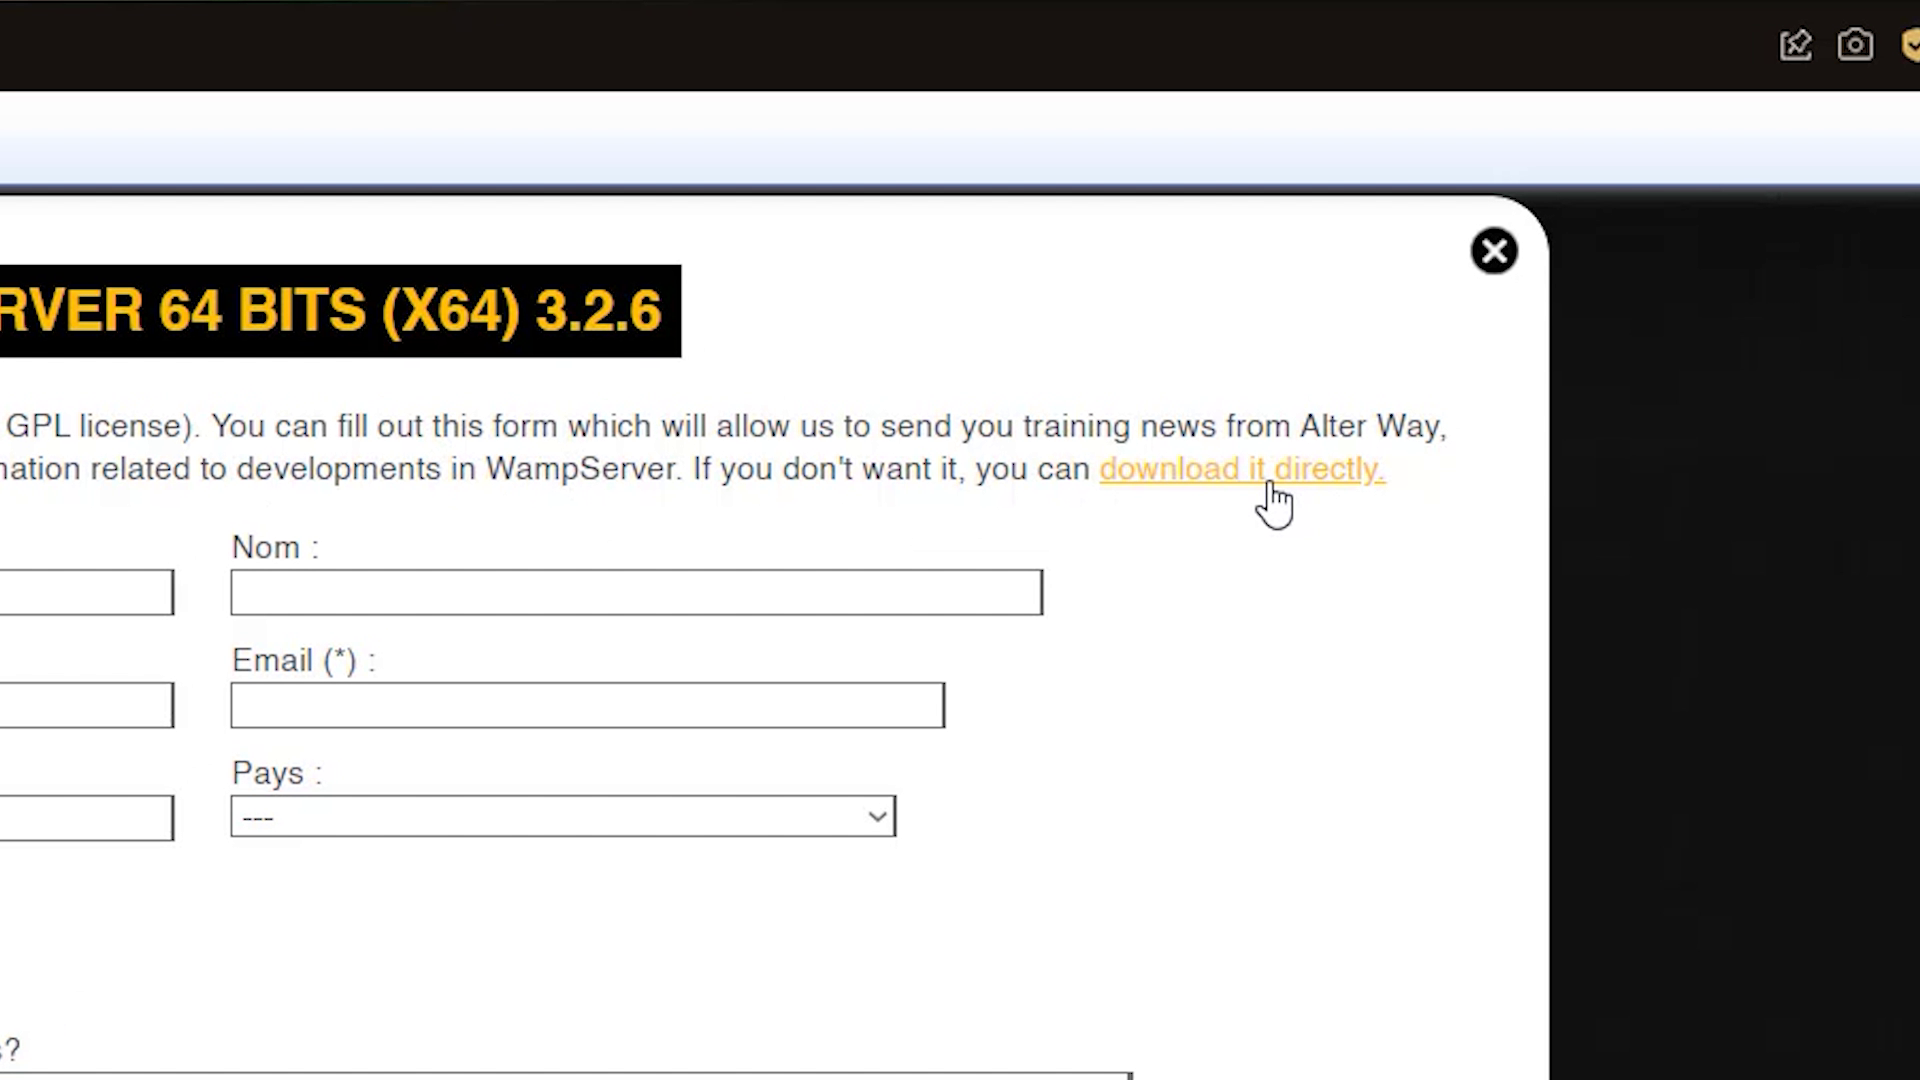
Click on 'download it directly'.
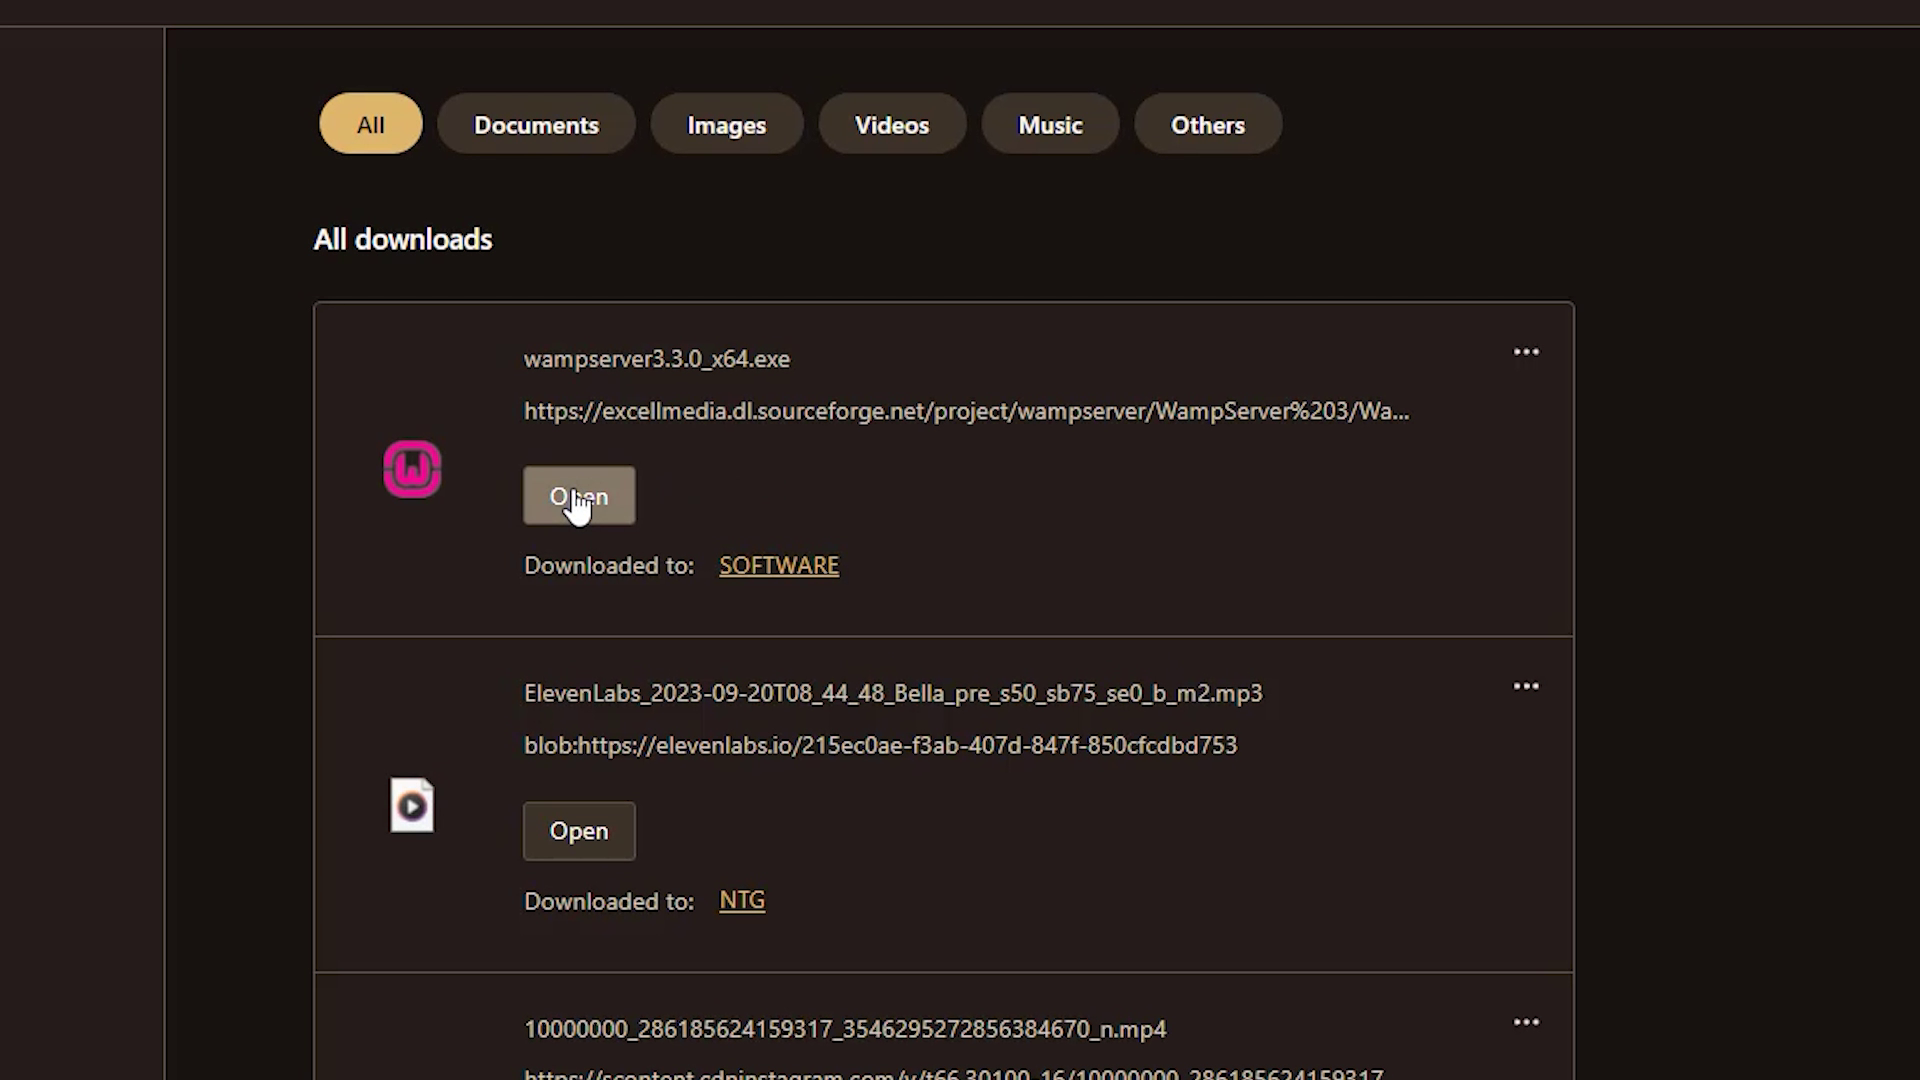
Open the downloaded file.
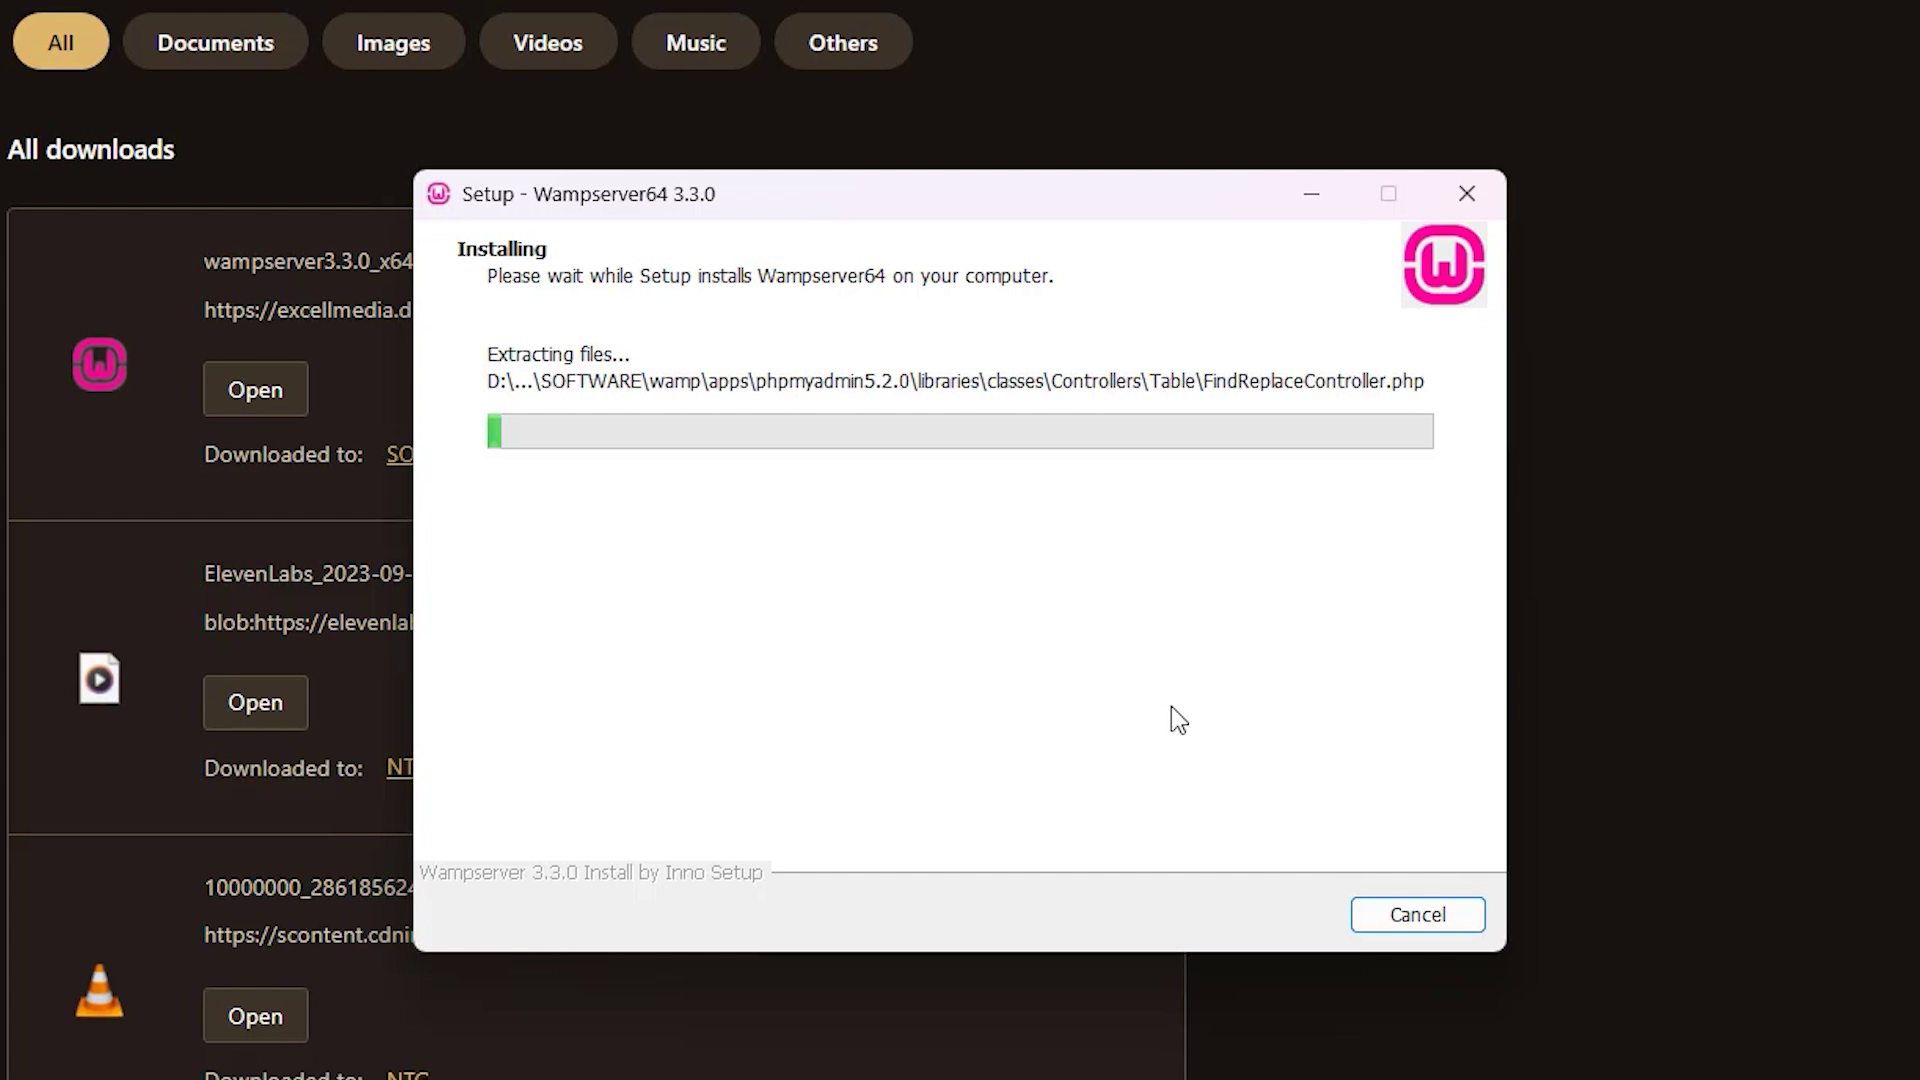
Let the installation complete.
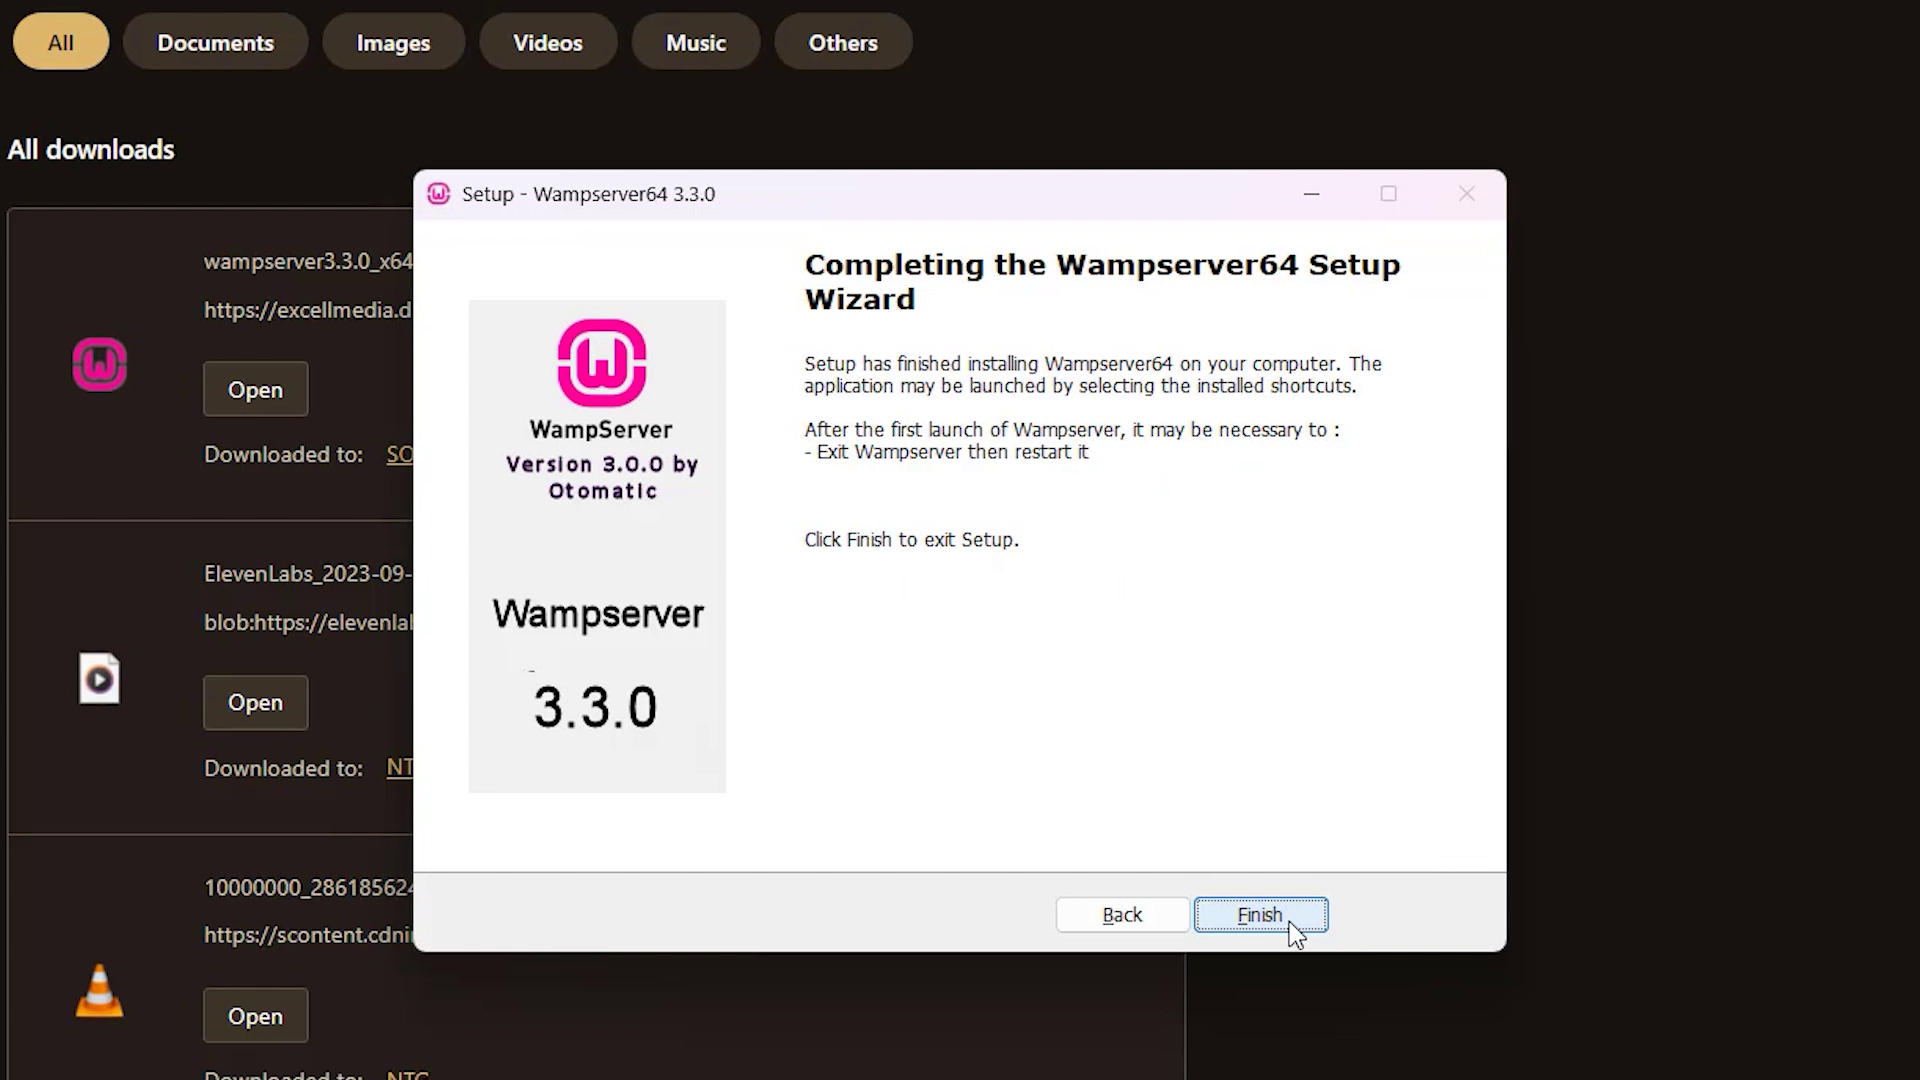
Now WAMP is installed on your PC.
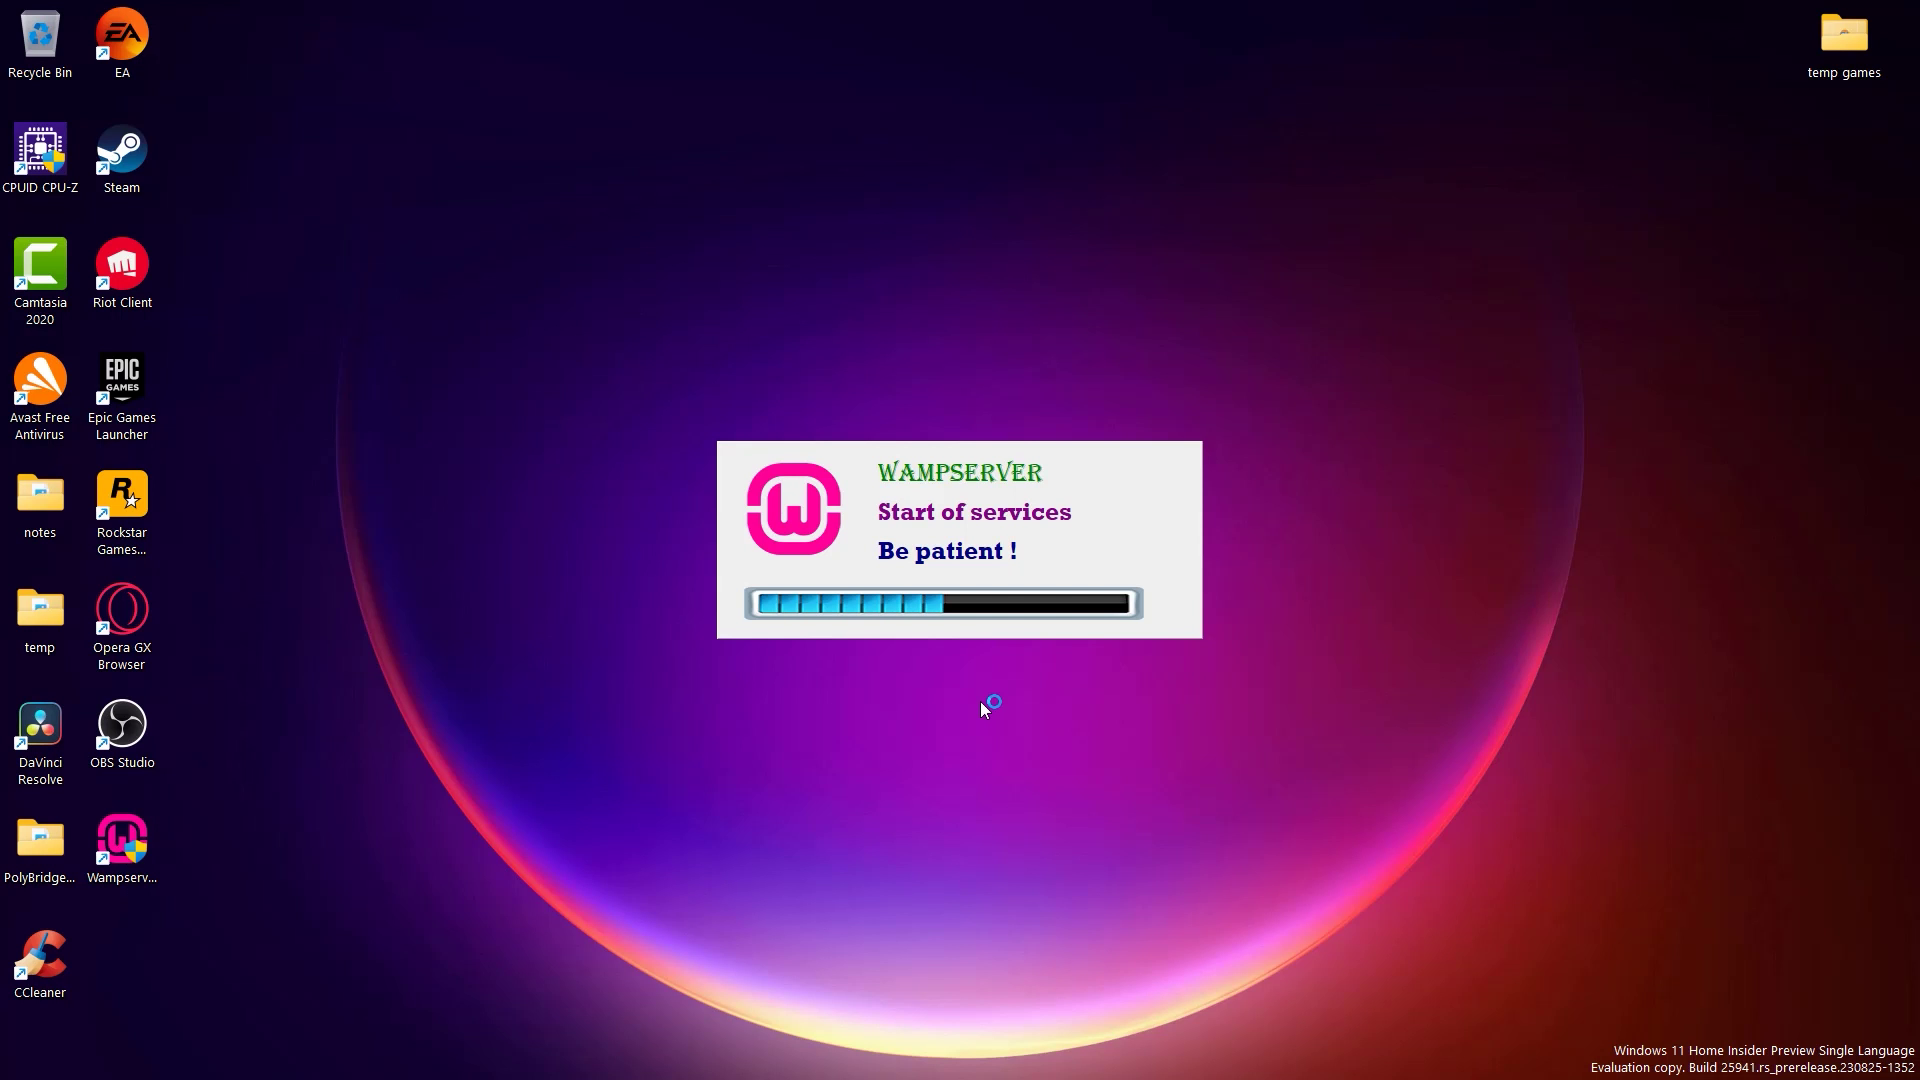
Launch WAMP from your desktop.
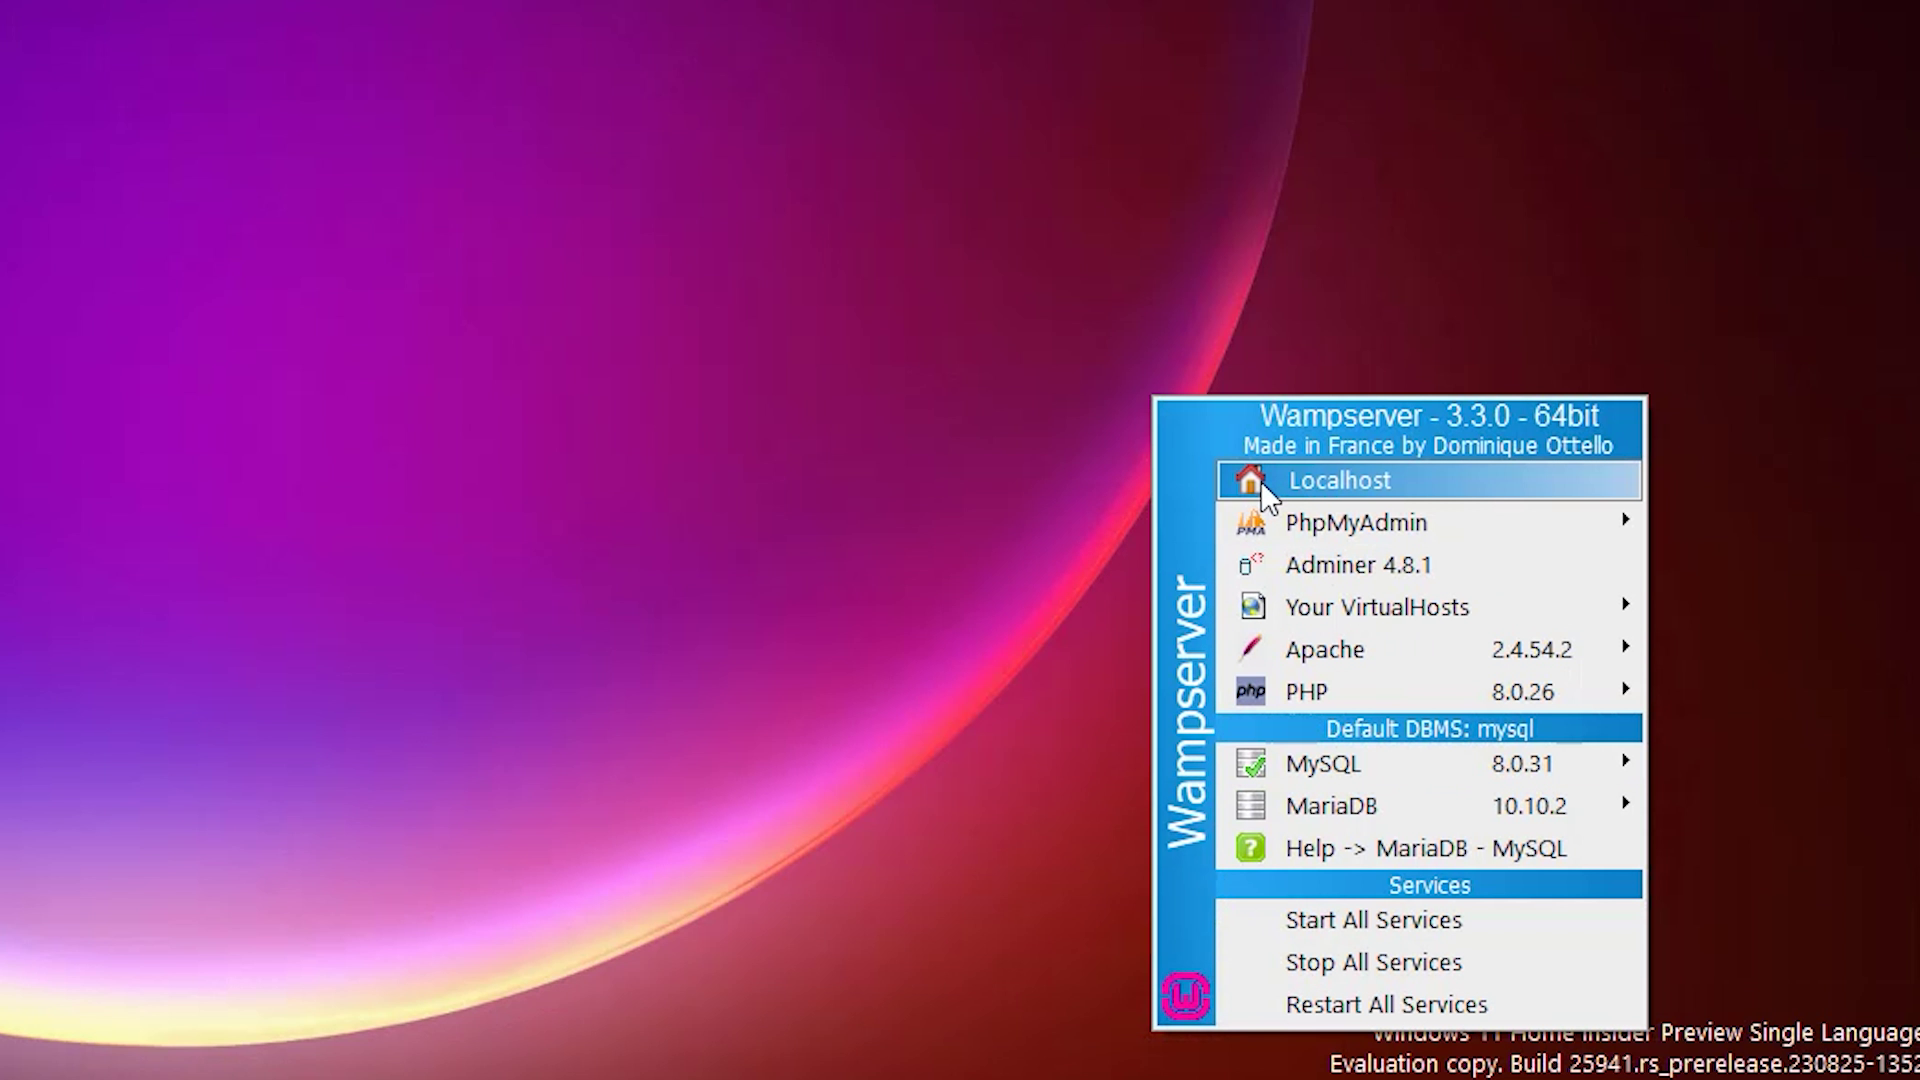
Then, in your taskbar, select WAMP and select Localhost.
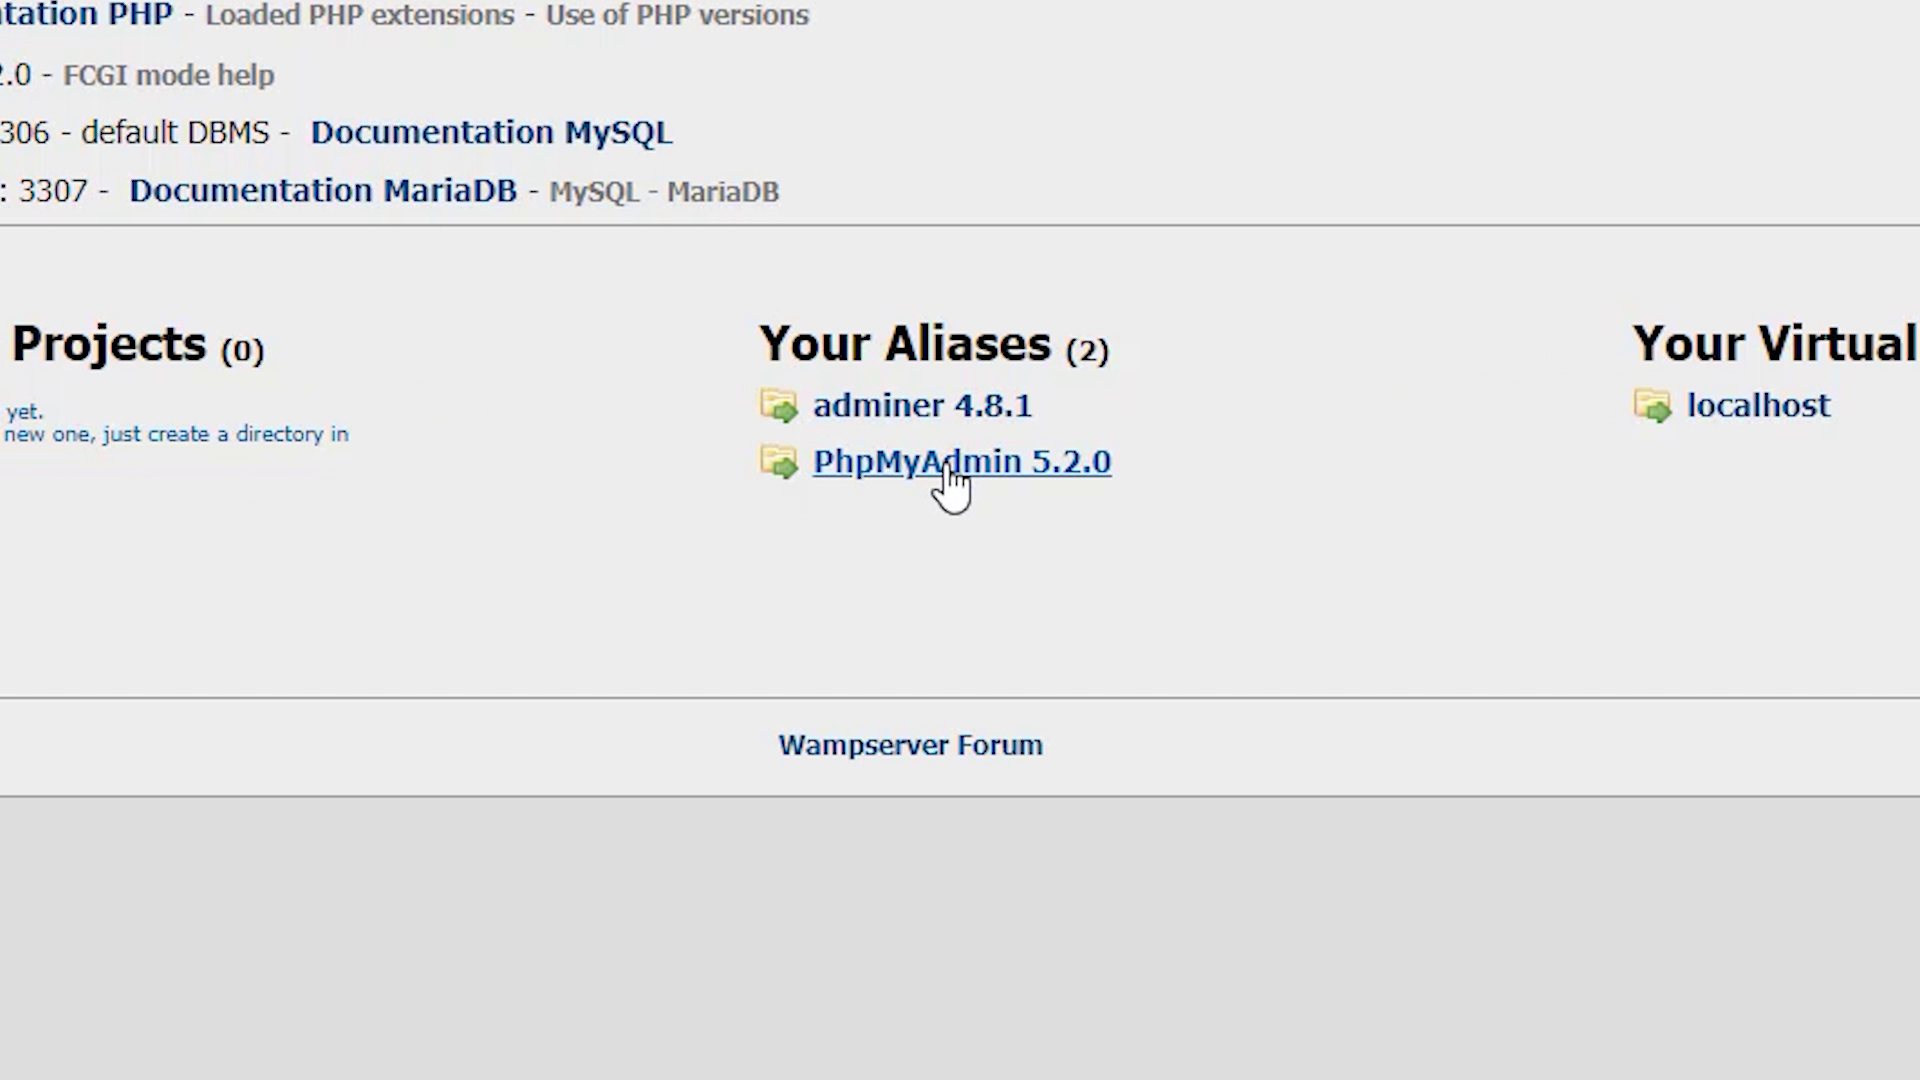
Here, select PhpMyAdmin.
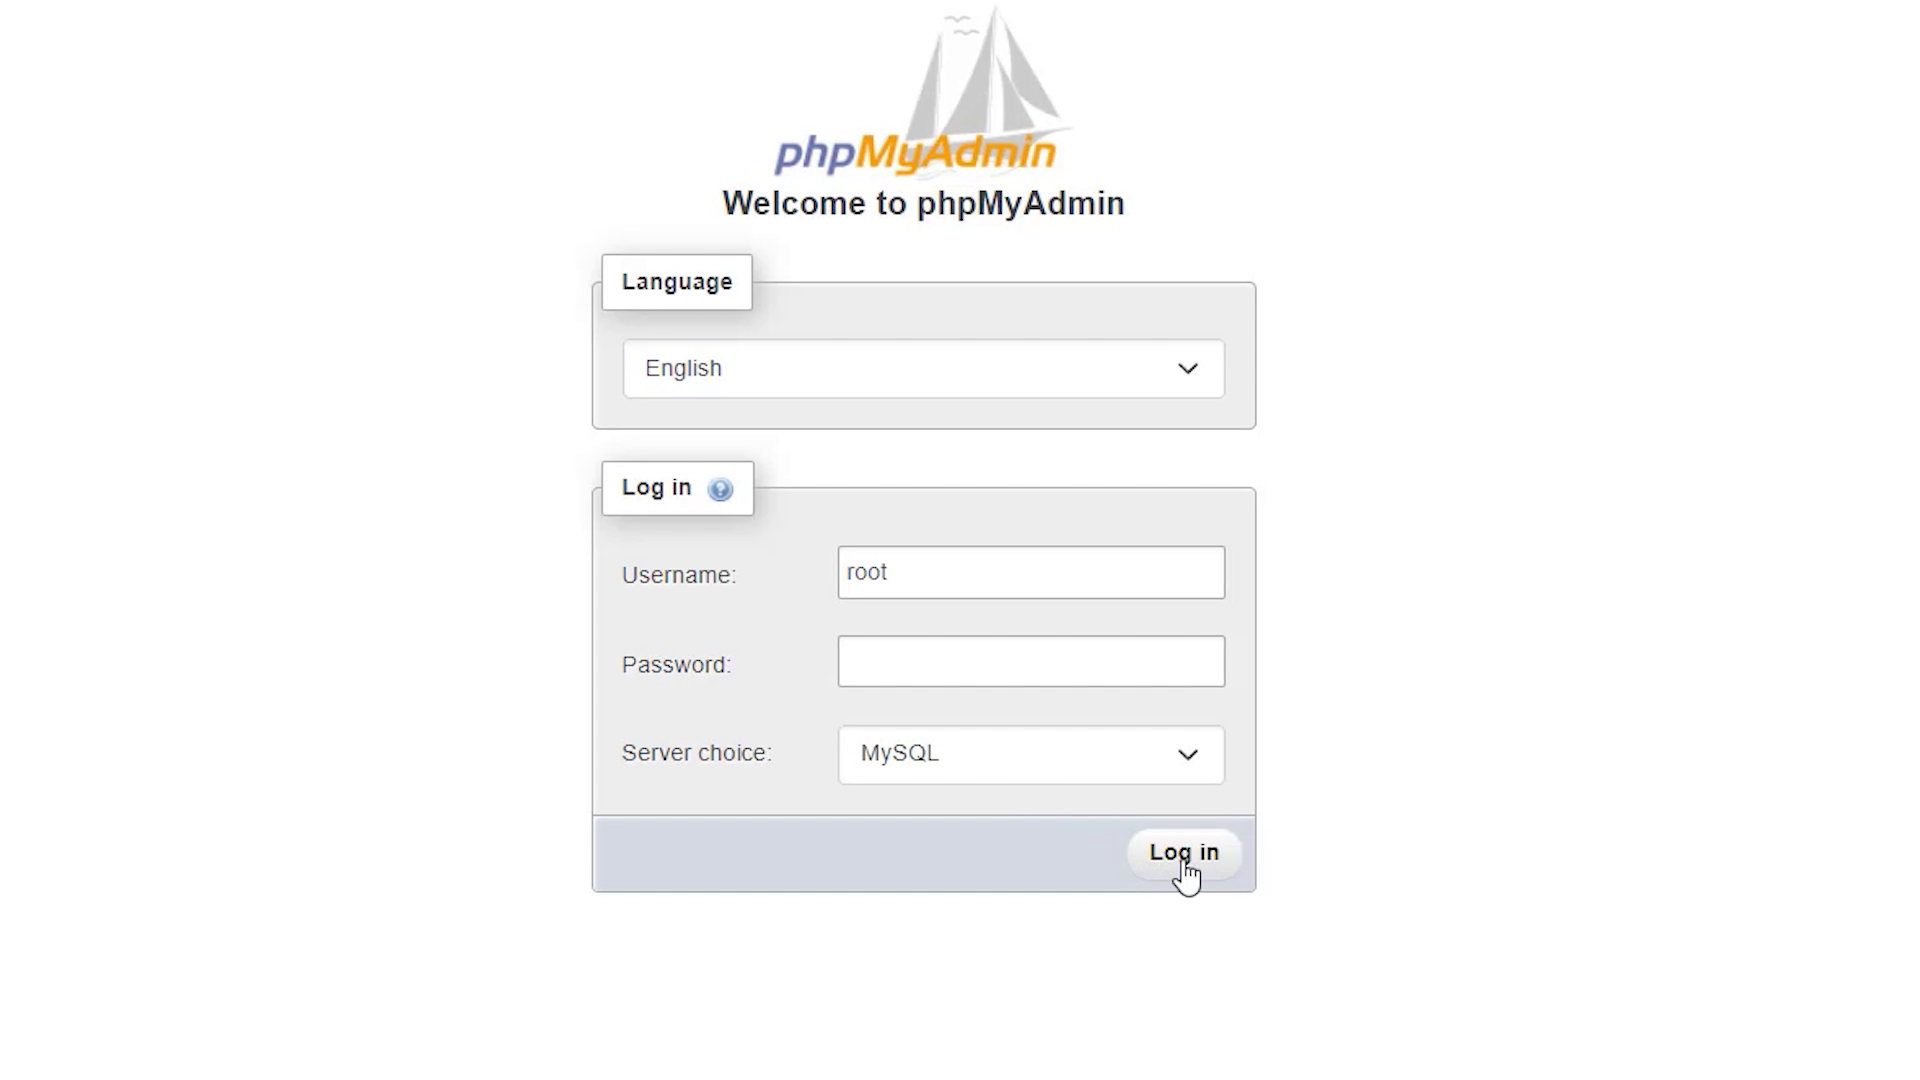
Here, in the login page, put 'root' as the username, and click 'Log in'.

This is the PhpMyAdmin page.
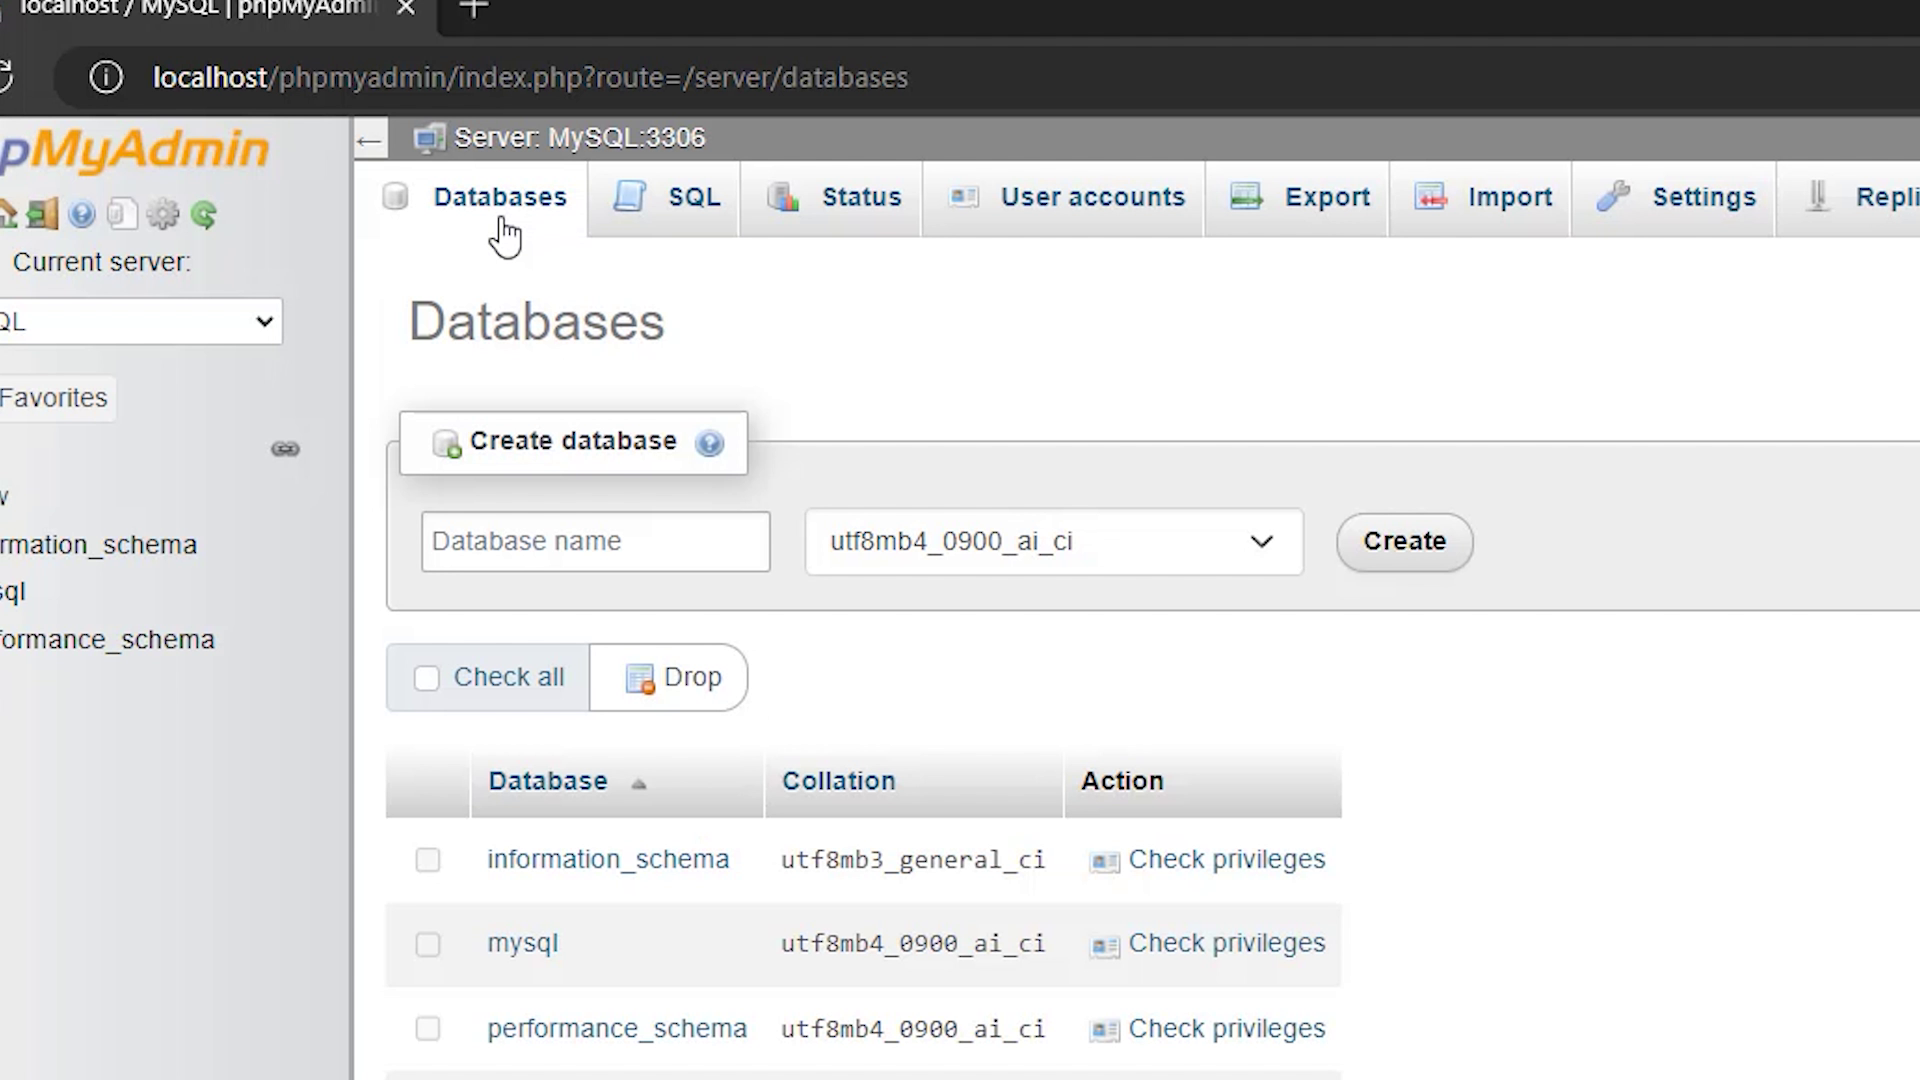
Click the Databases option. We're gonna create a database.
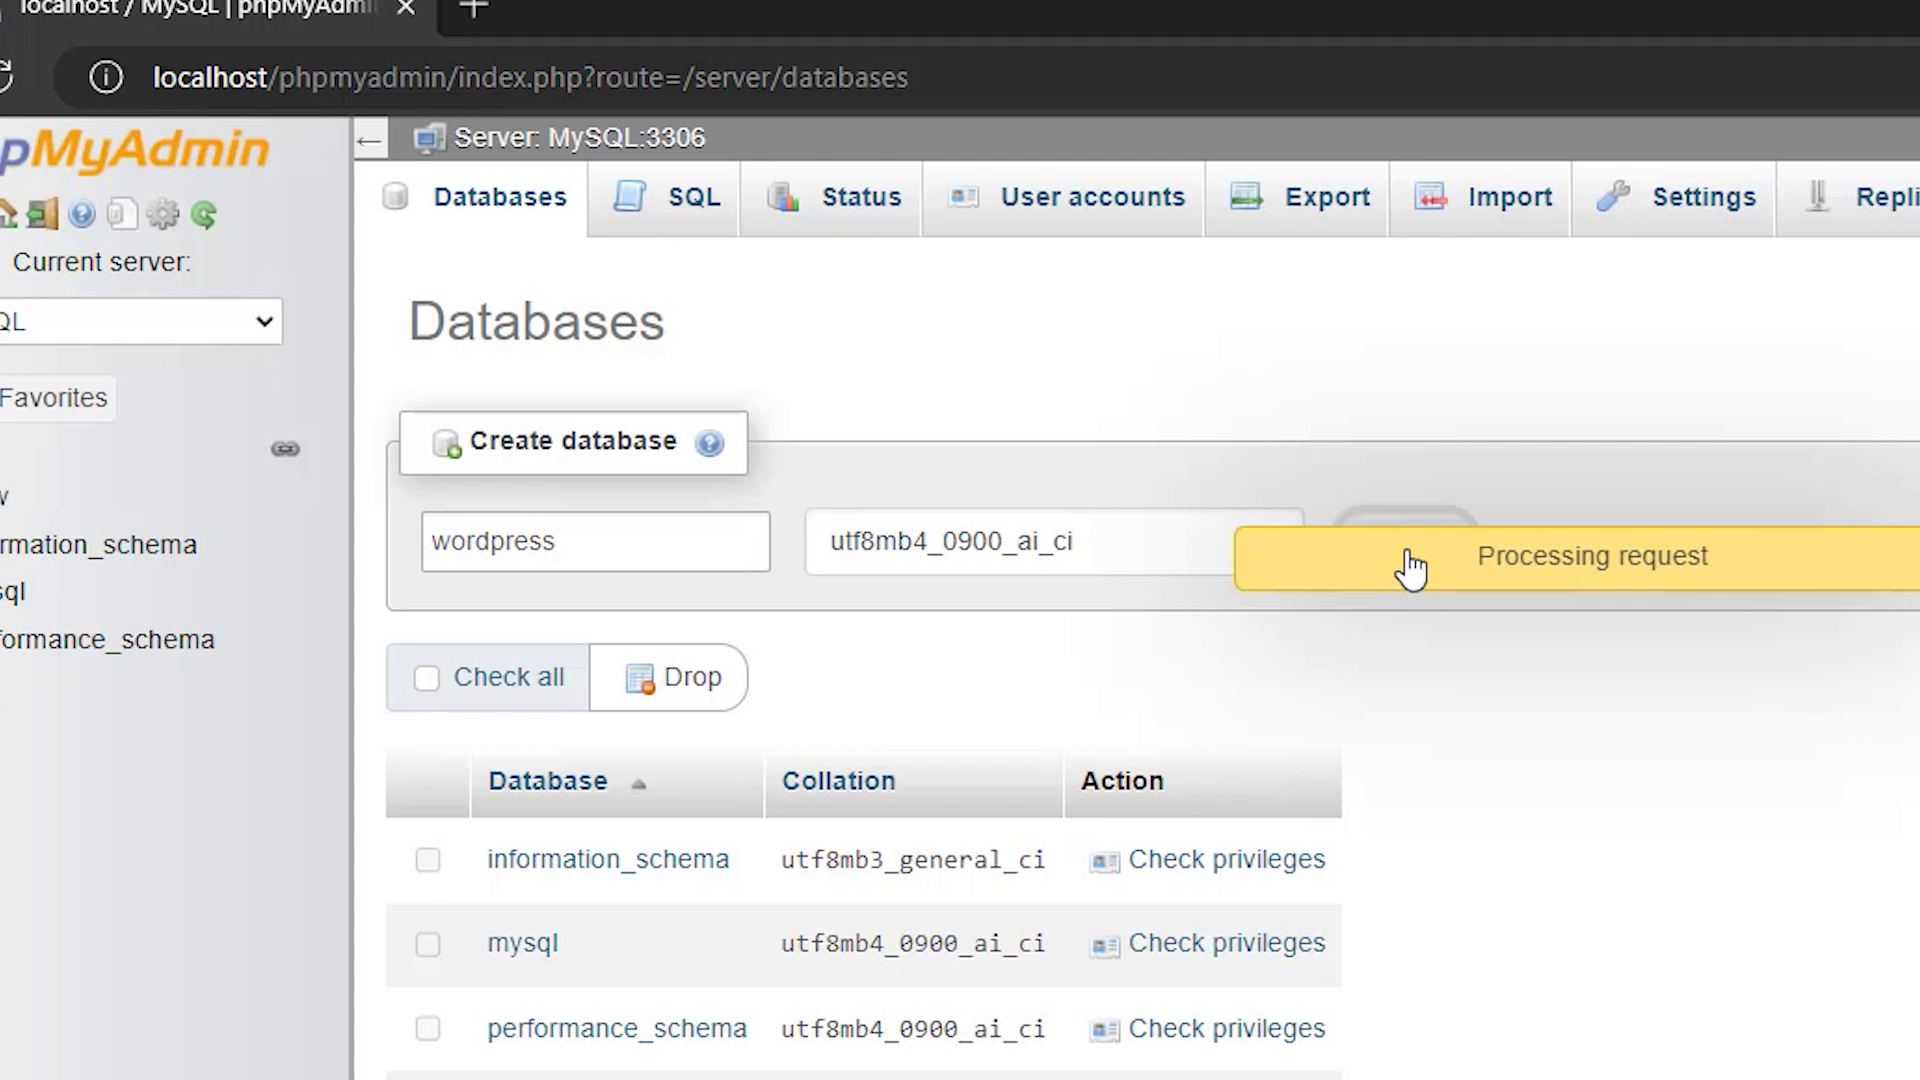
Put in a name for the database and click 'Create'.
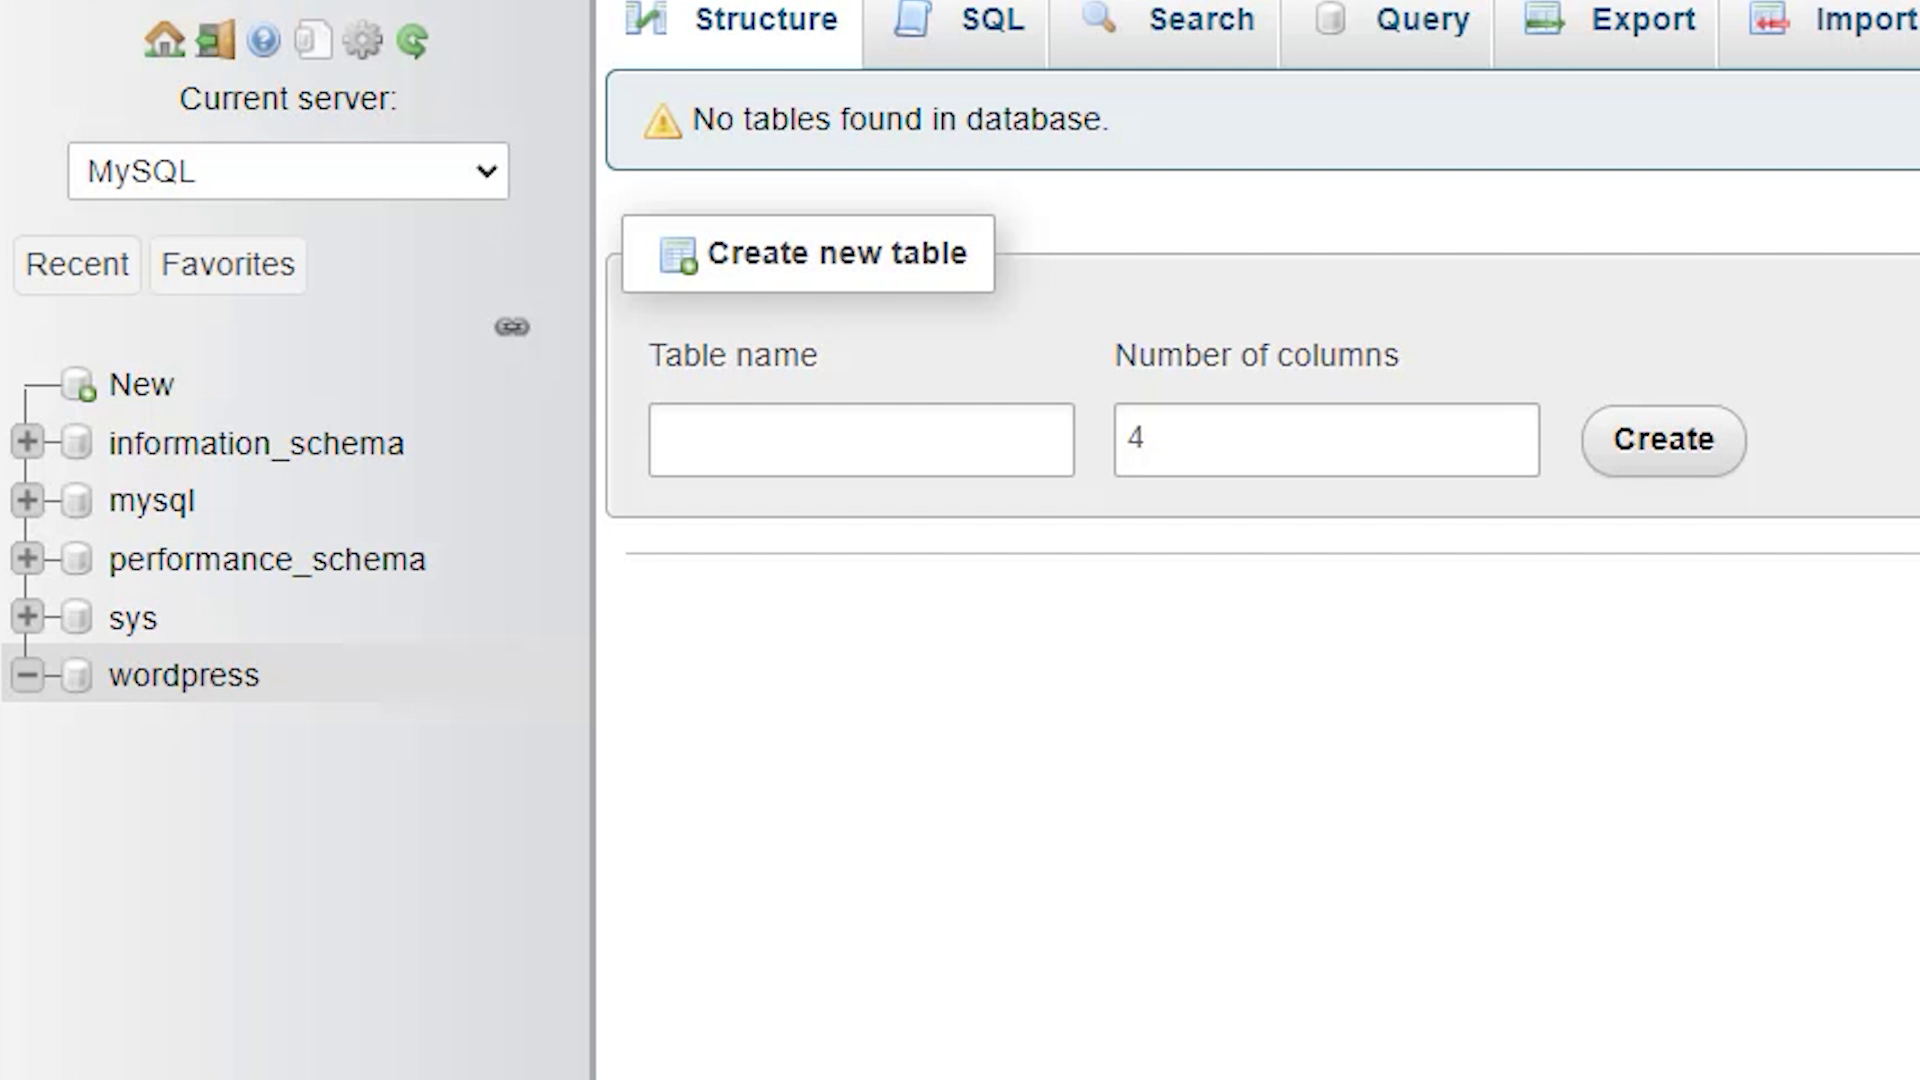
Your created database shows up on the side.
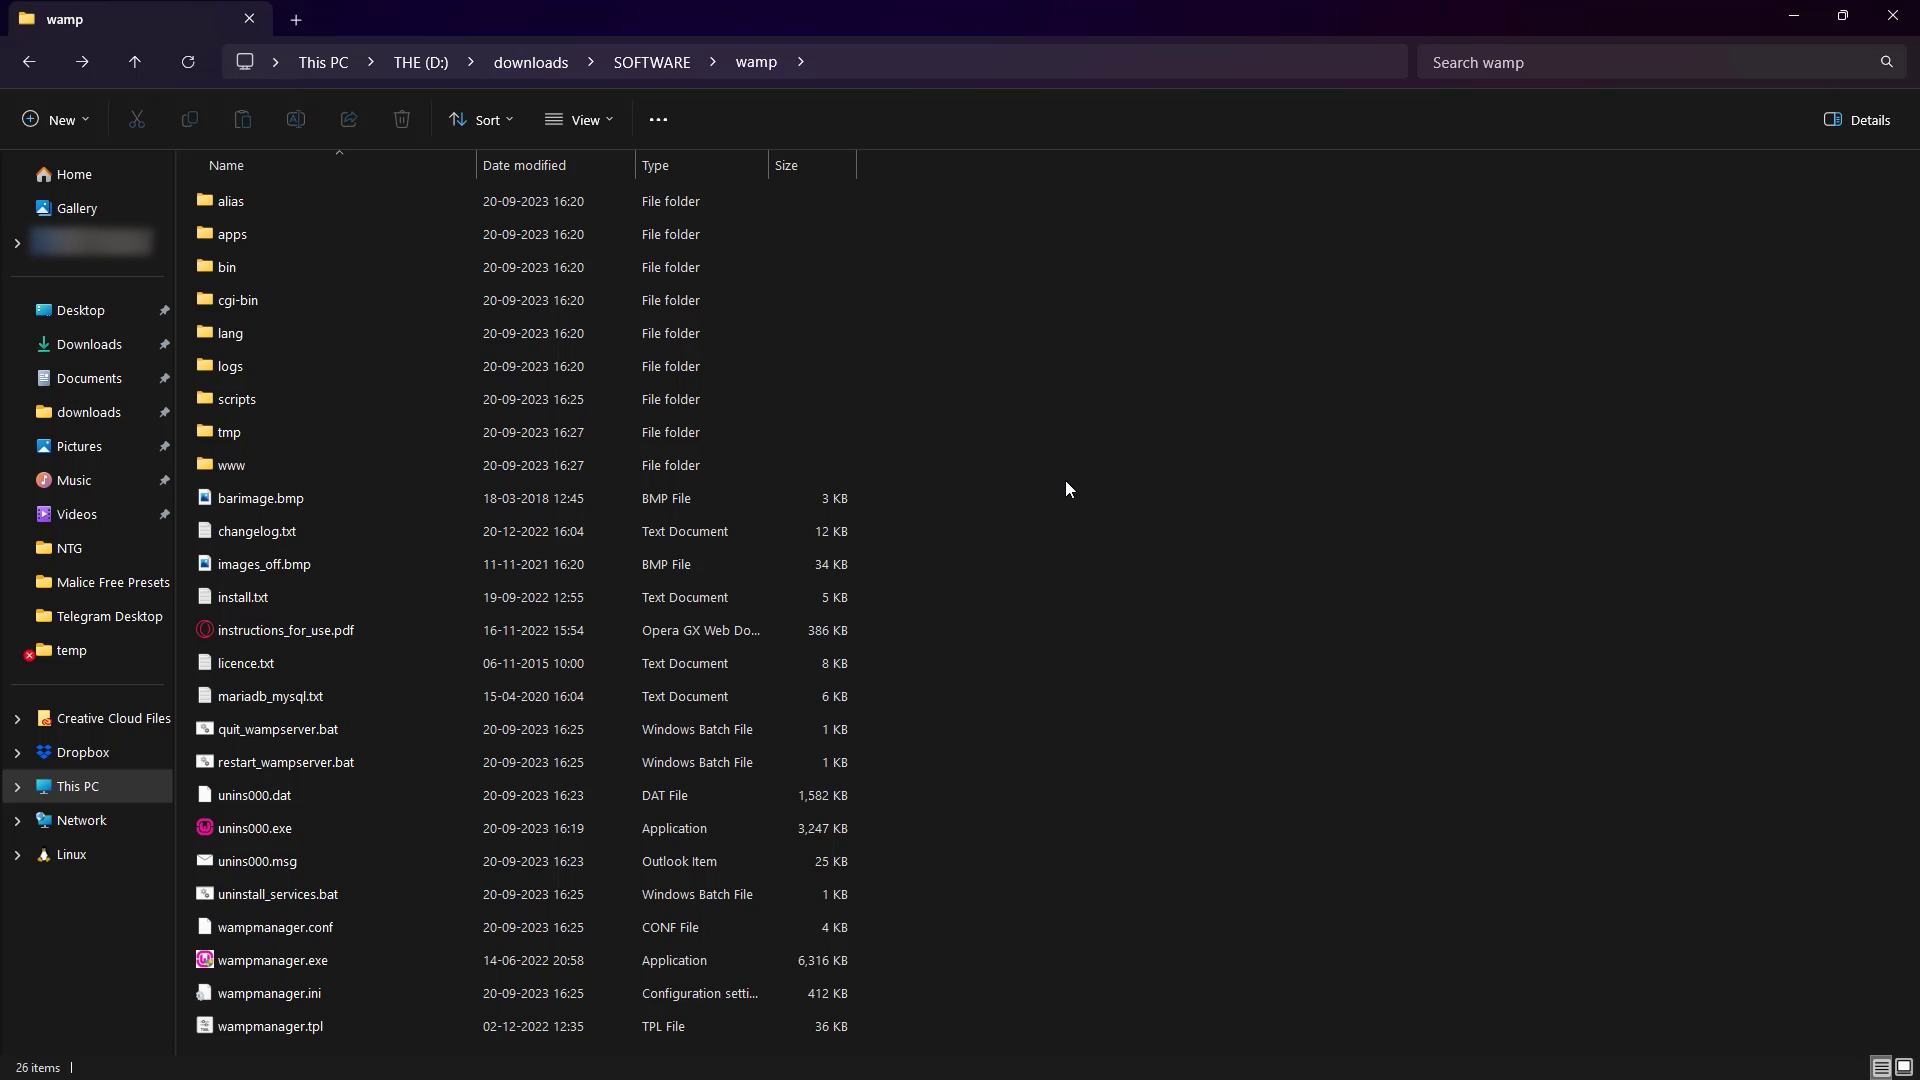
Go to the folder where you downloaded WAMP.
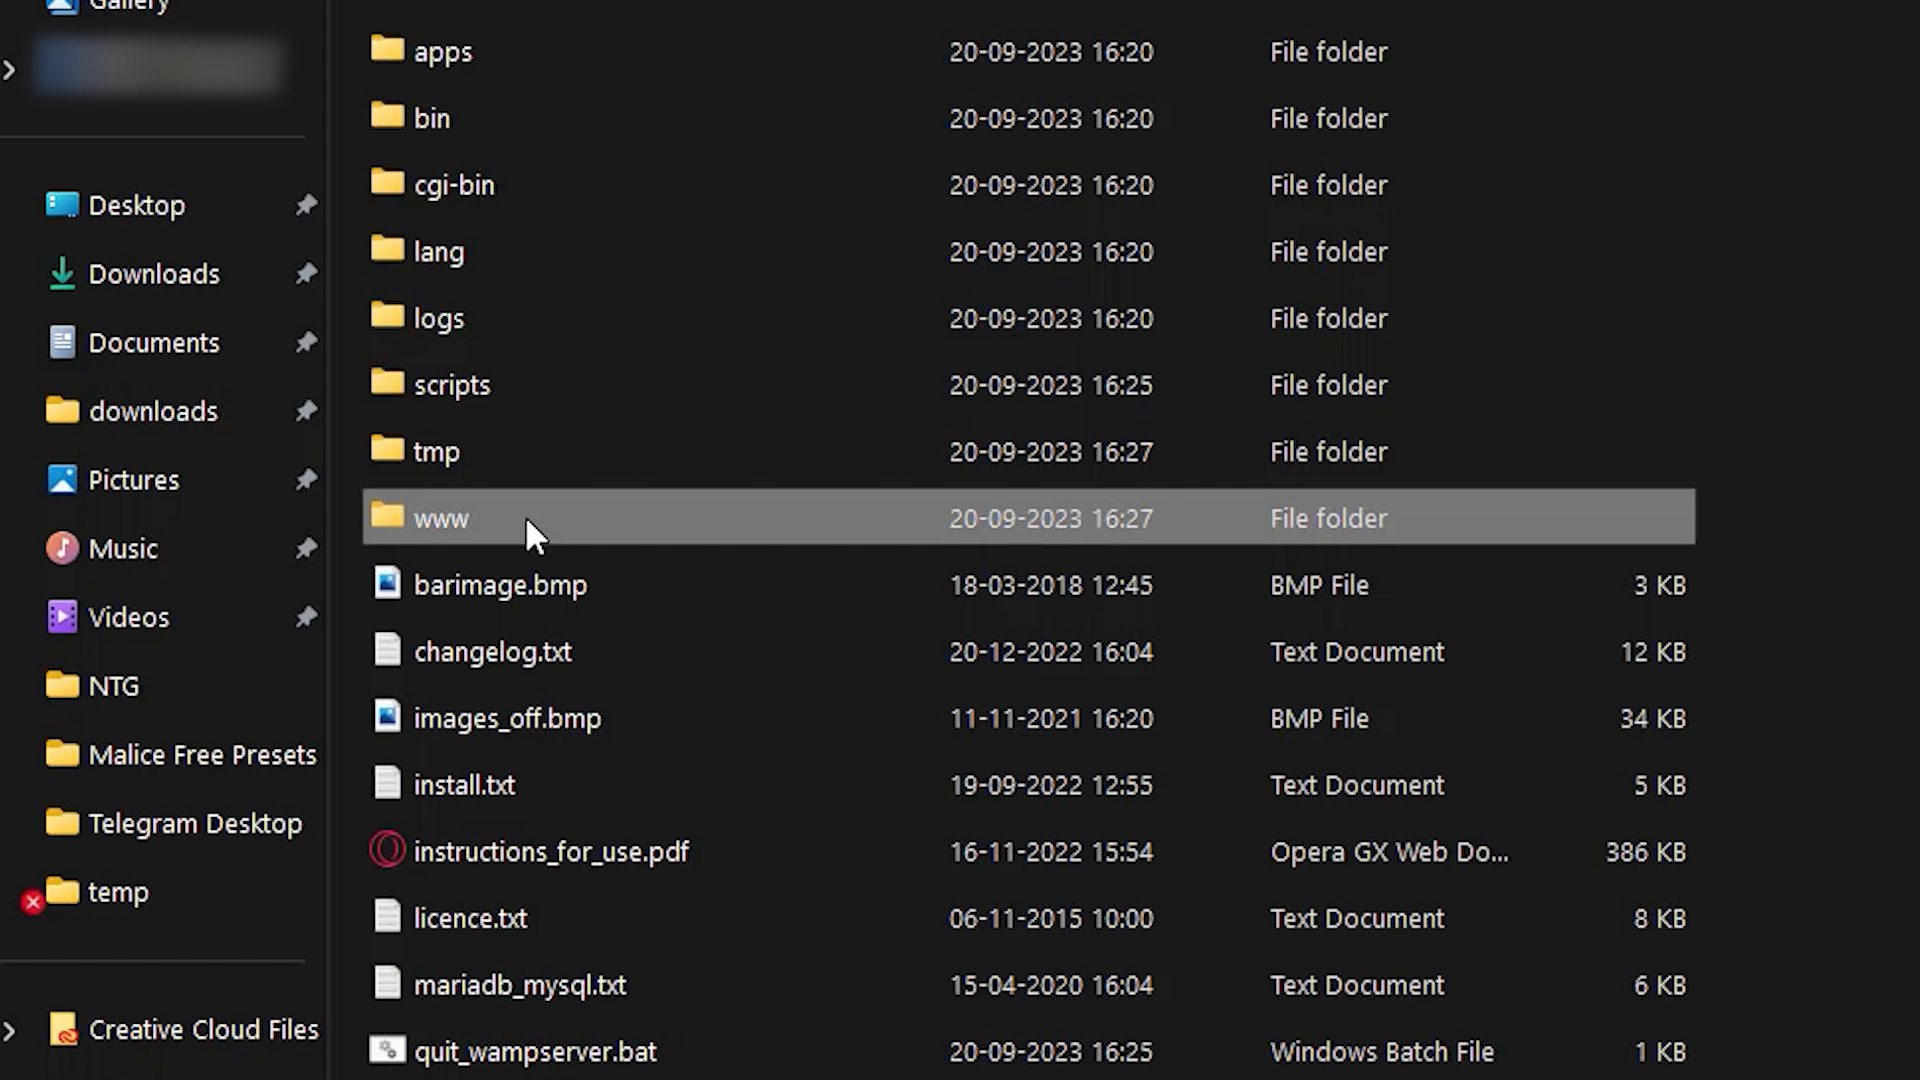
Go to the 'www' folder.
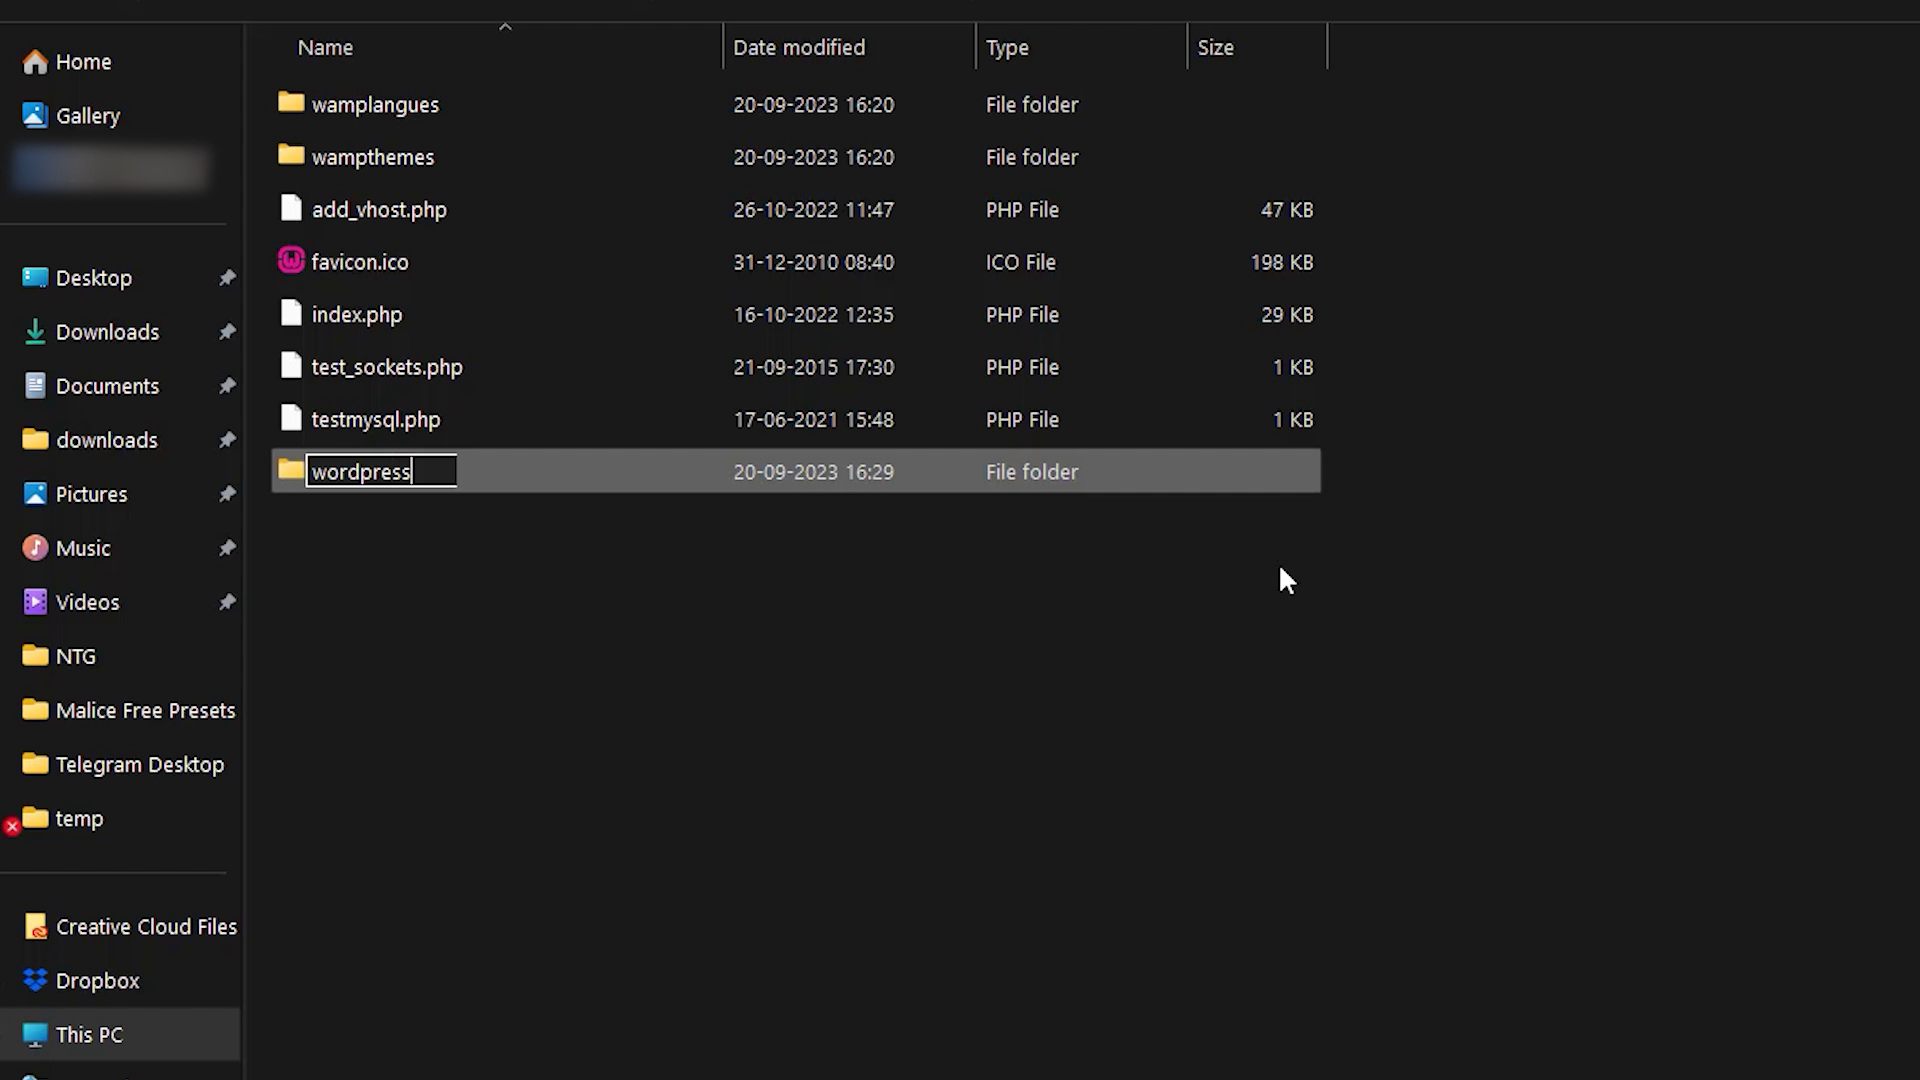
Create a folder with the same name as the database you created.
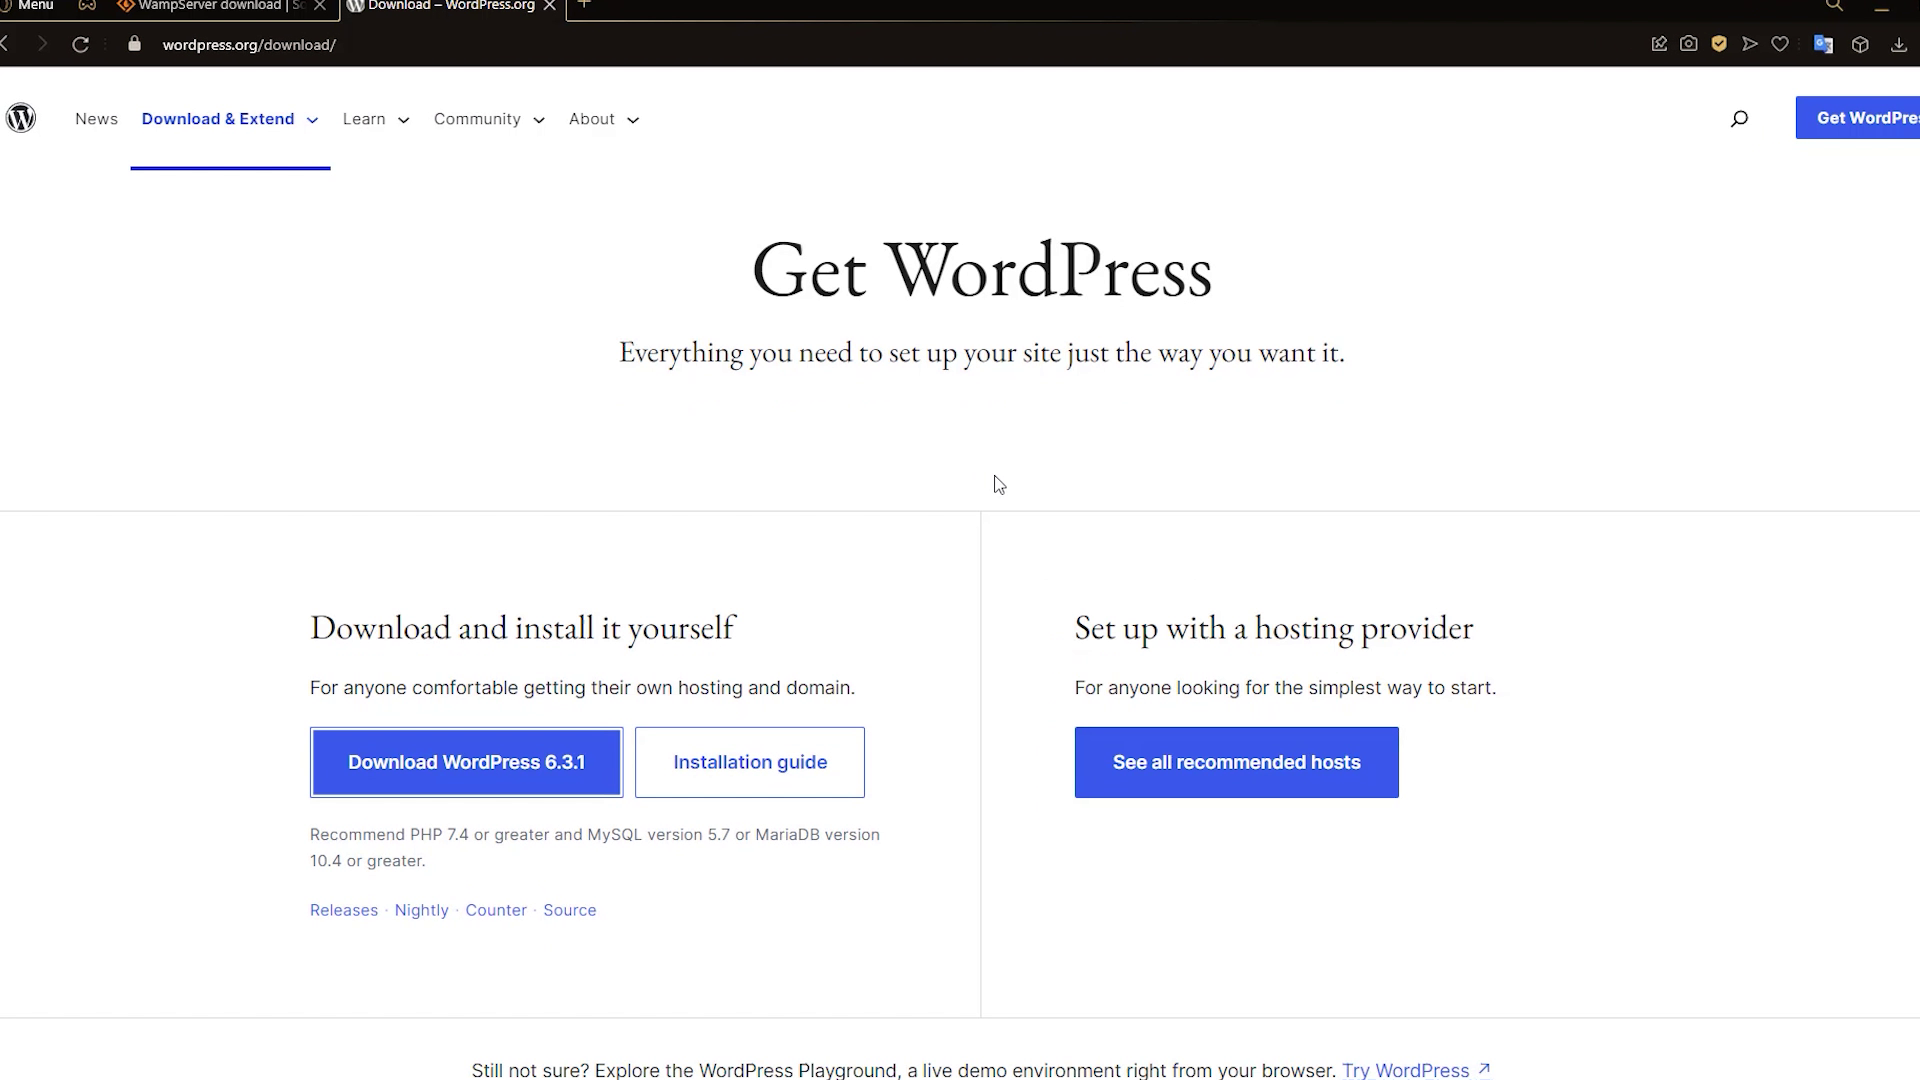
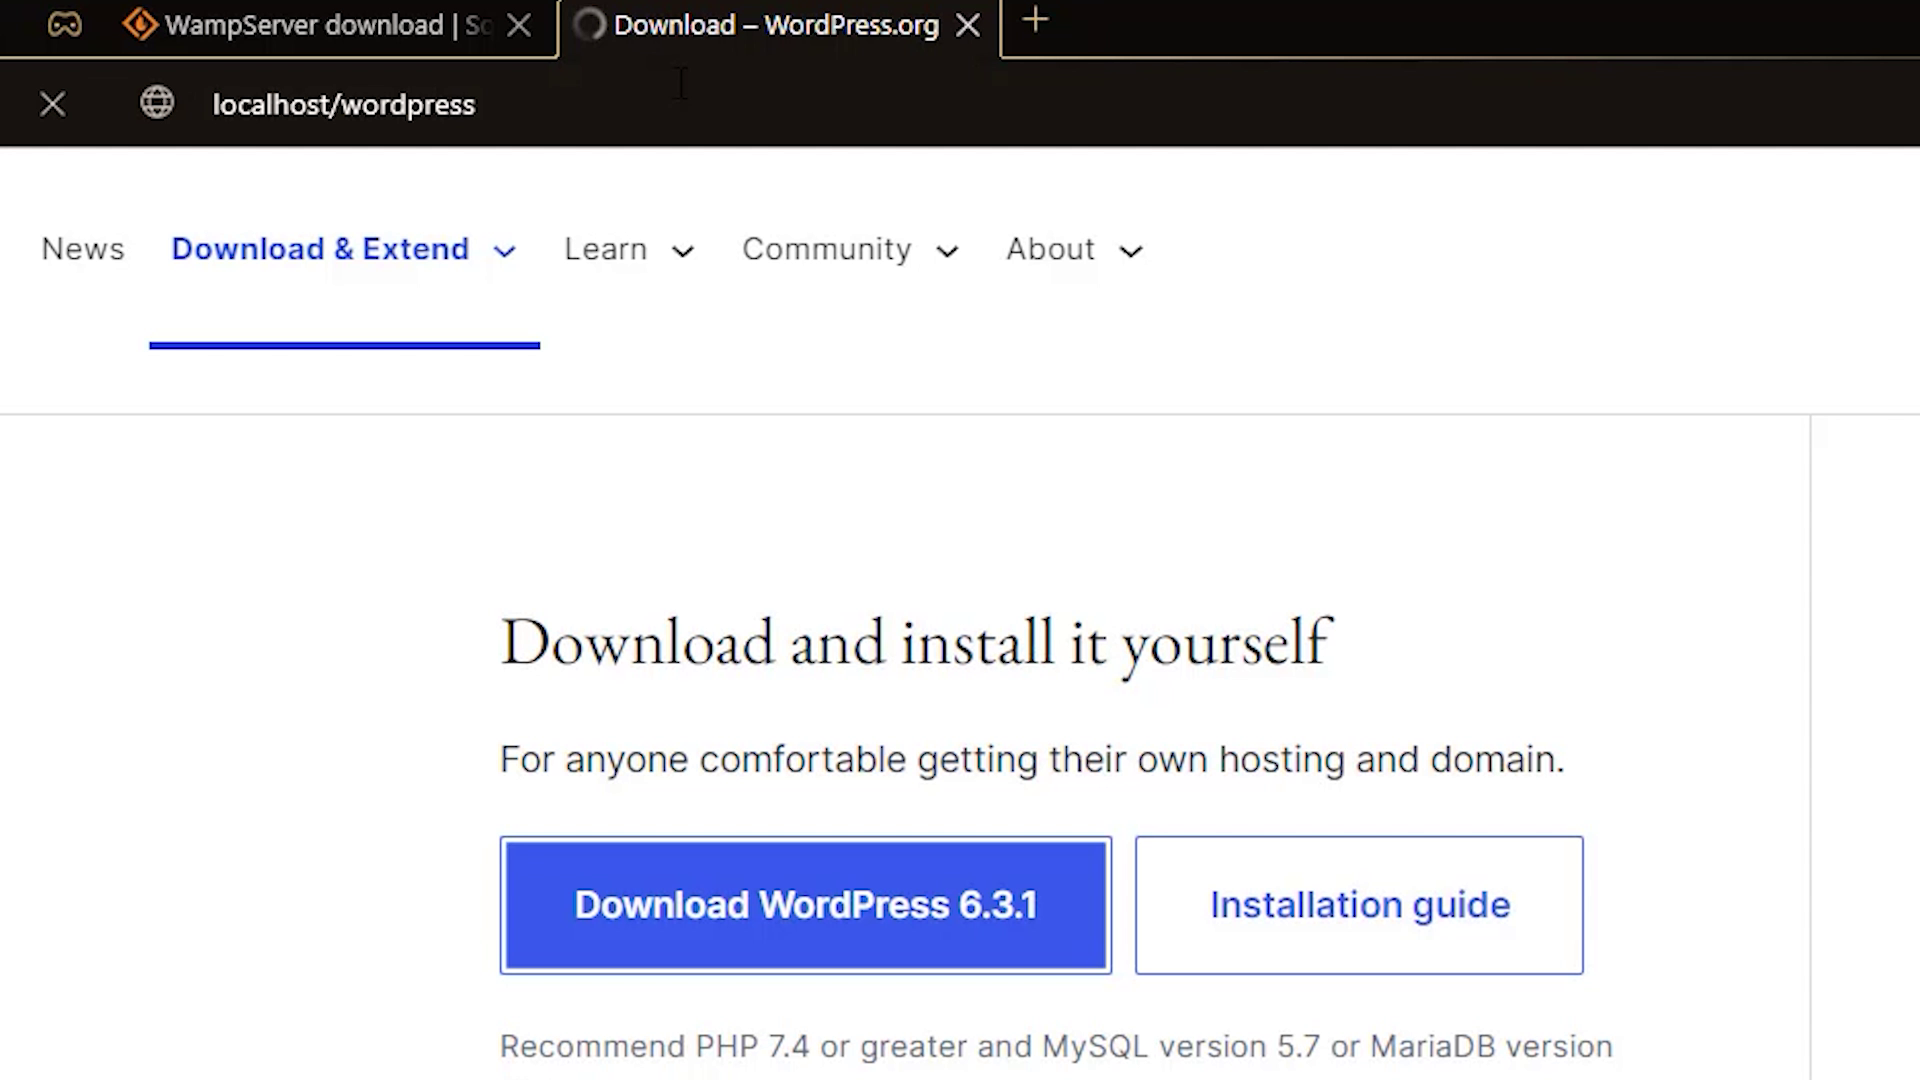
Next we're gonna download Wordpress from 'wordpress.org'.
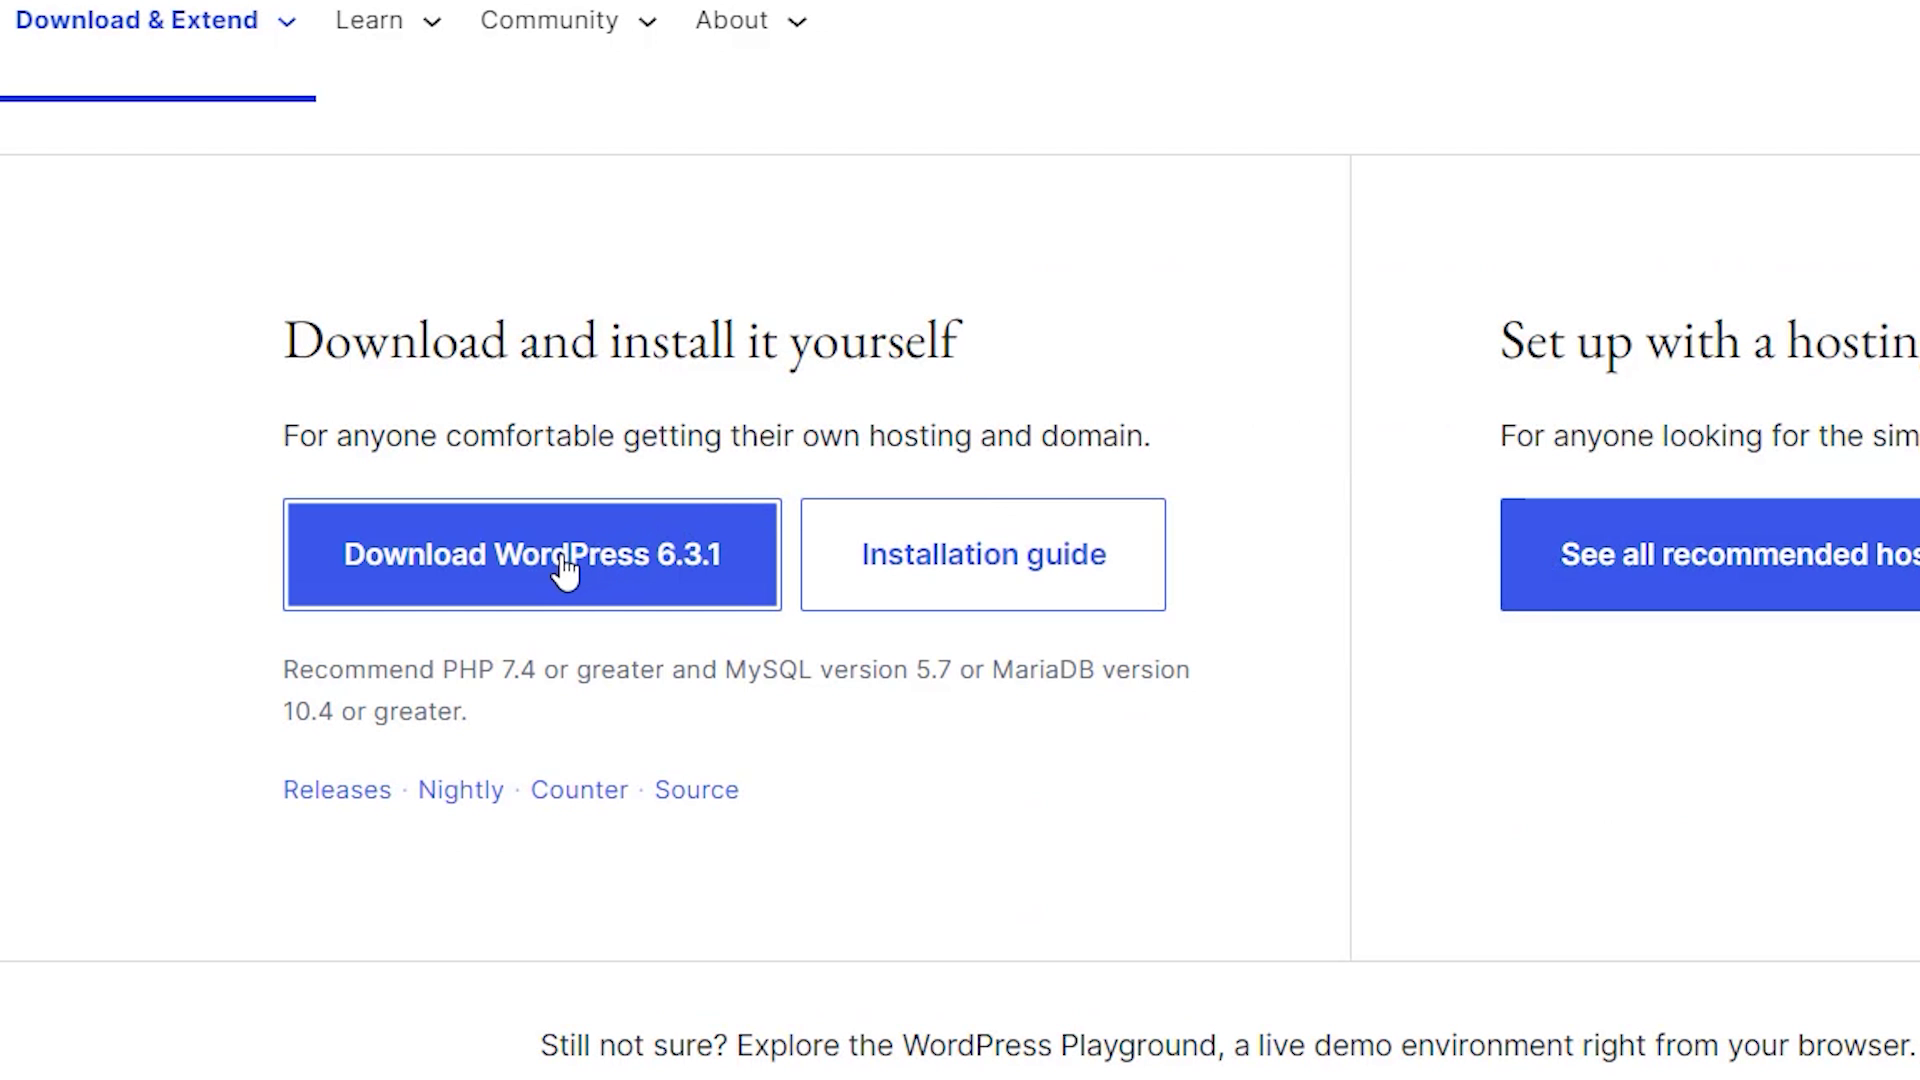
Click 'Download Wordpress'.
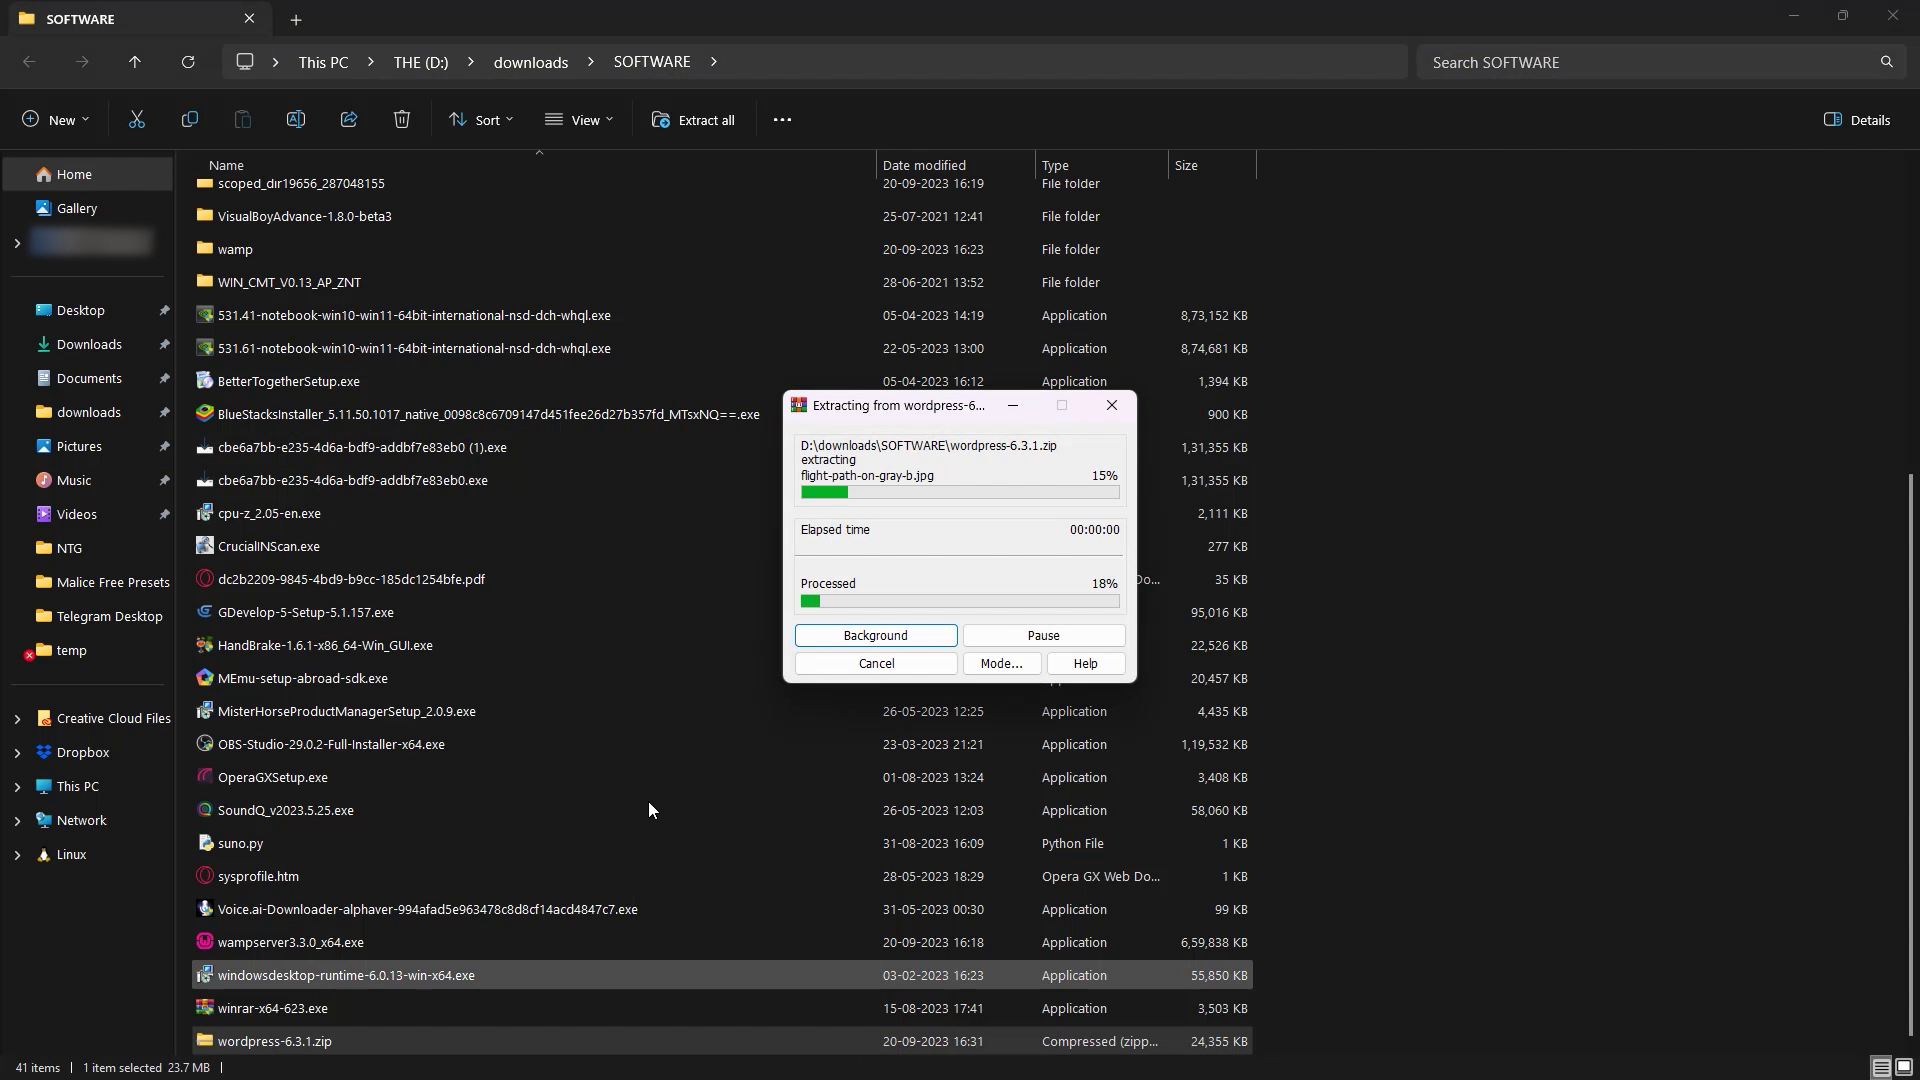
Unzip the downloaded file.
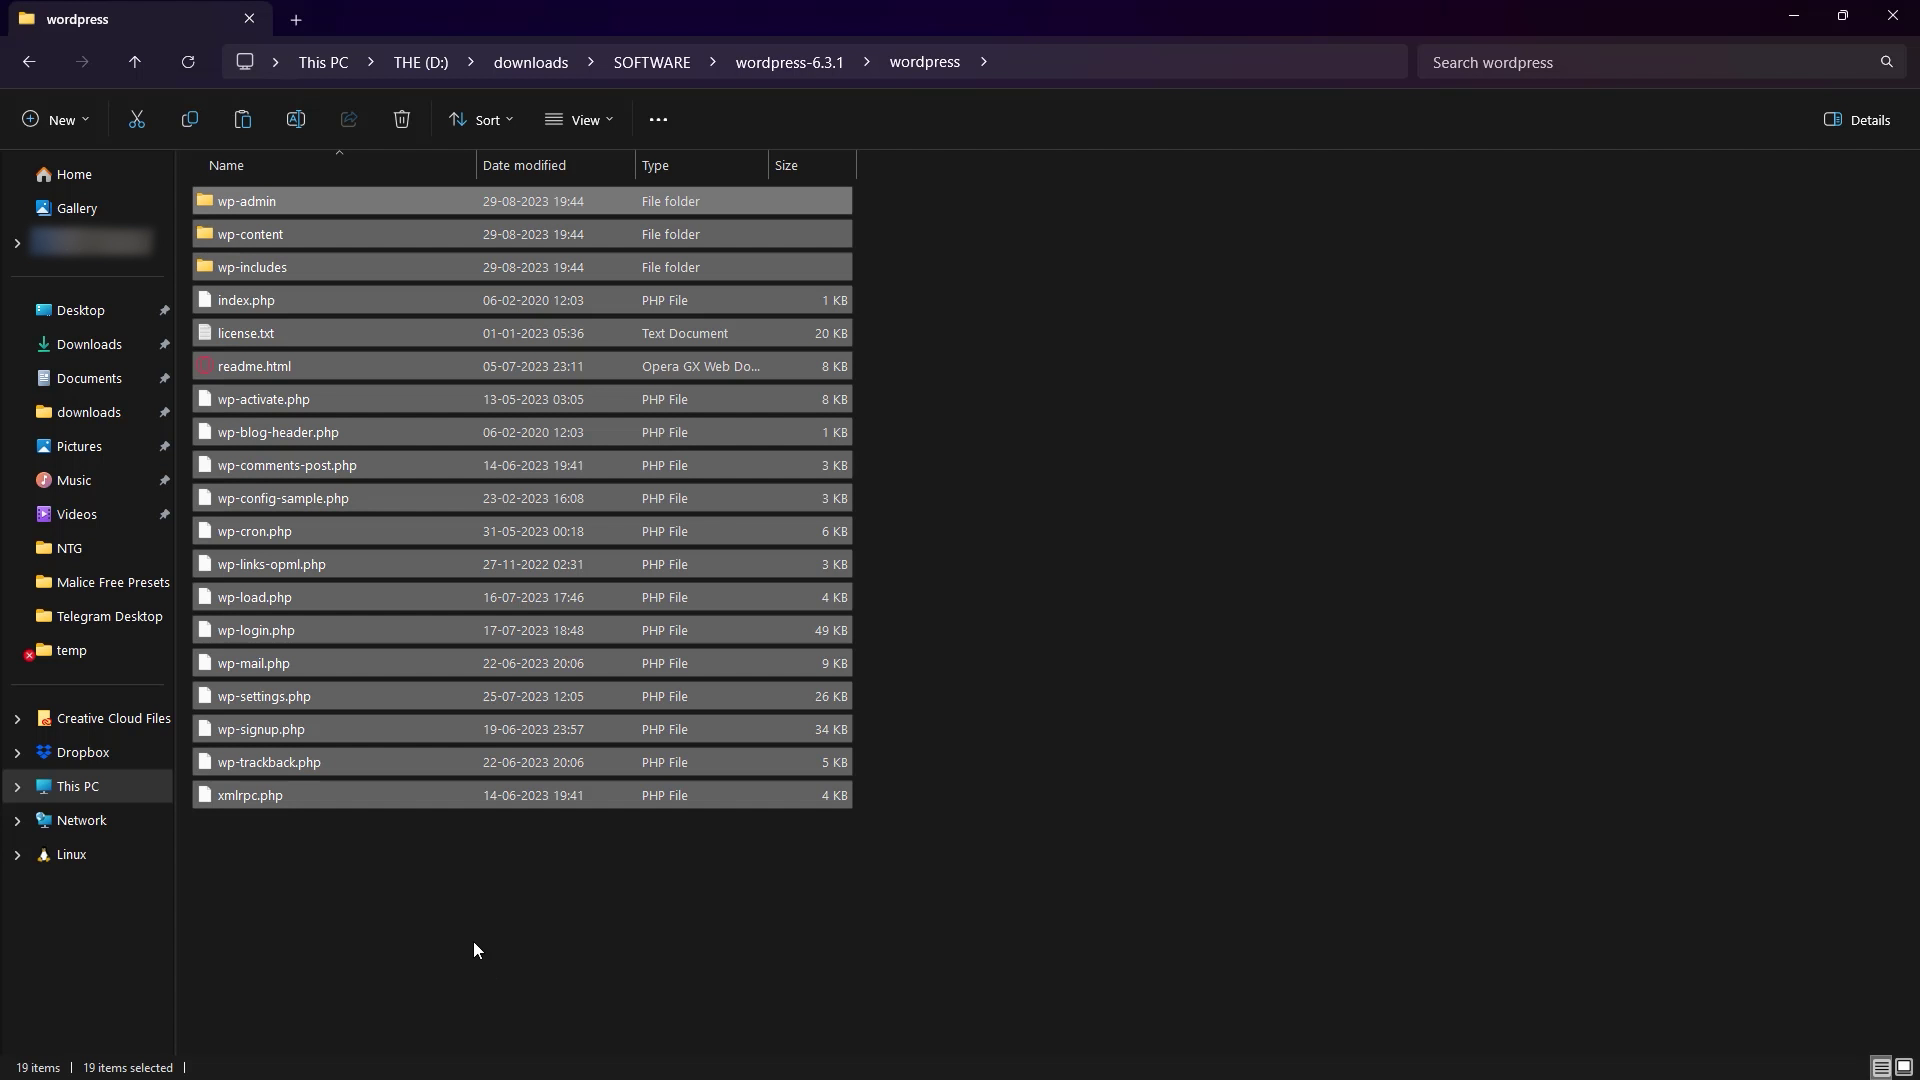
Copy the unzipped contents.
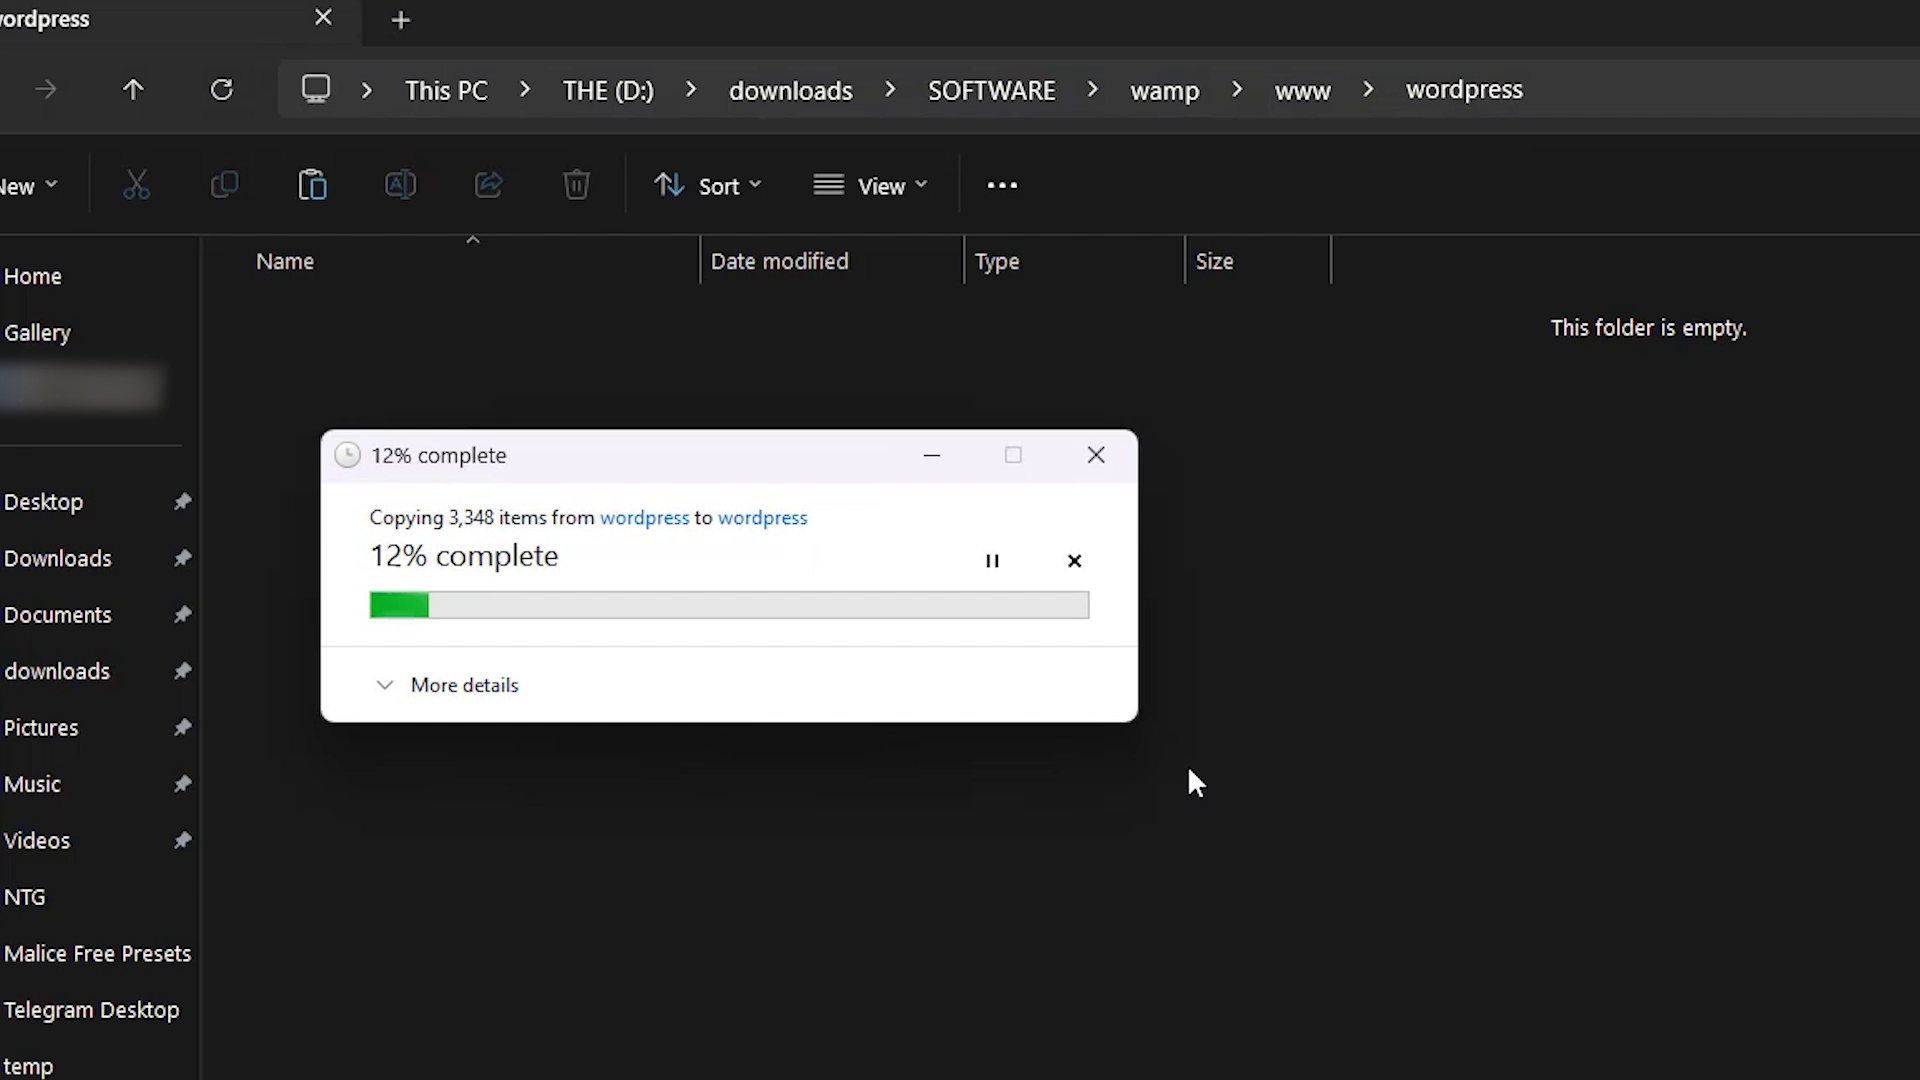
Paste them into the folder you created in the 'www' folder.
Next go to the URL 'localhost/wordpress'.
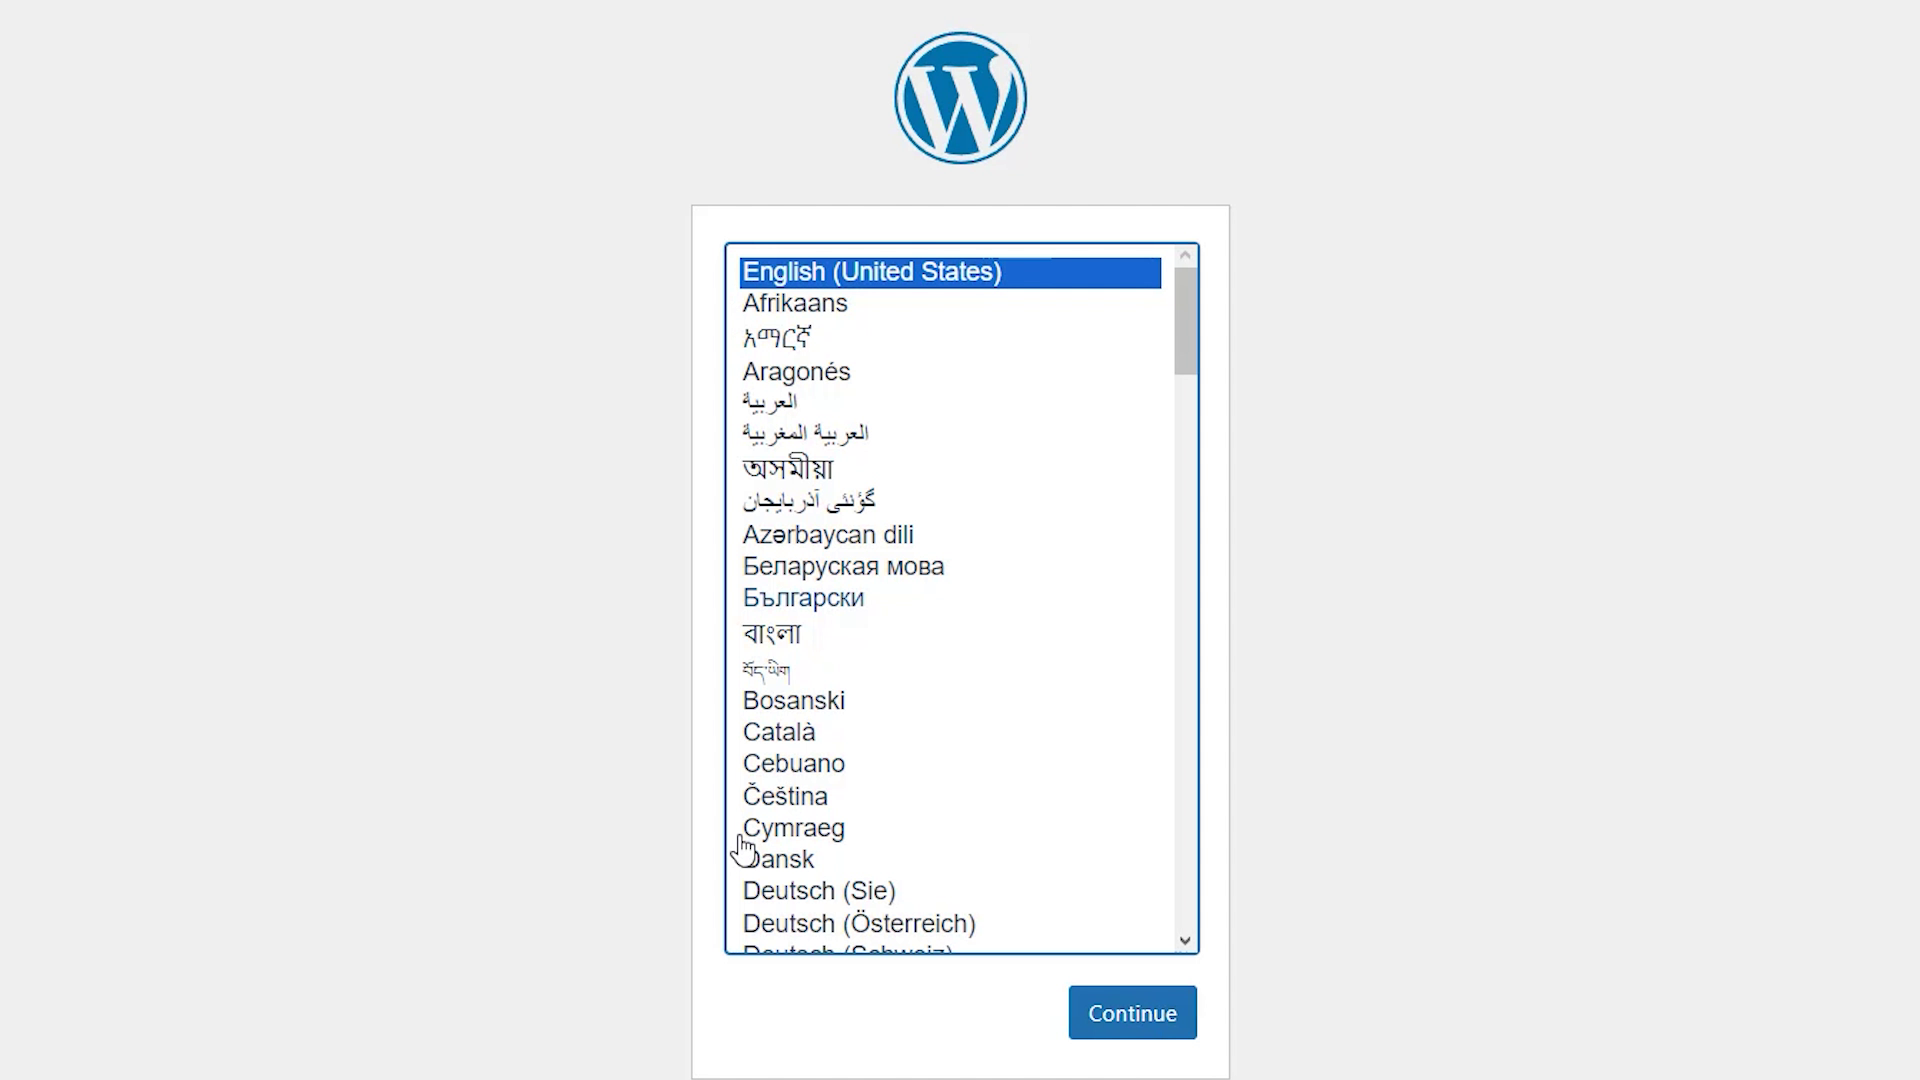
Choose your language.
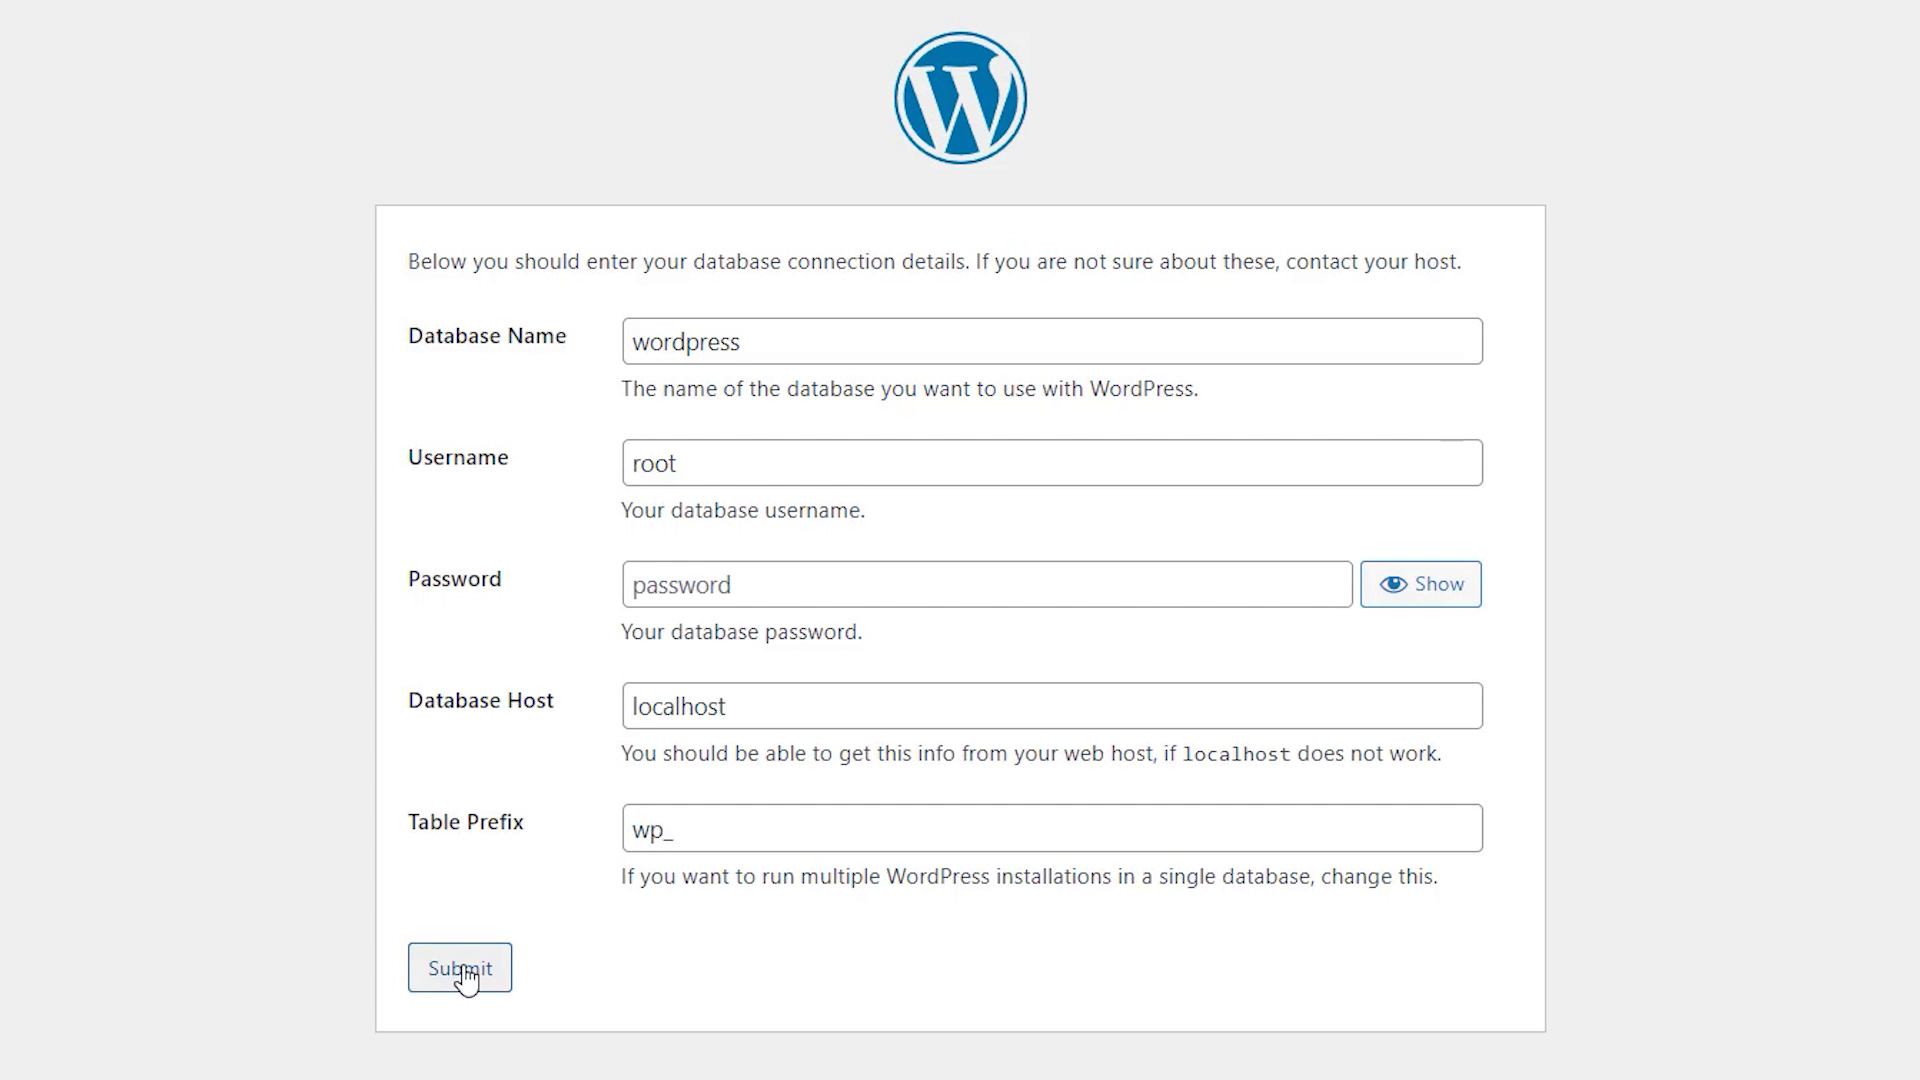
Put in these details and click 'Submit'.
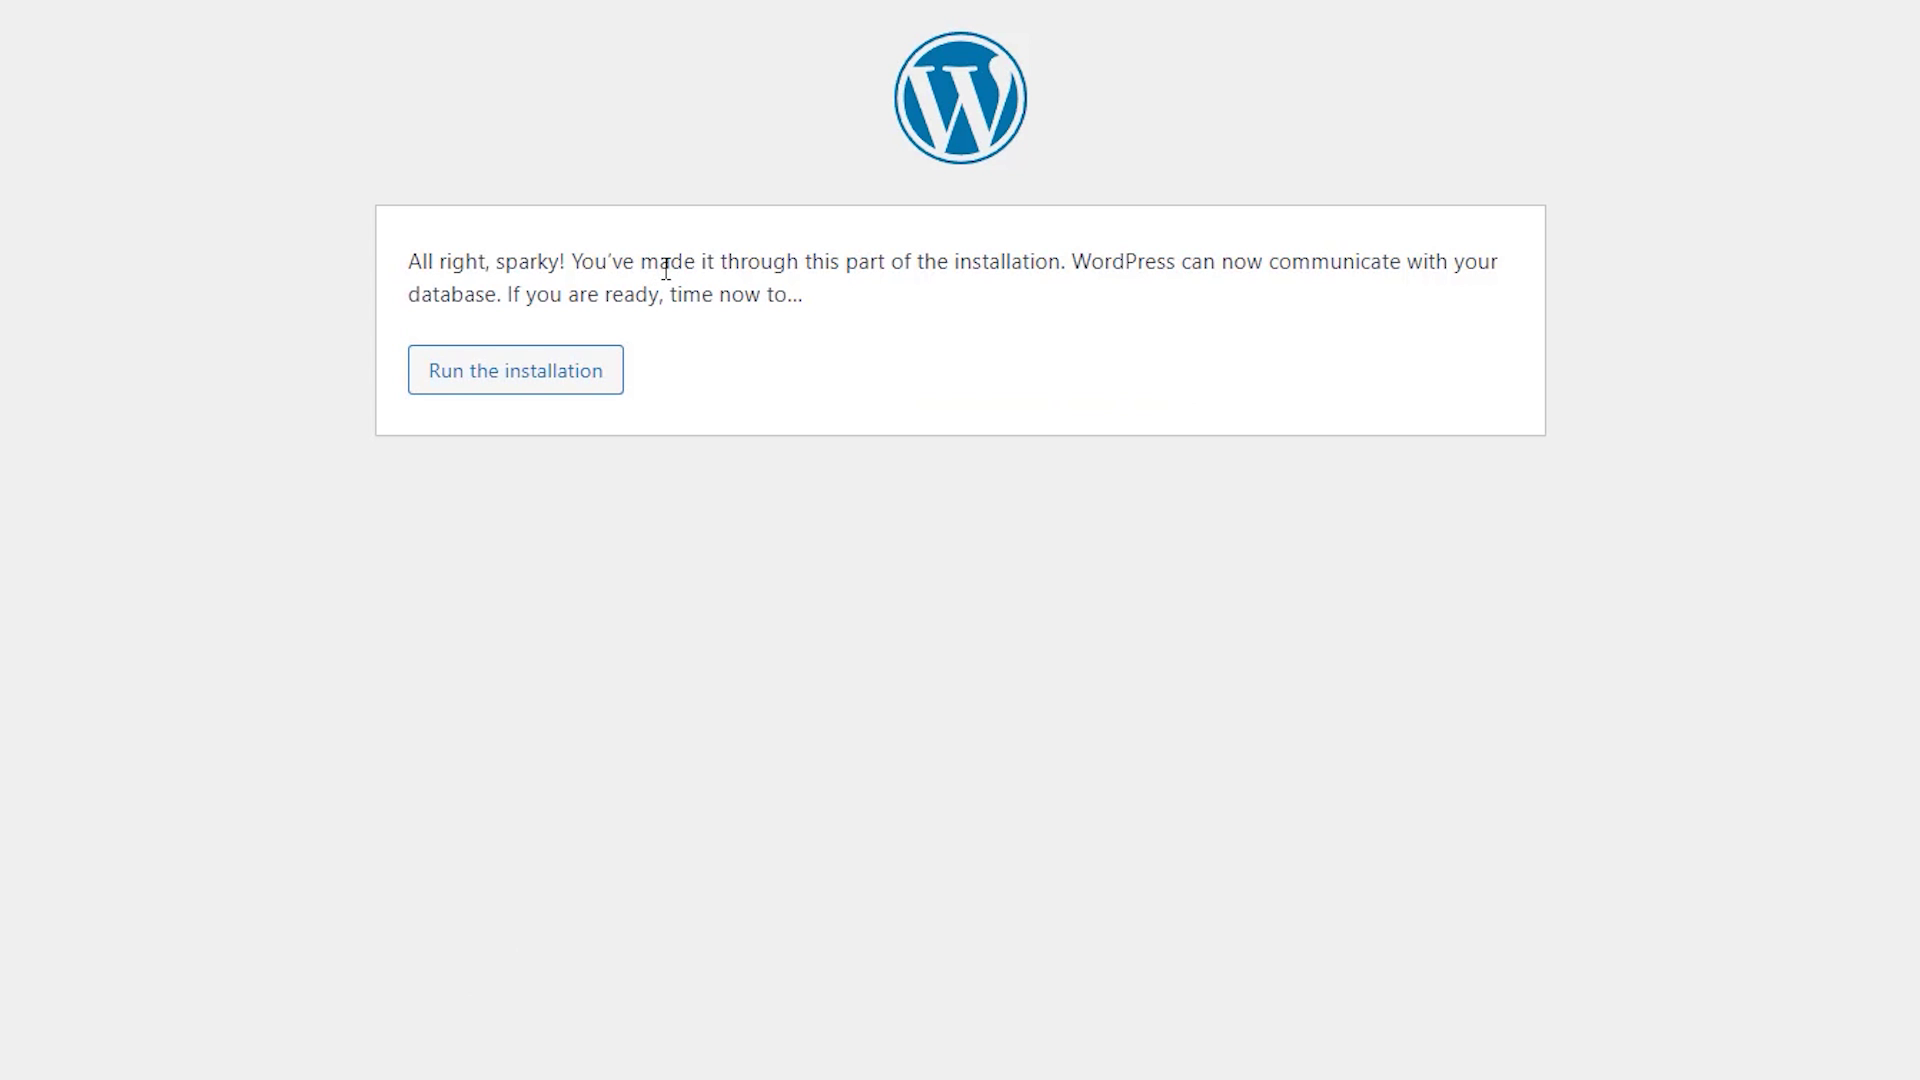
Run the installation.
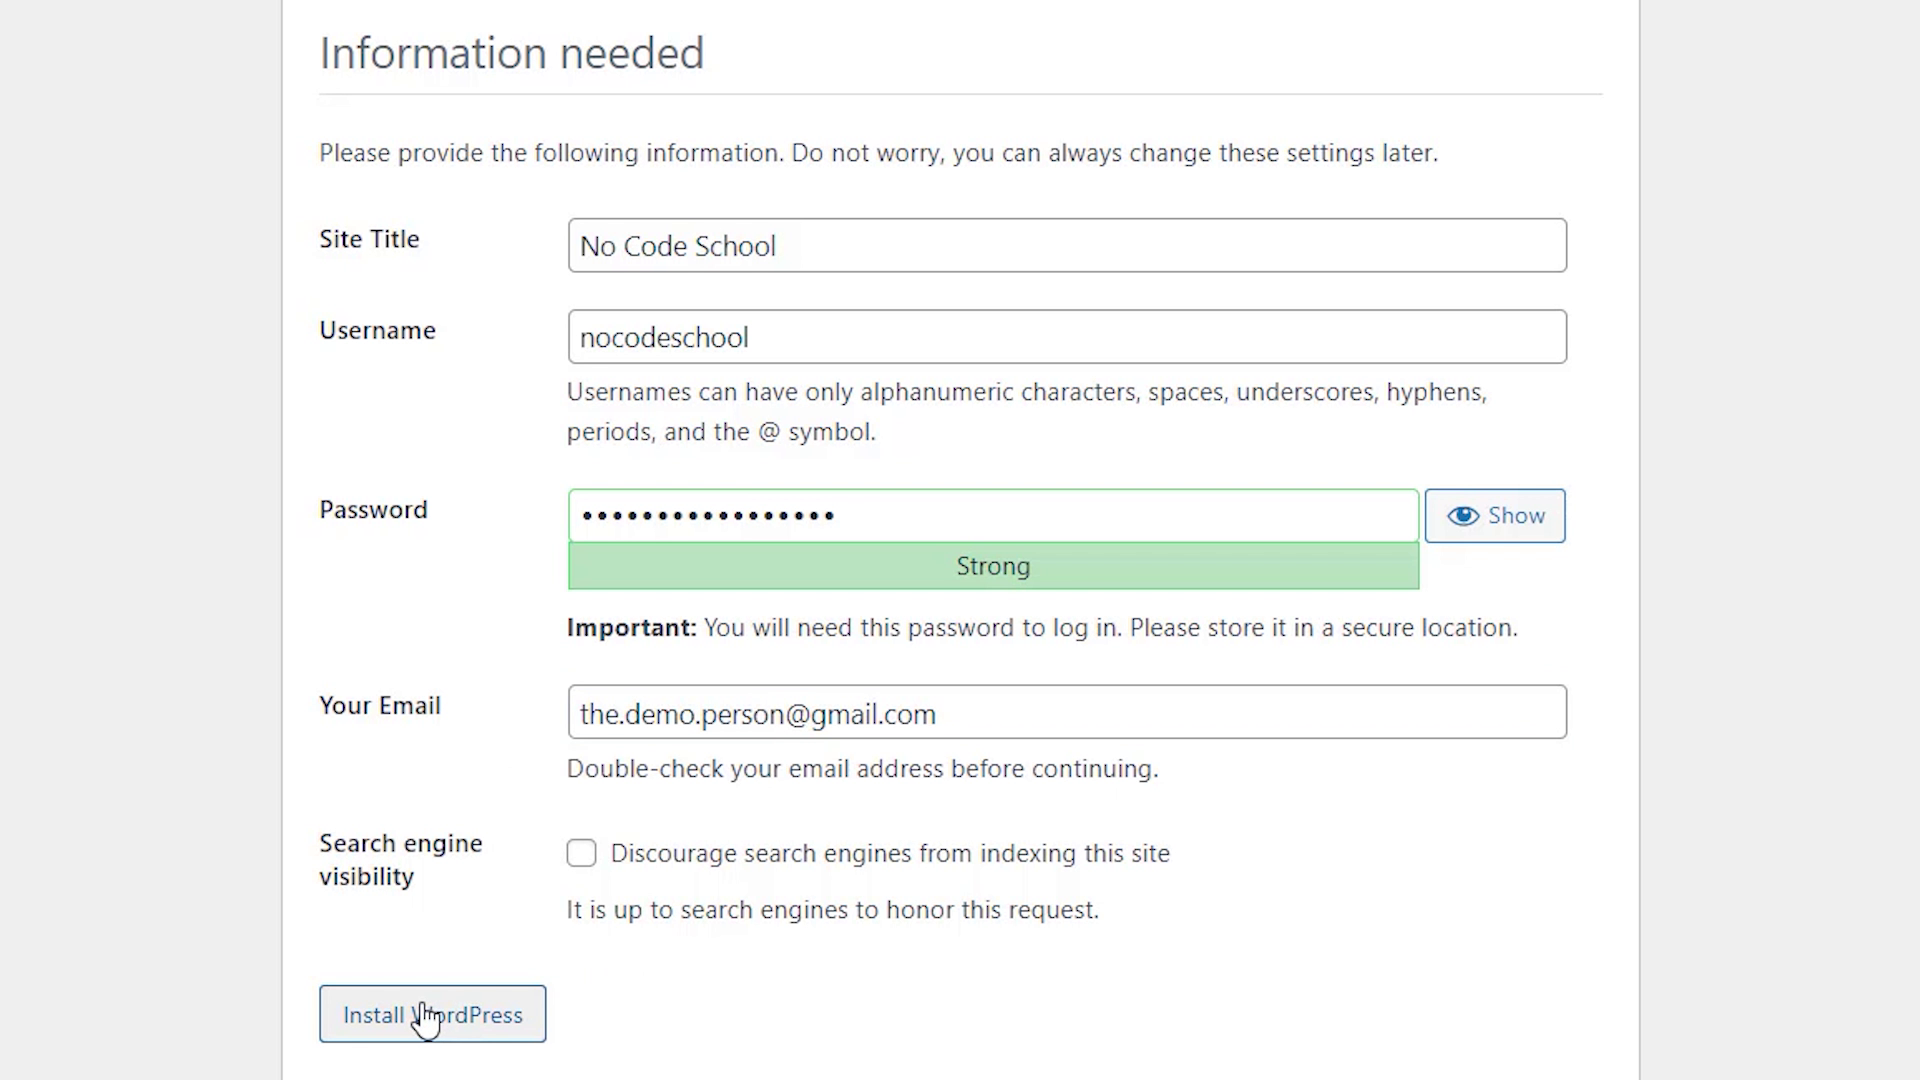
Here fill in this information and 'Install Wordpress'.

Now Wordpress is installed.
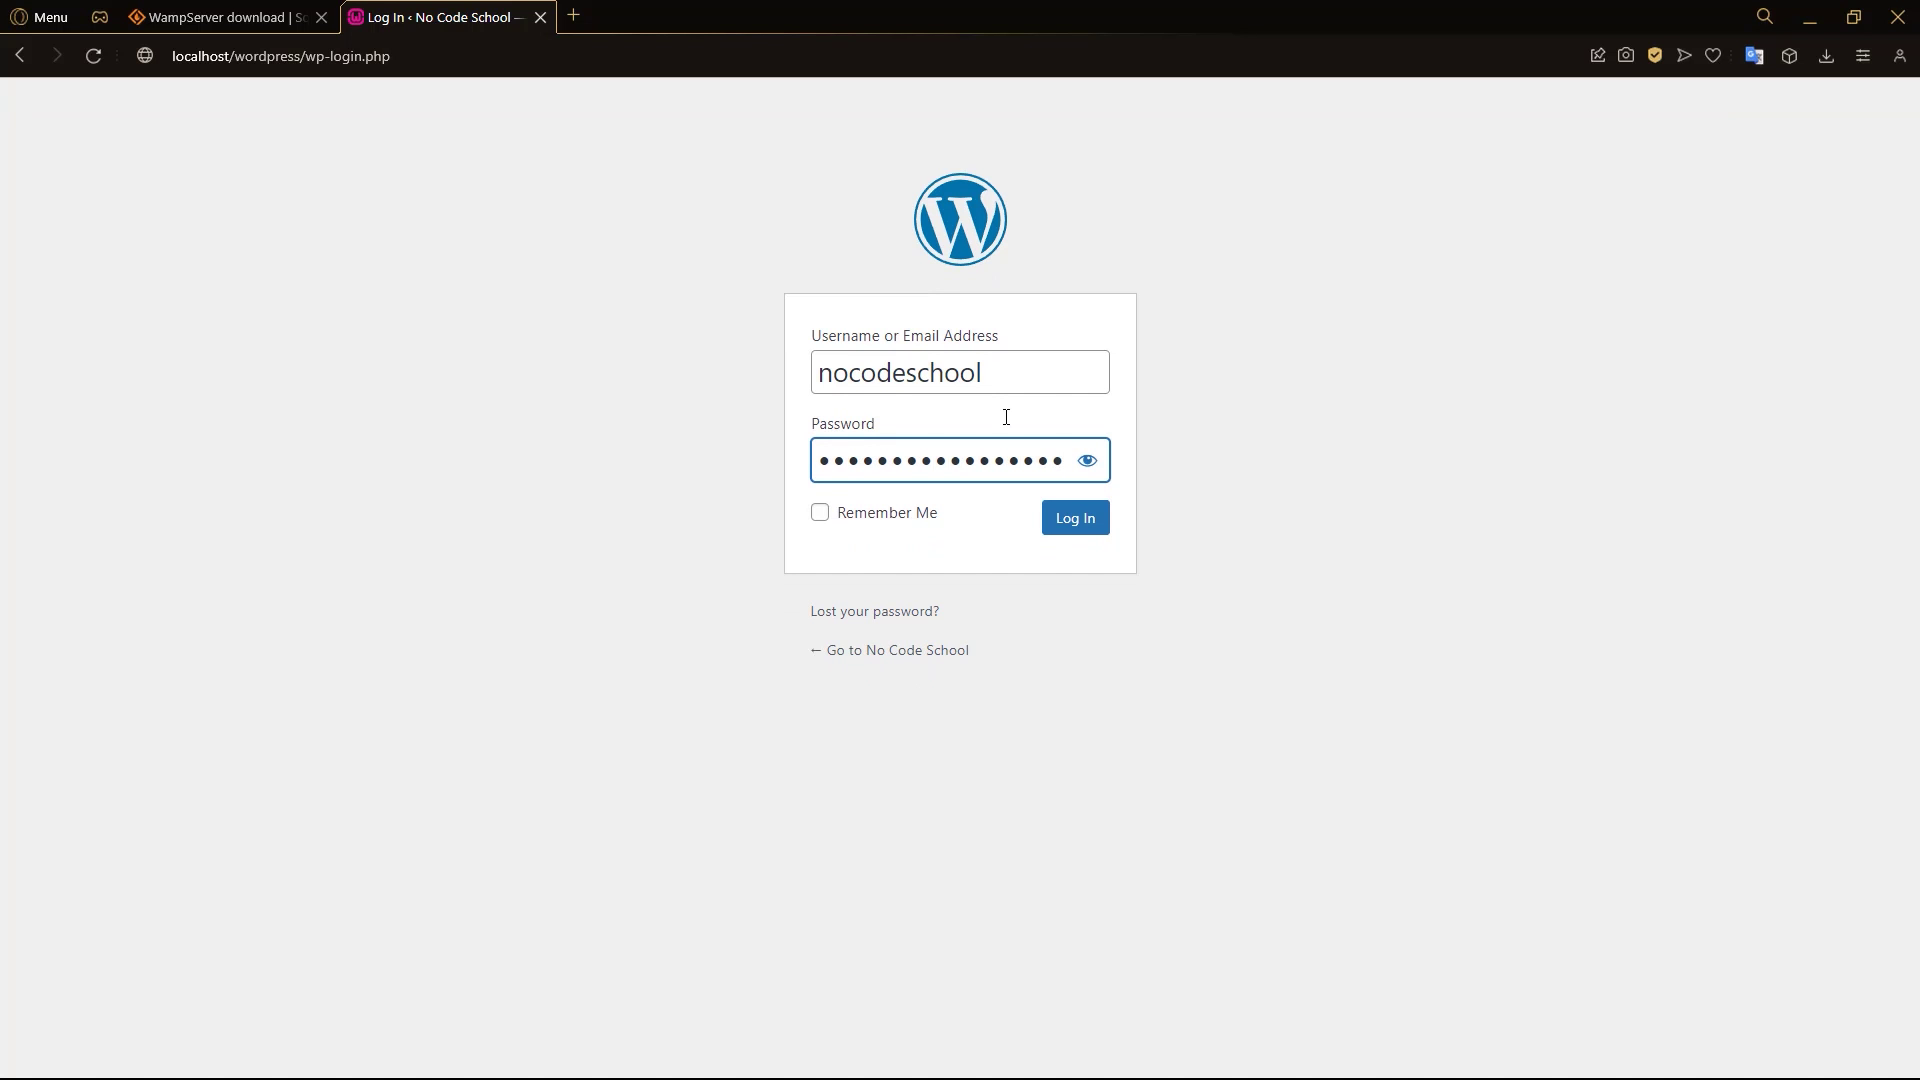
On the next page, we log in.
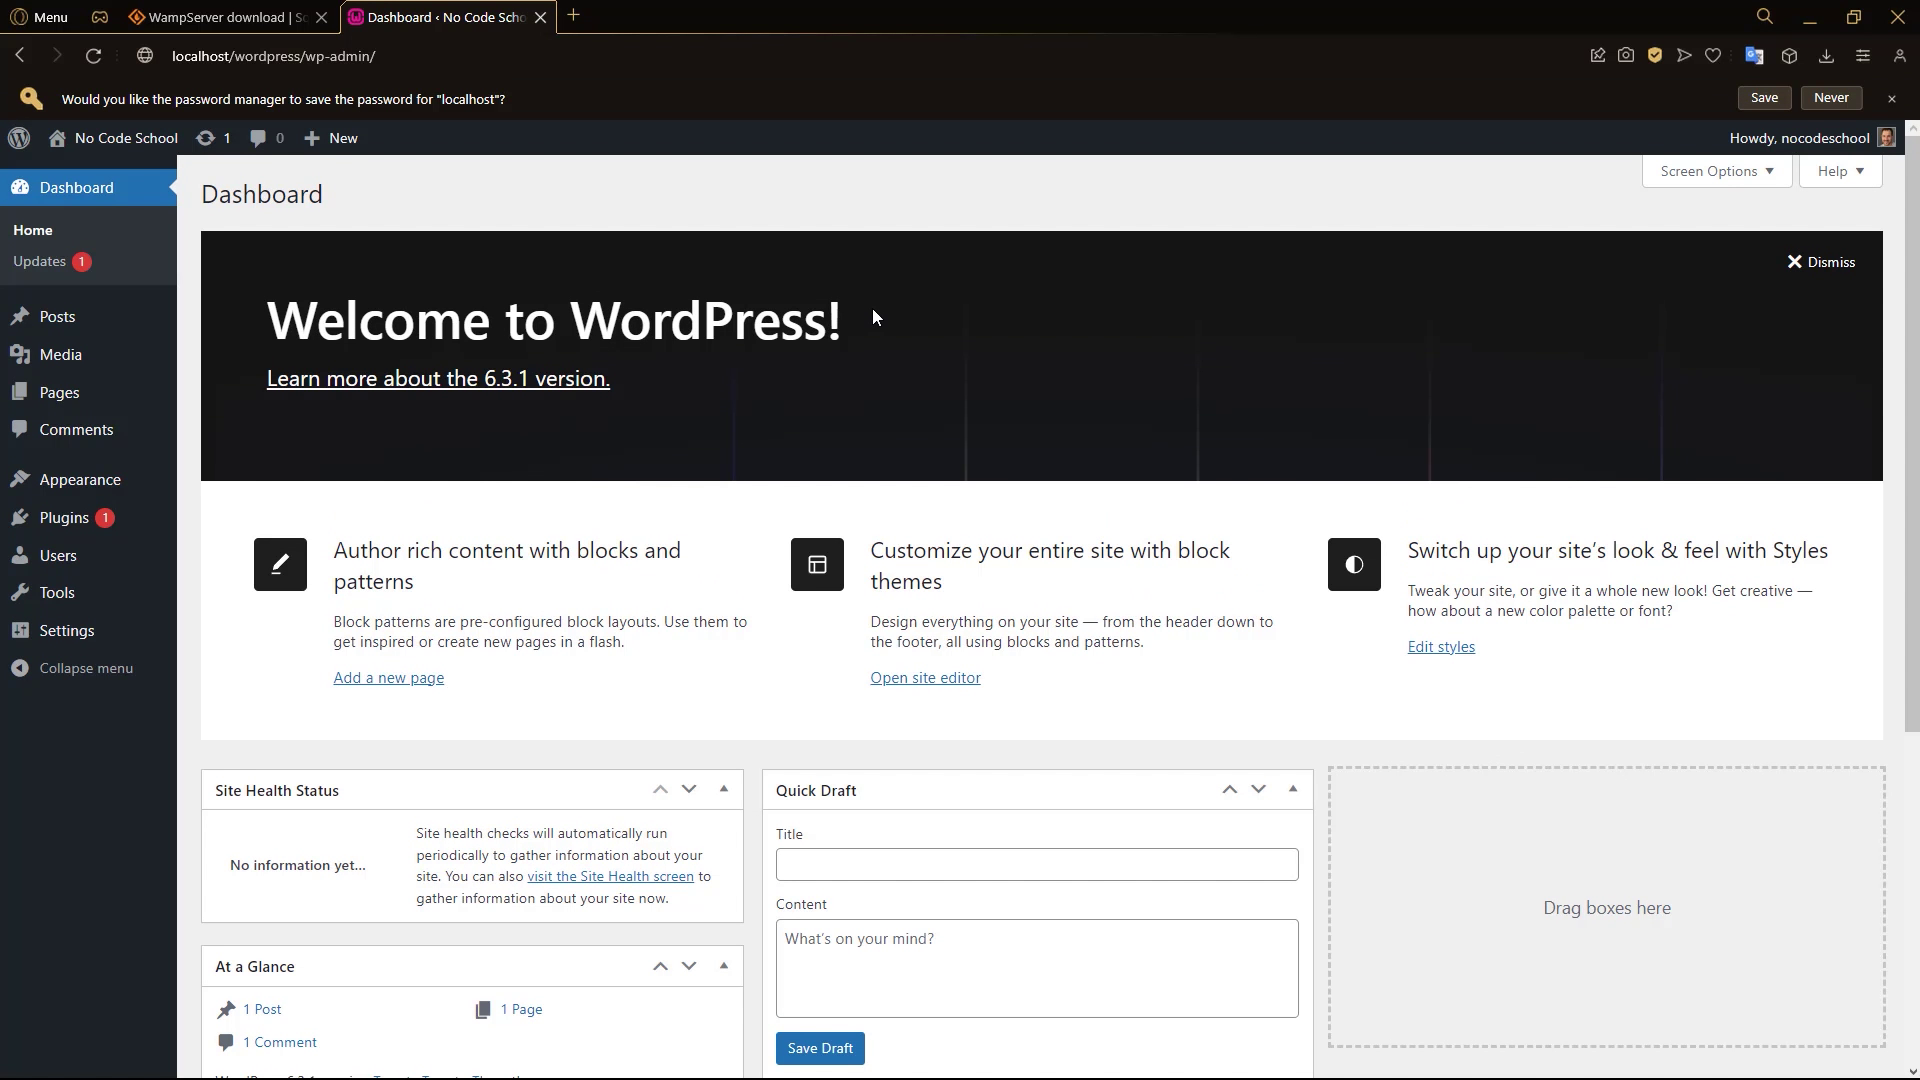
And there you go, now you have Wordpress installed locally using a WAMP server!