Create Stunning Websites with Wix Studio | Cheaper than Webflow

Creating a website is a complicated process that requires extensive technical knowledge and really good programming skills, right?

Wrong❌
How about we tell you that you don’t need to be that technical to create the website that you wish?
But is it possible to build a website without any code?
Absolutely! How about we introduce you to a tool where you can easily create a website without any kind of coding required?
Introducing Wix Studio

Wix Studio is a platform where you can design and publish stunning websites with ease.
You don’t need to use any code and you can design any layout that you want with a simple drag-and-drop
While there are already existing tools like Web-flow on the Market, We’ll see how we can make use of Wix studio to create a website and how it compares to it's competitor.
In this guide, we'll walk you through the process of building a website from scratch using Wix Studio. From signing up to publishing your site, each step is carefully outlined to help you create a stunning web presence with ease.
Getting Started

Head to the Wix Studio website and click on the "Start Creating" button to create an account.
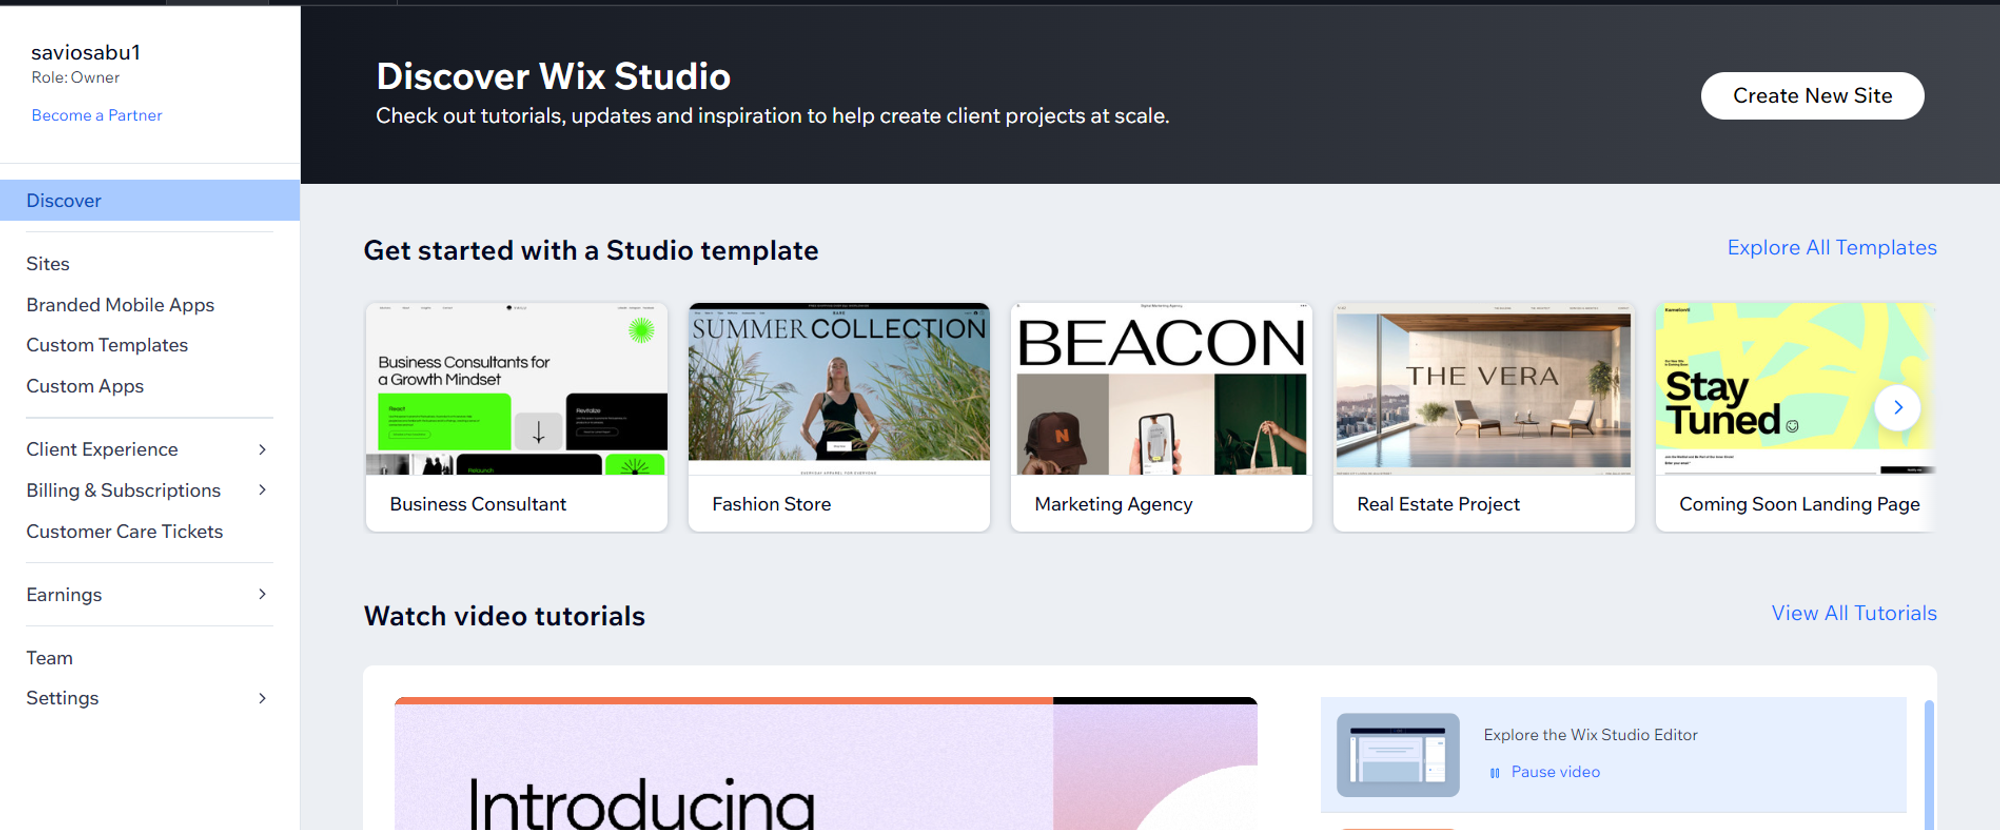
After signing up, you'll be redirected to your Wix Studio dashboard, where you can manage projects and access features.
Launching the Editor
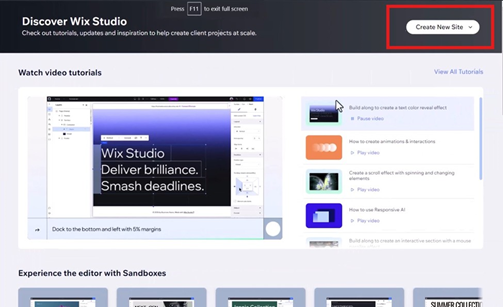
In your dashboard, click on "Create New Site"
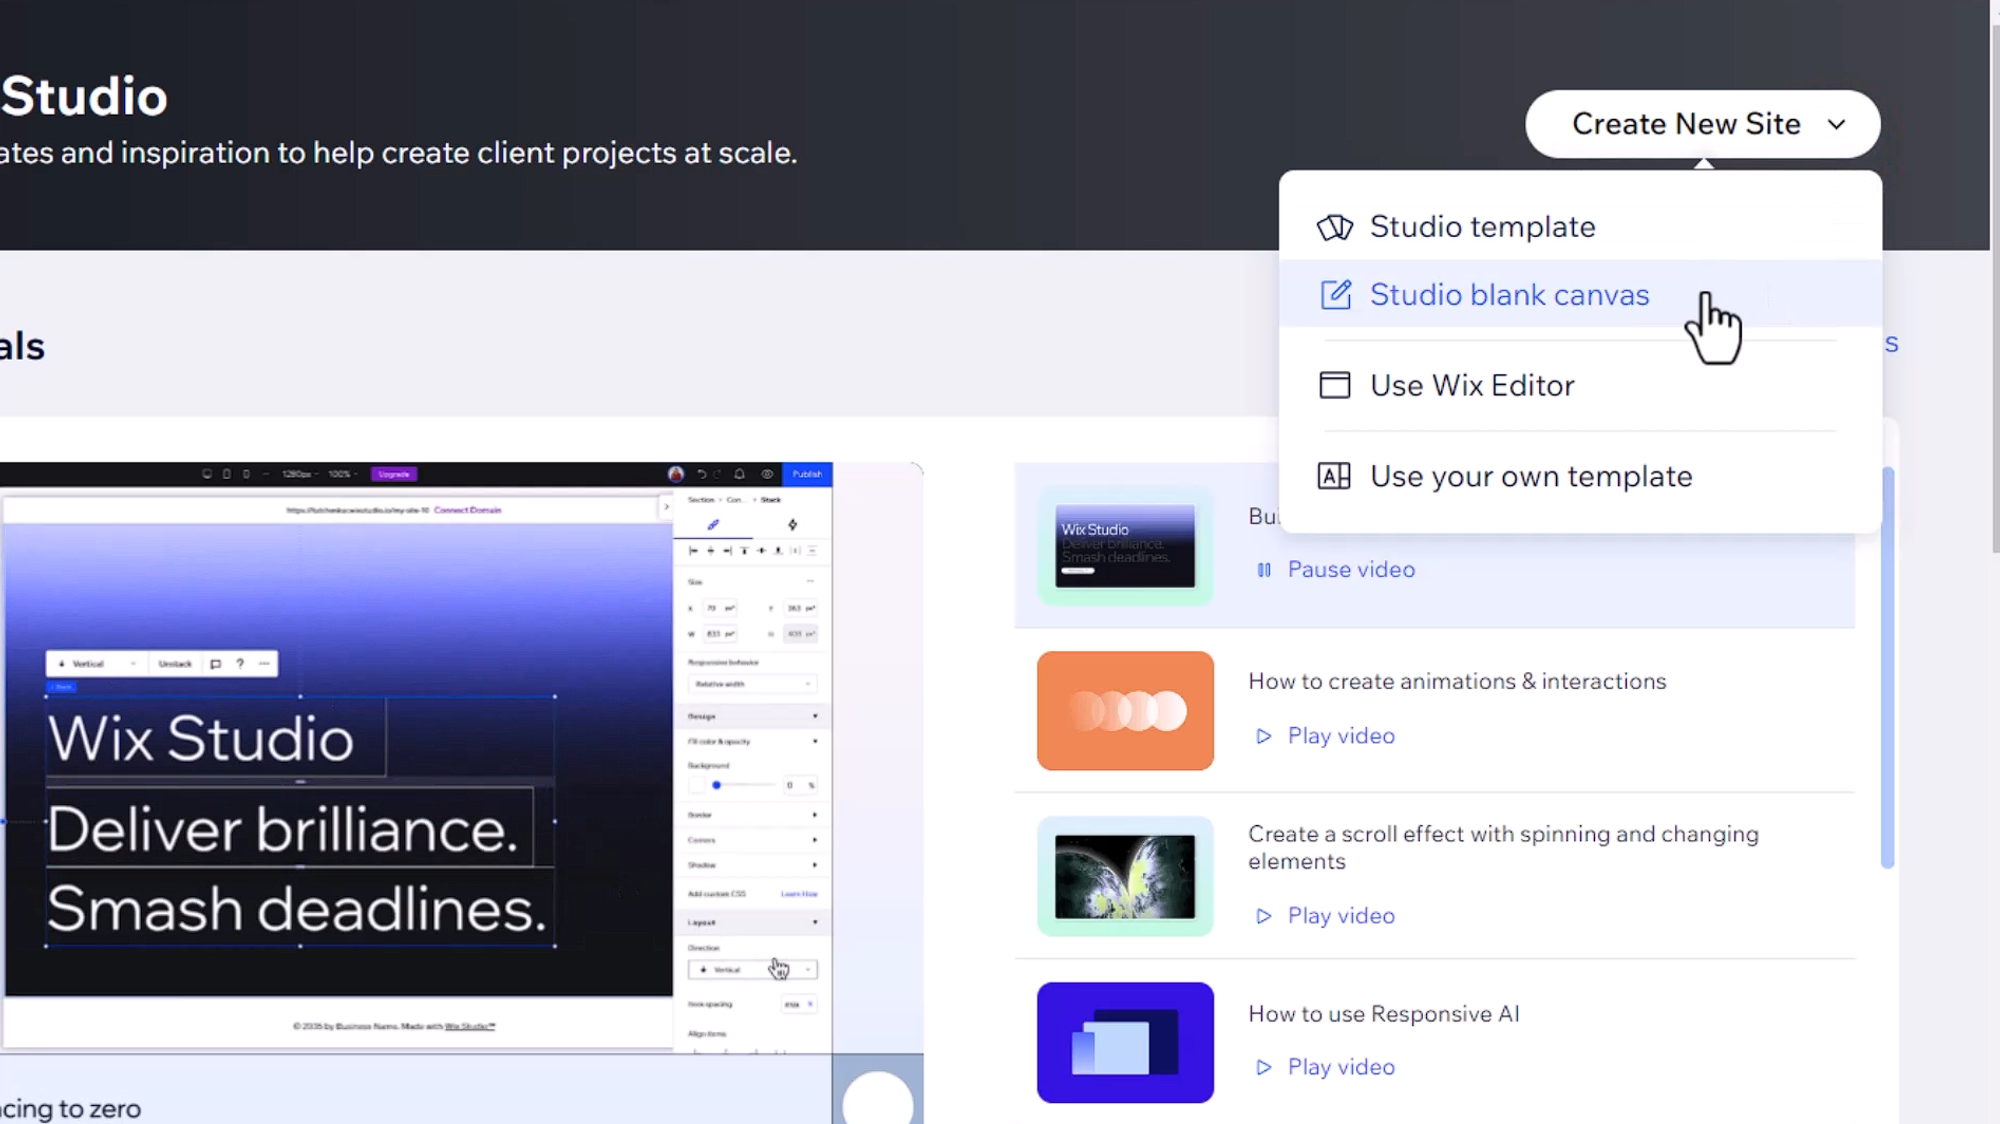
Choose "Studio Blank Canvas" to enter the Wix Studio Editor.
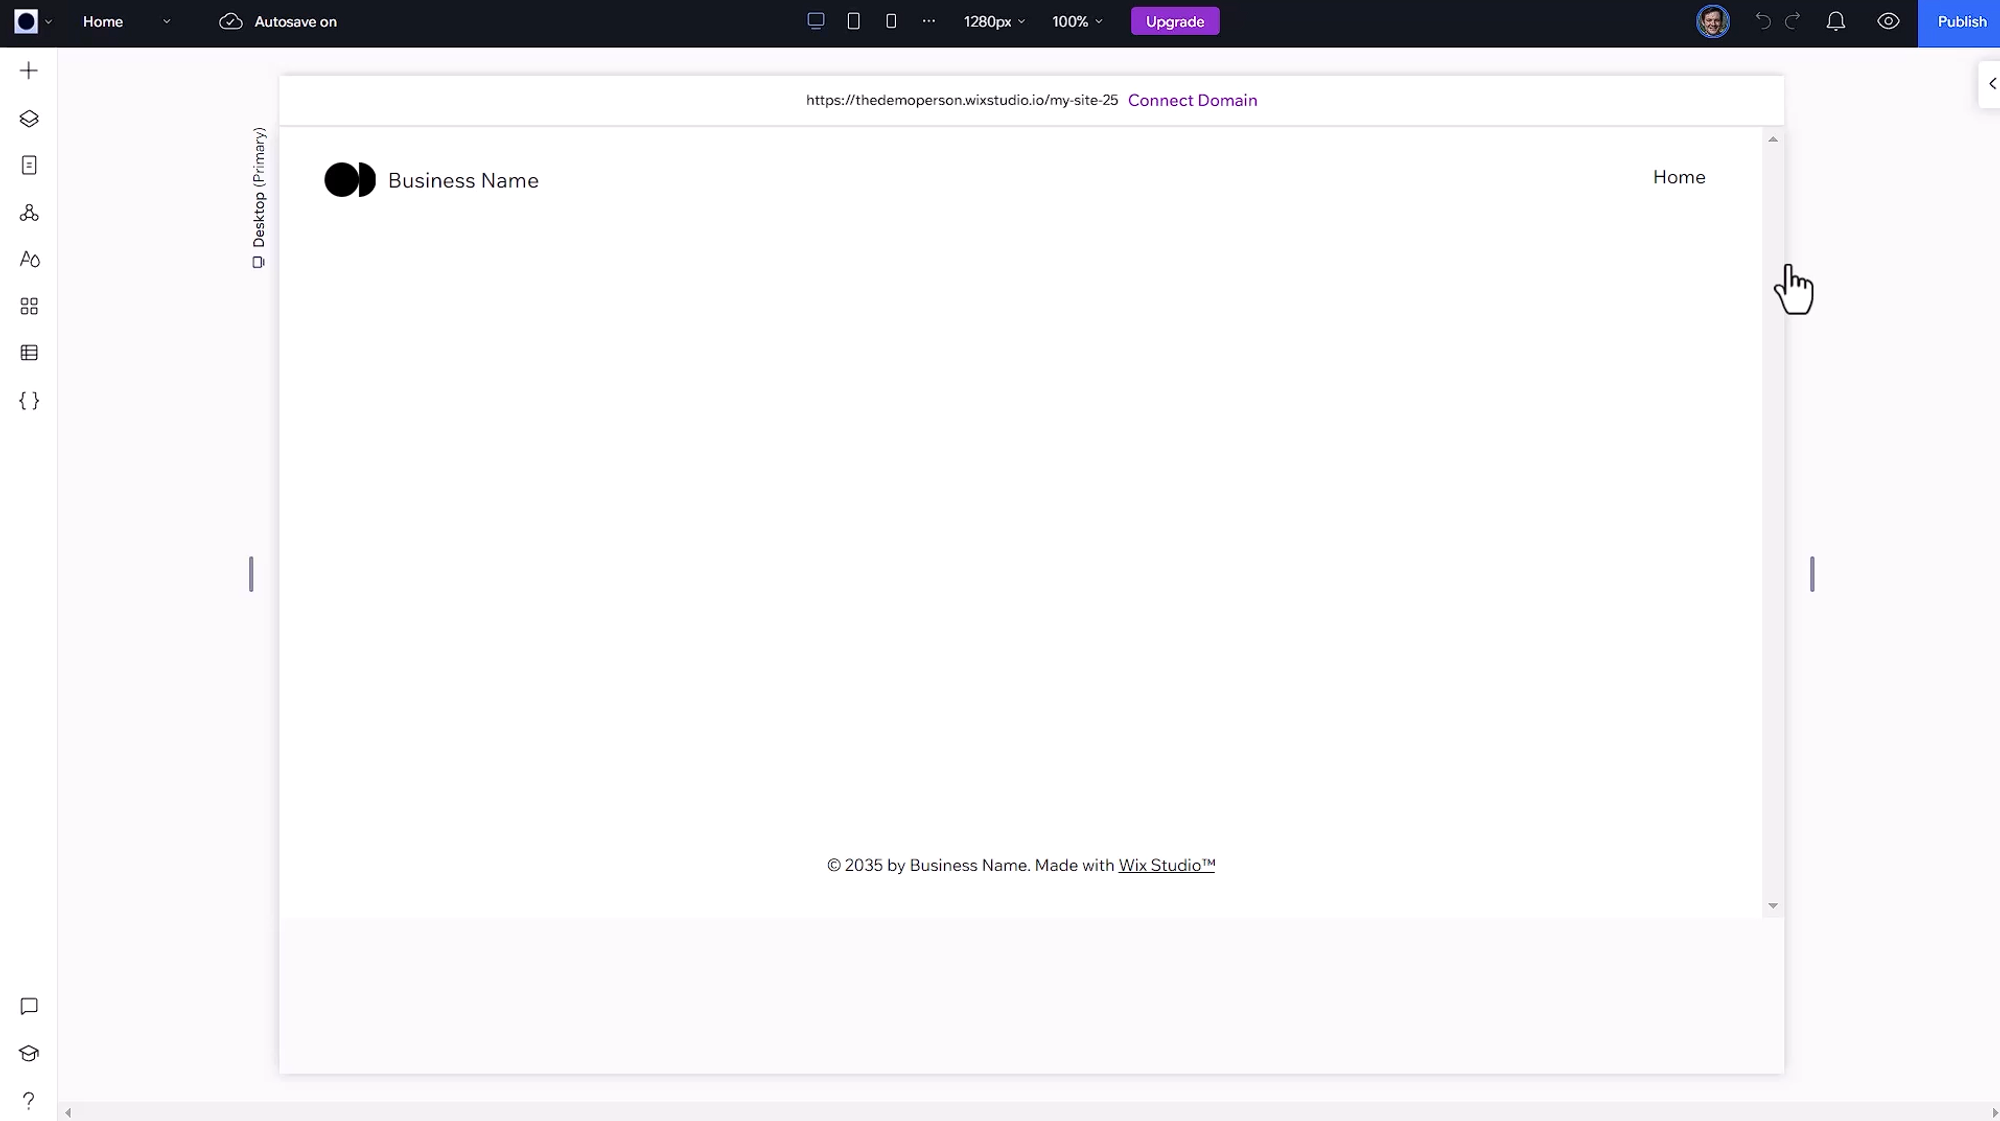
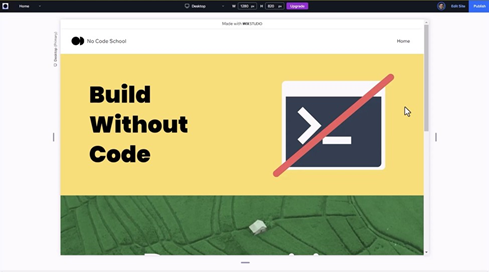
The Wix Studio Editor is the place where you will be able to create websites with a wide range of customisation.
Let’s try creating a website from scratch!
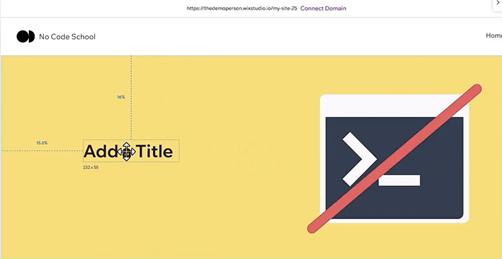
To start of let’s start with changing the LOGO
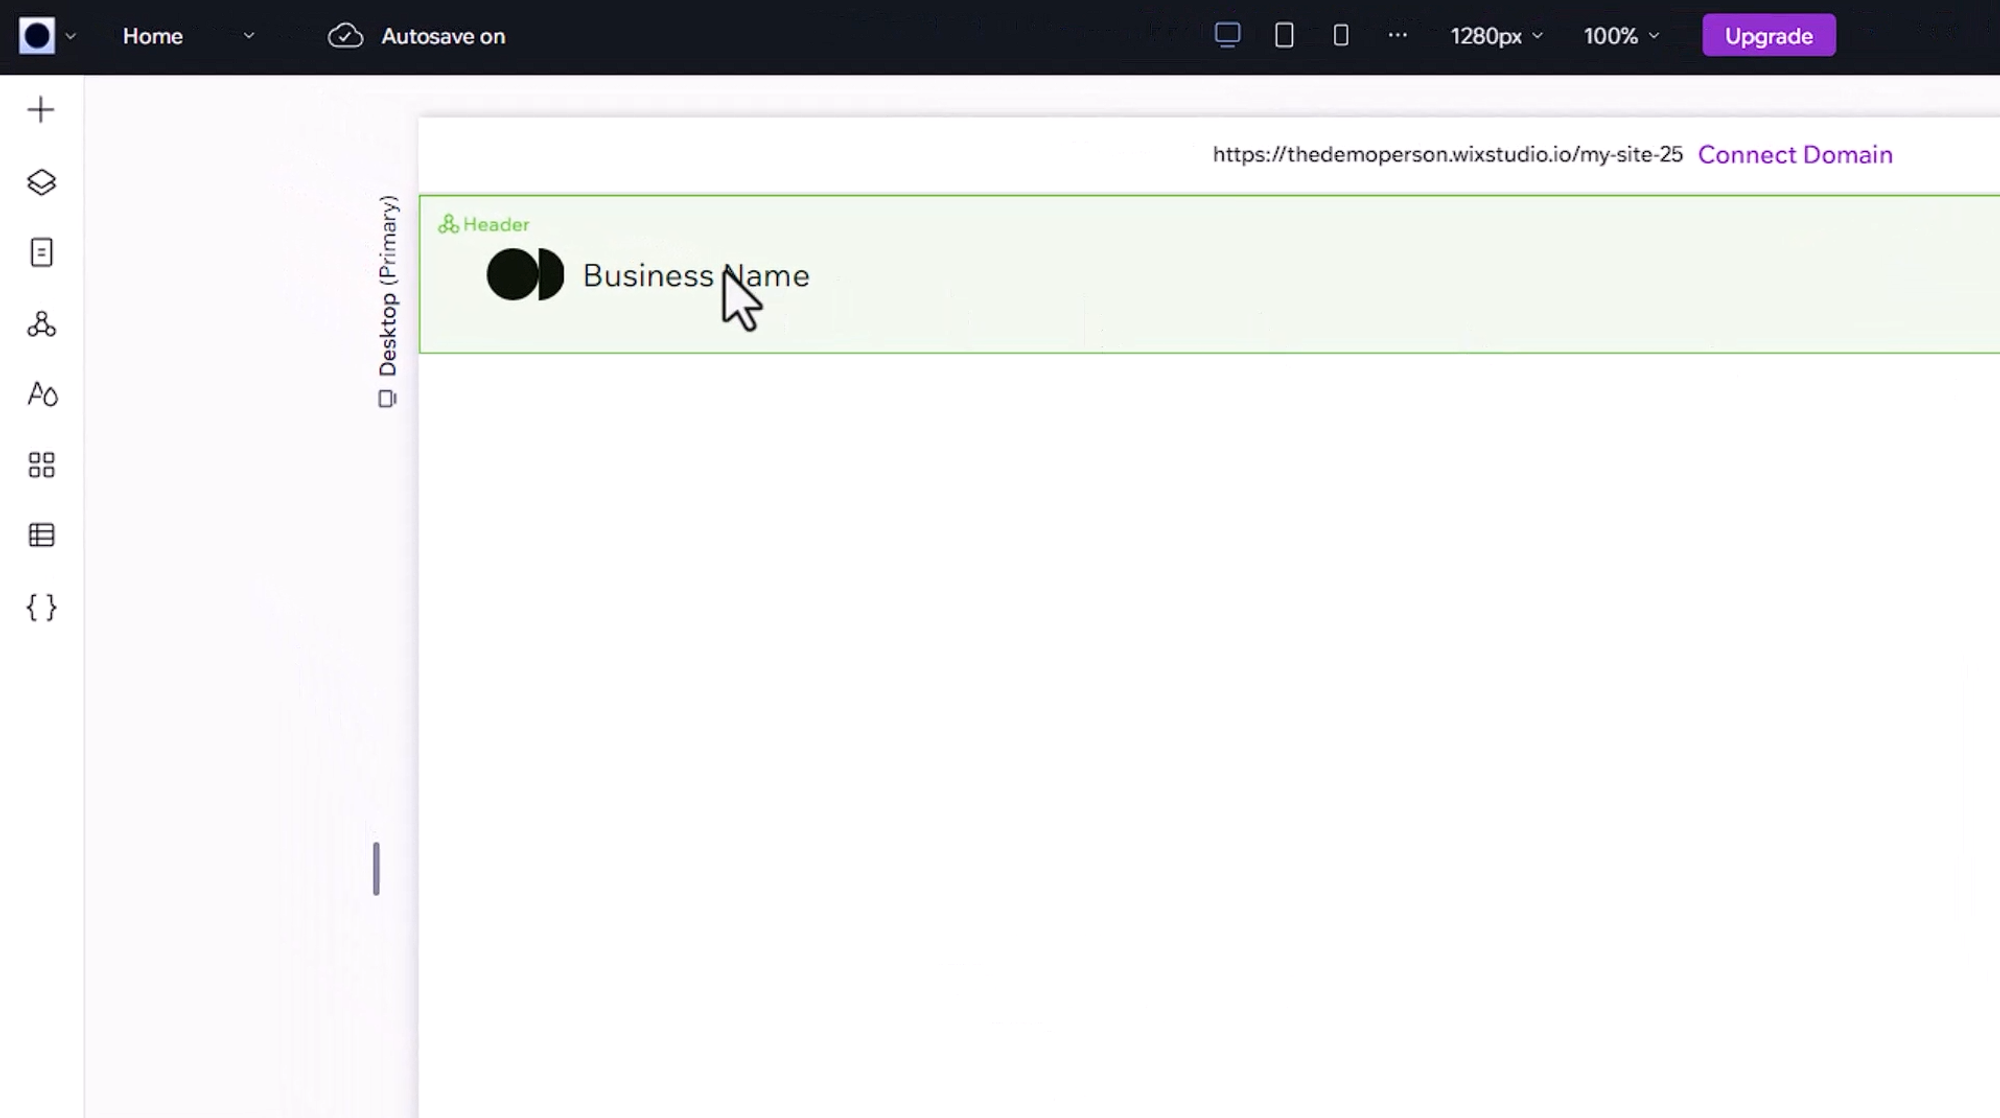
Click on the existing logo element to select it.
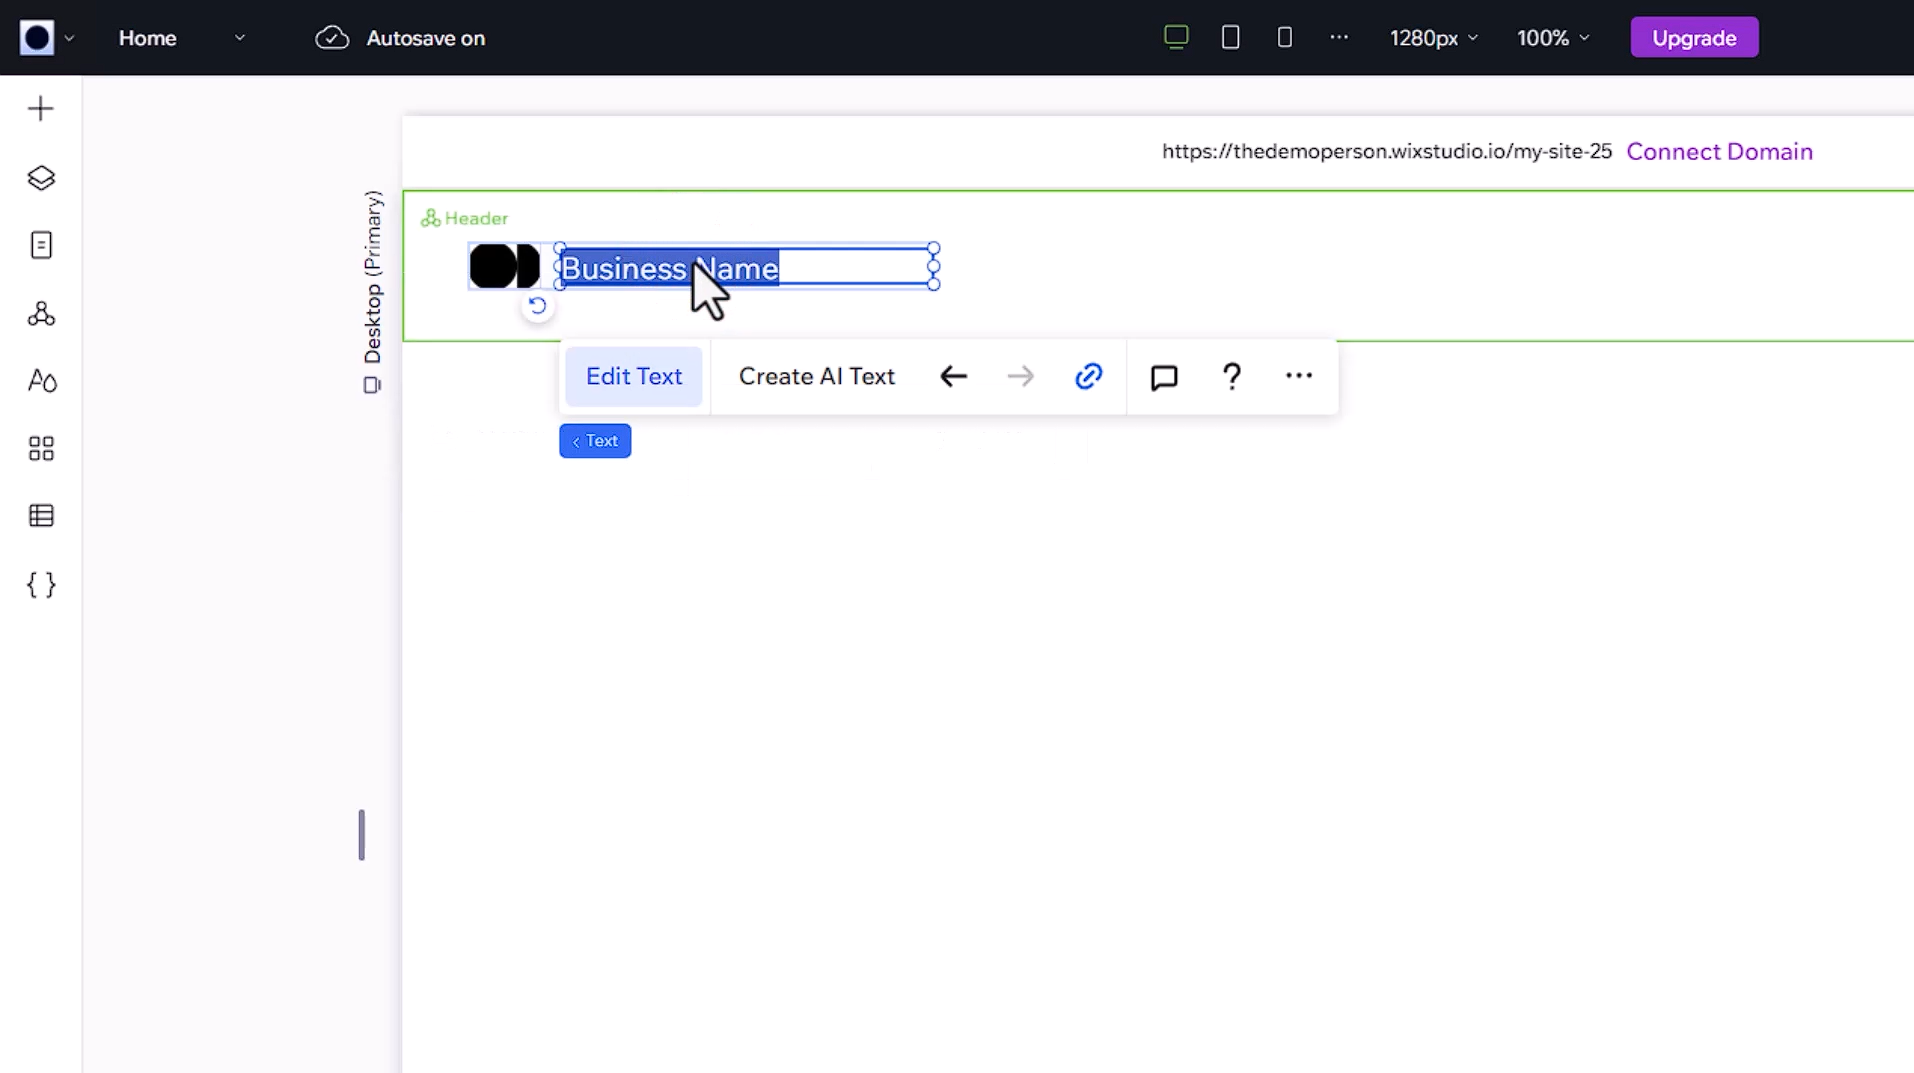
Double-click to open the text editor
Rename it according to your requirement
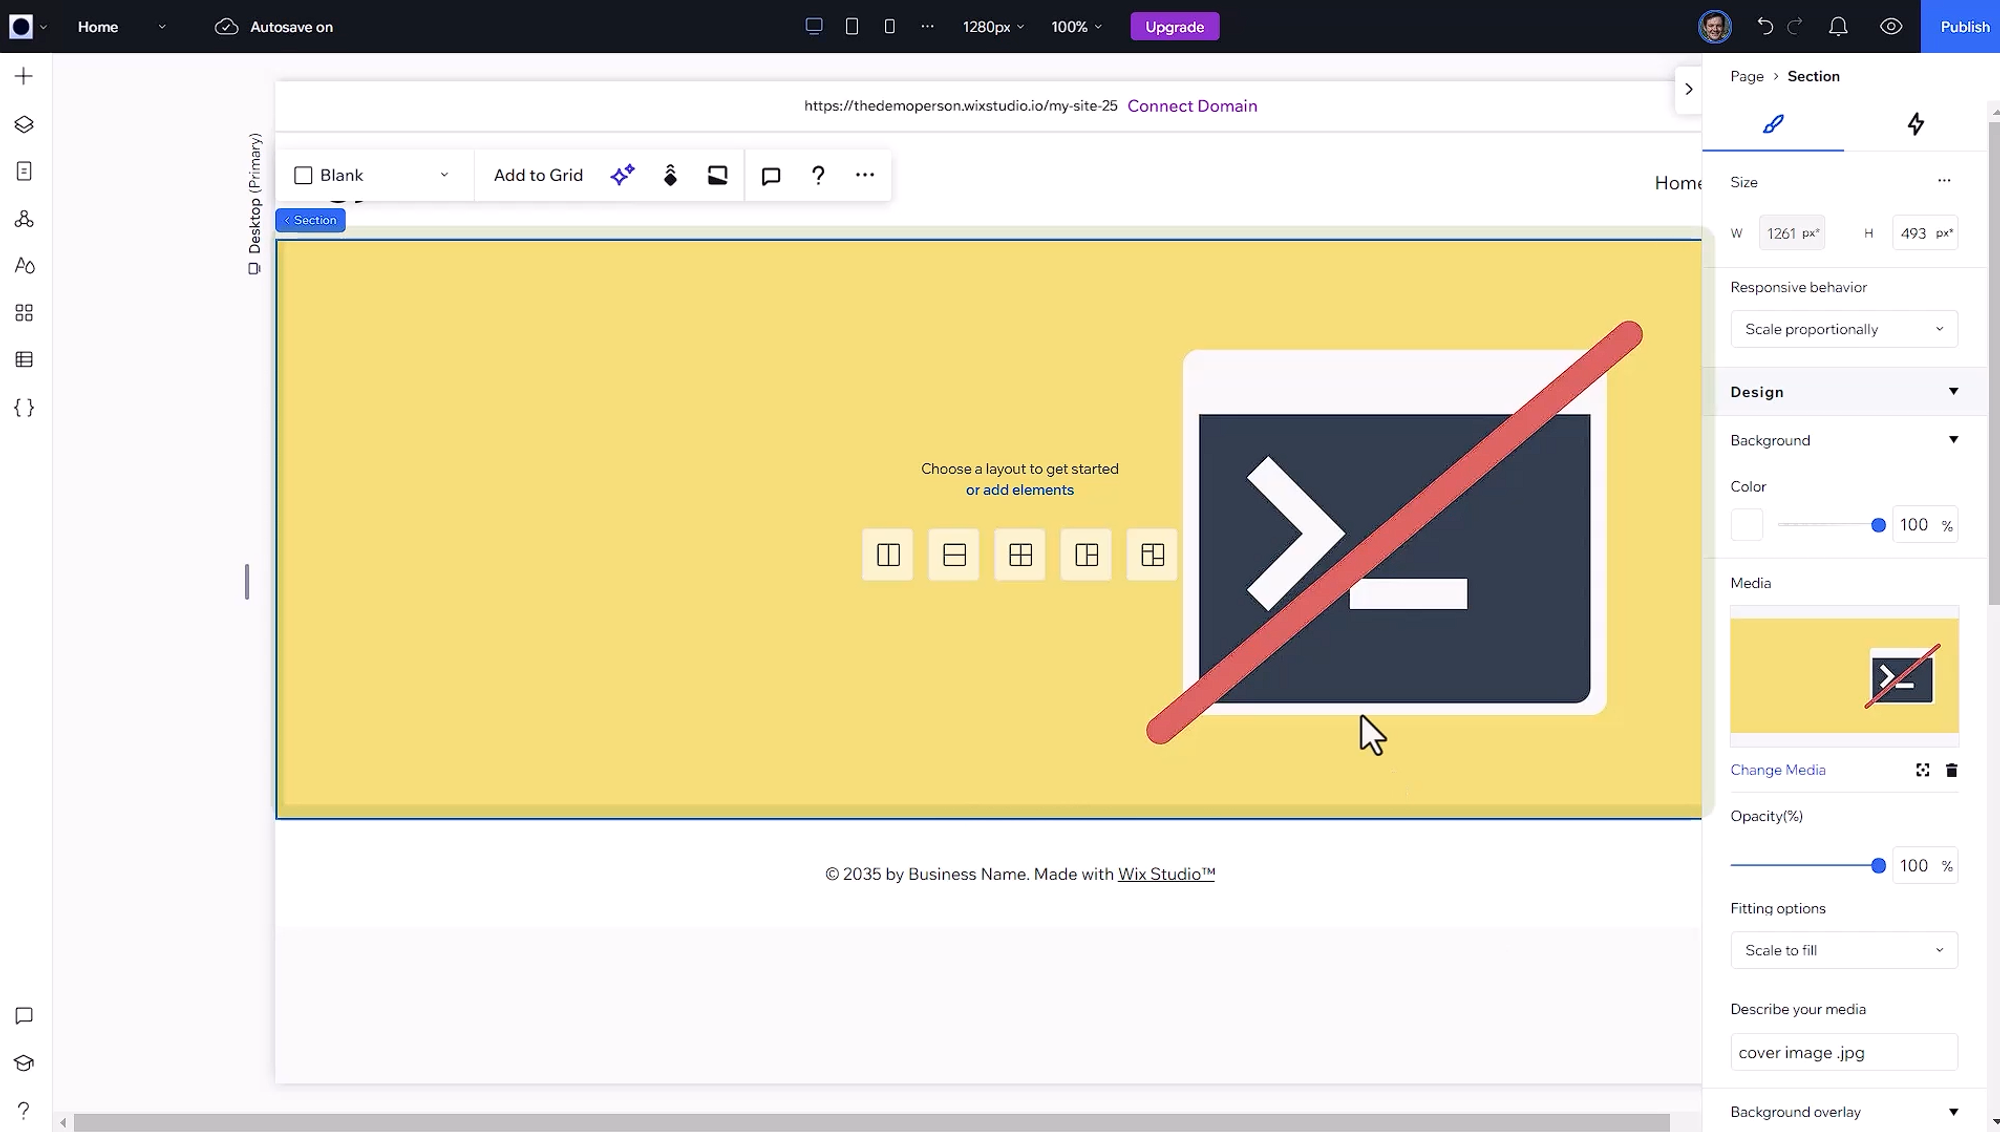
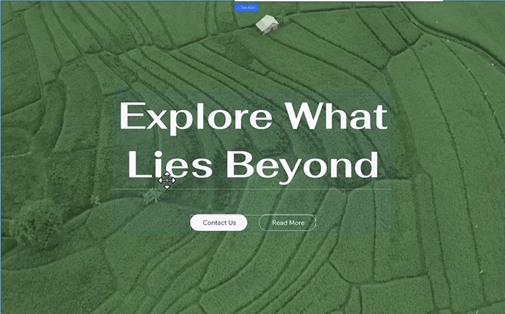
Changing the background image:
Click on the background image area to select it
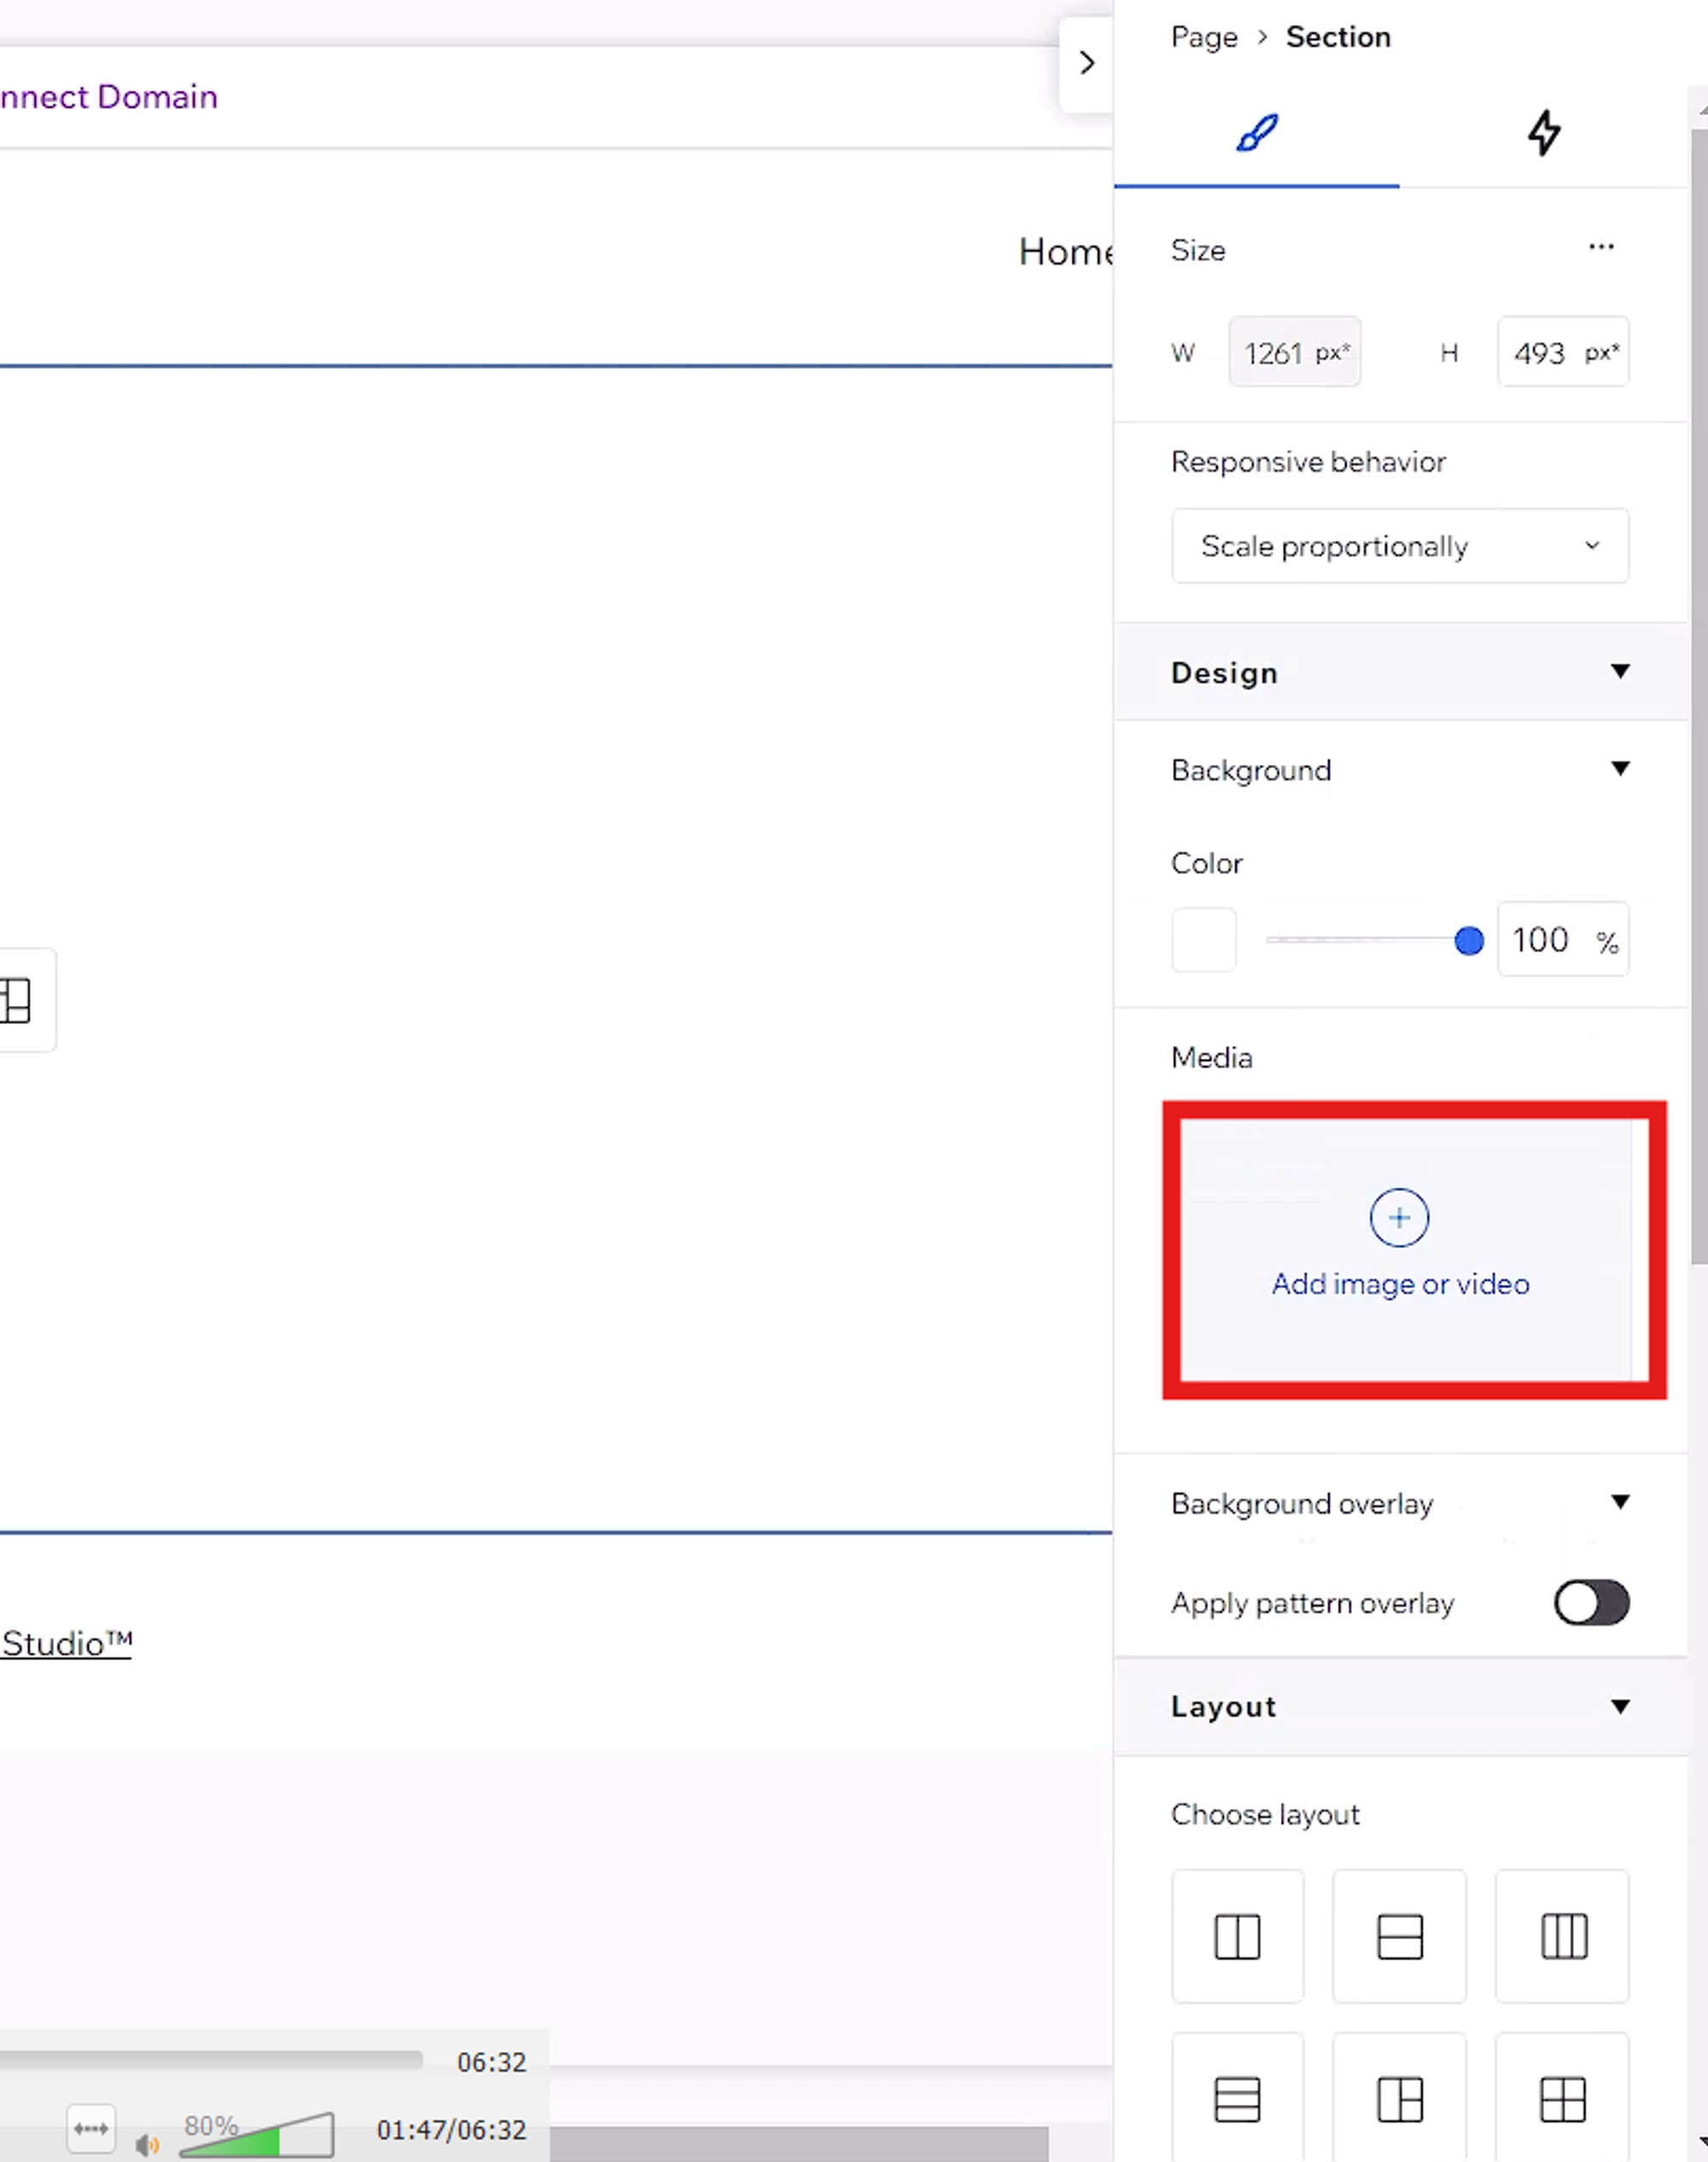
In the editing options that pops up on the right side, click "Add Image or Video."
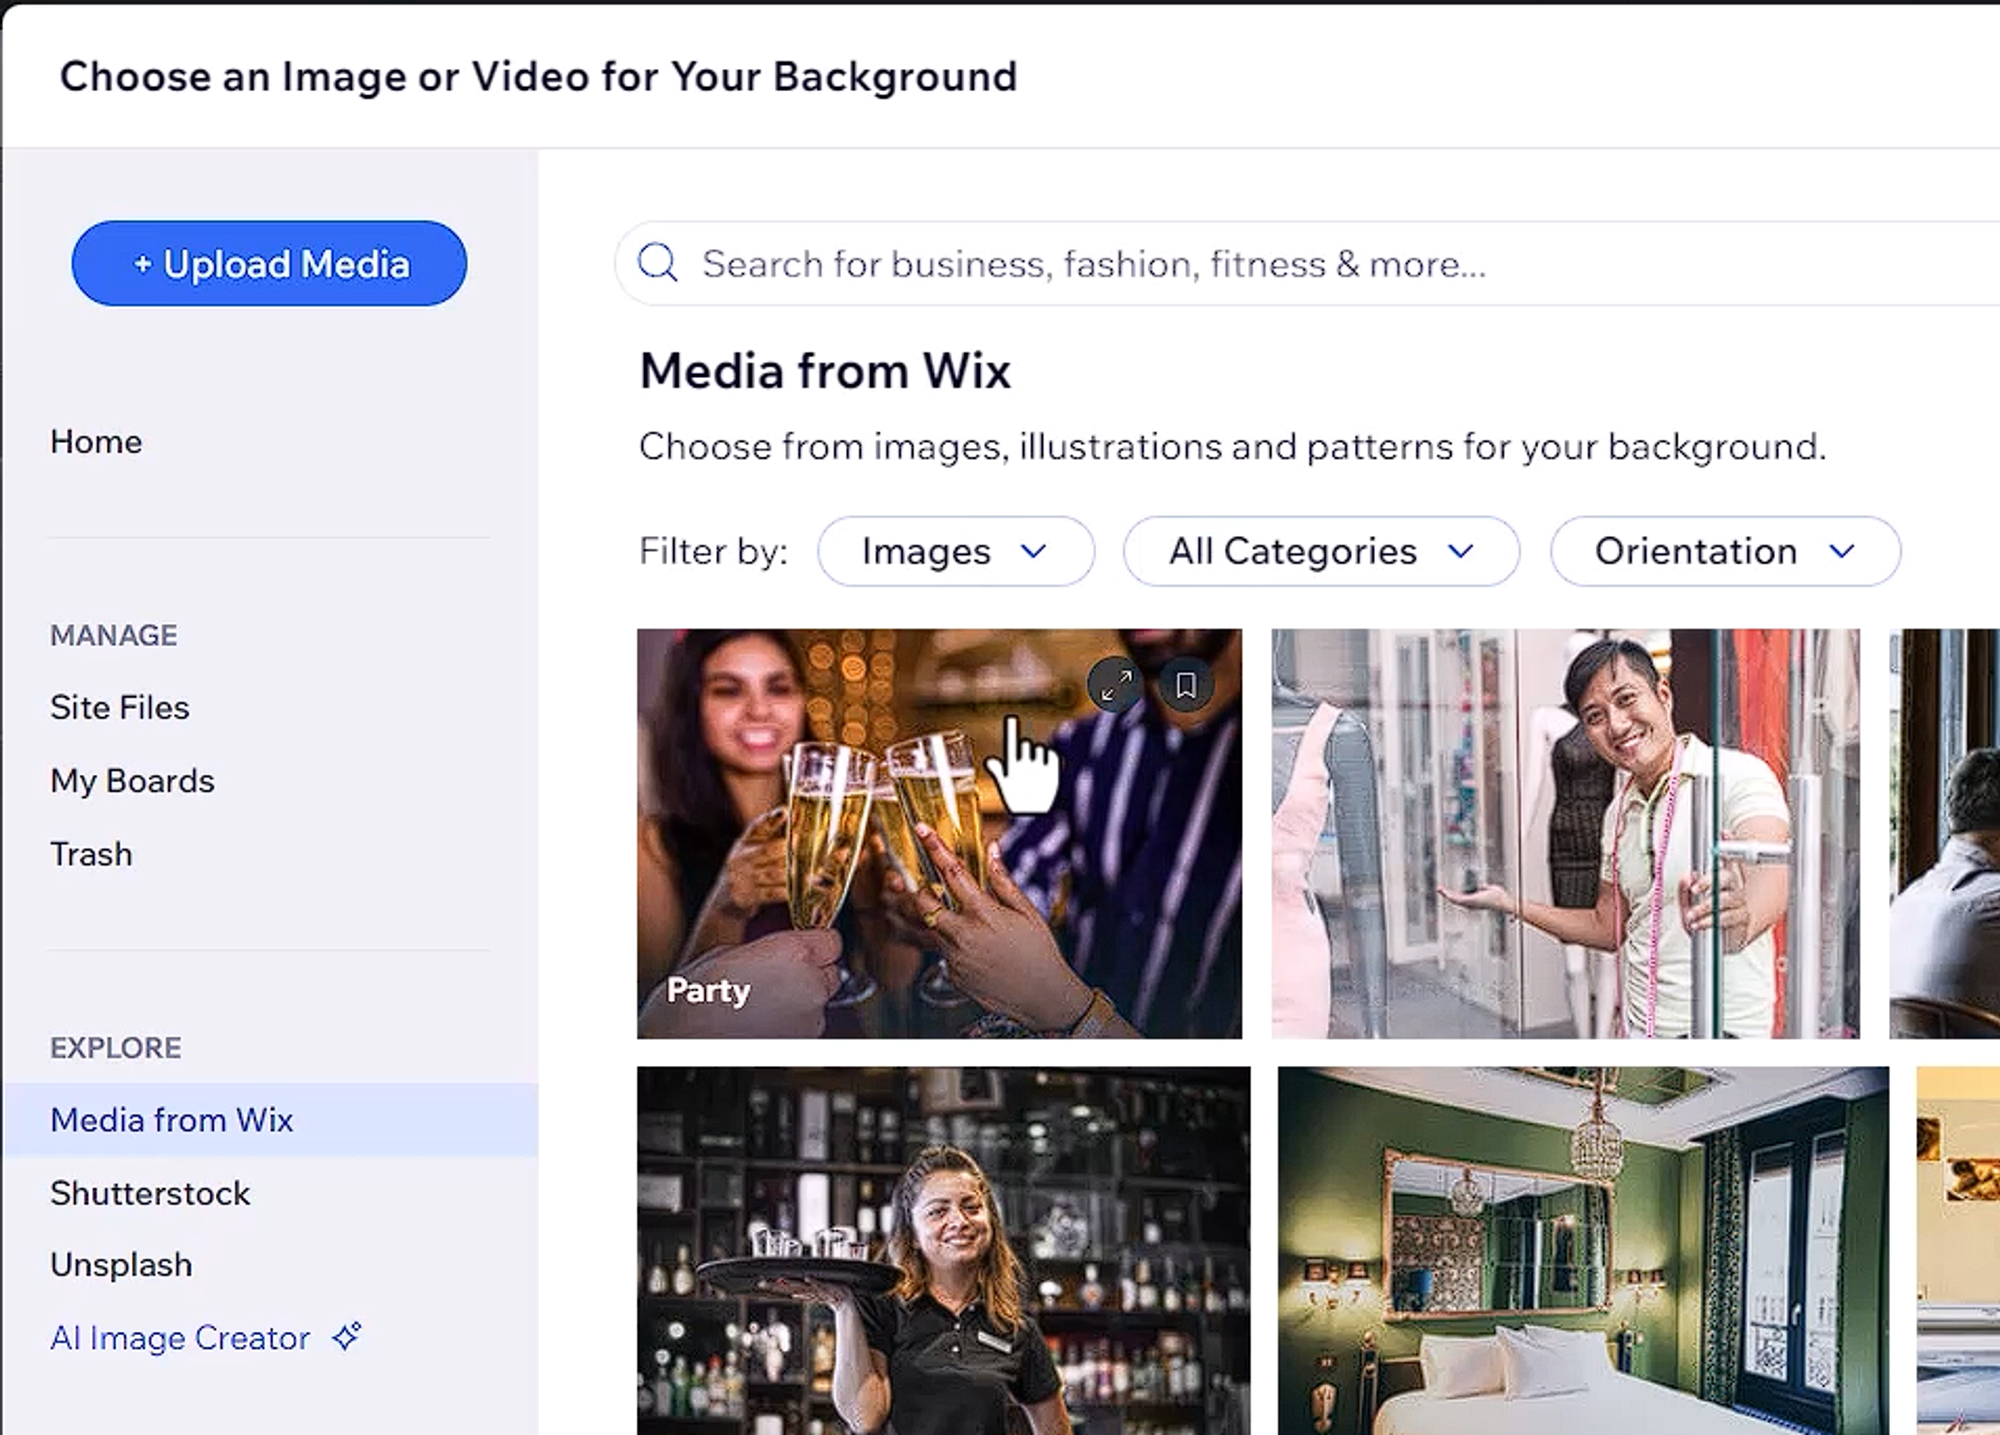
Wix provides a lot of options to choose from already existing stock photos or select one of your own. To Upload a photo of your own click on the Upload Media Button
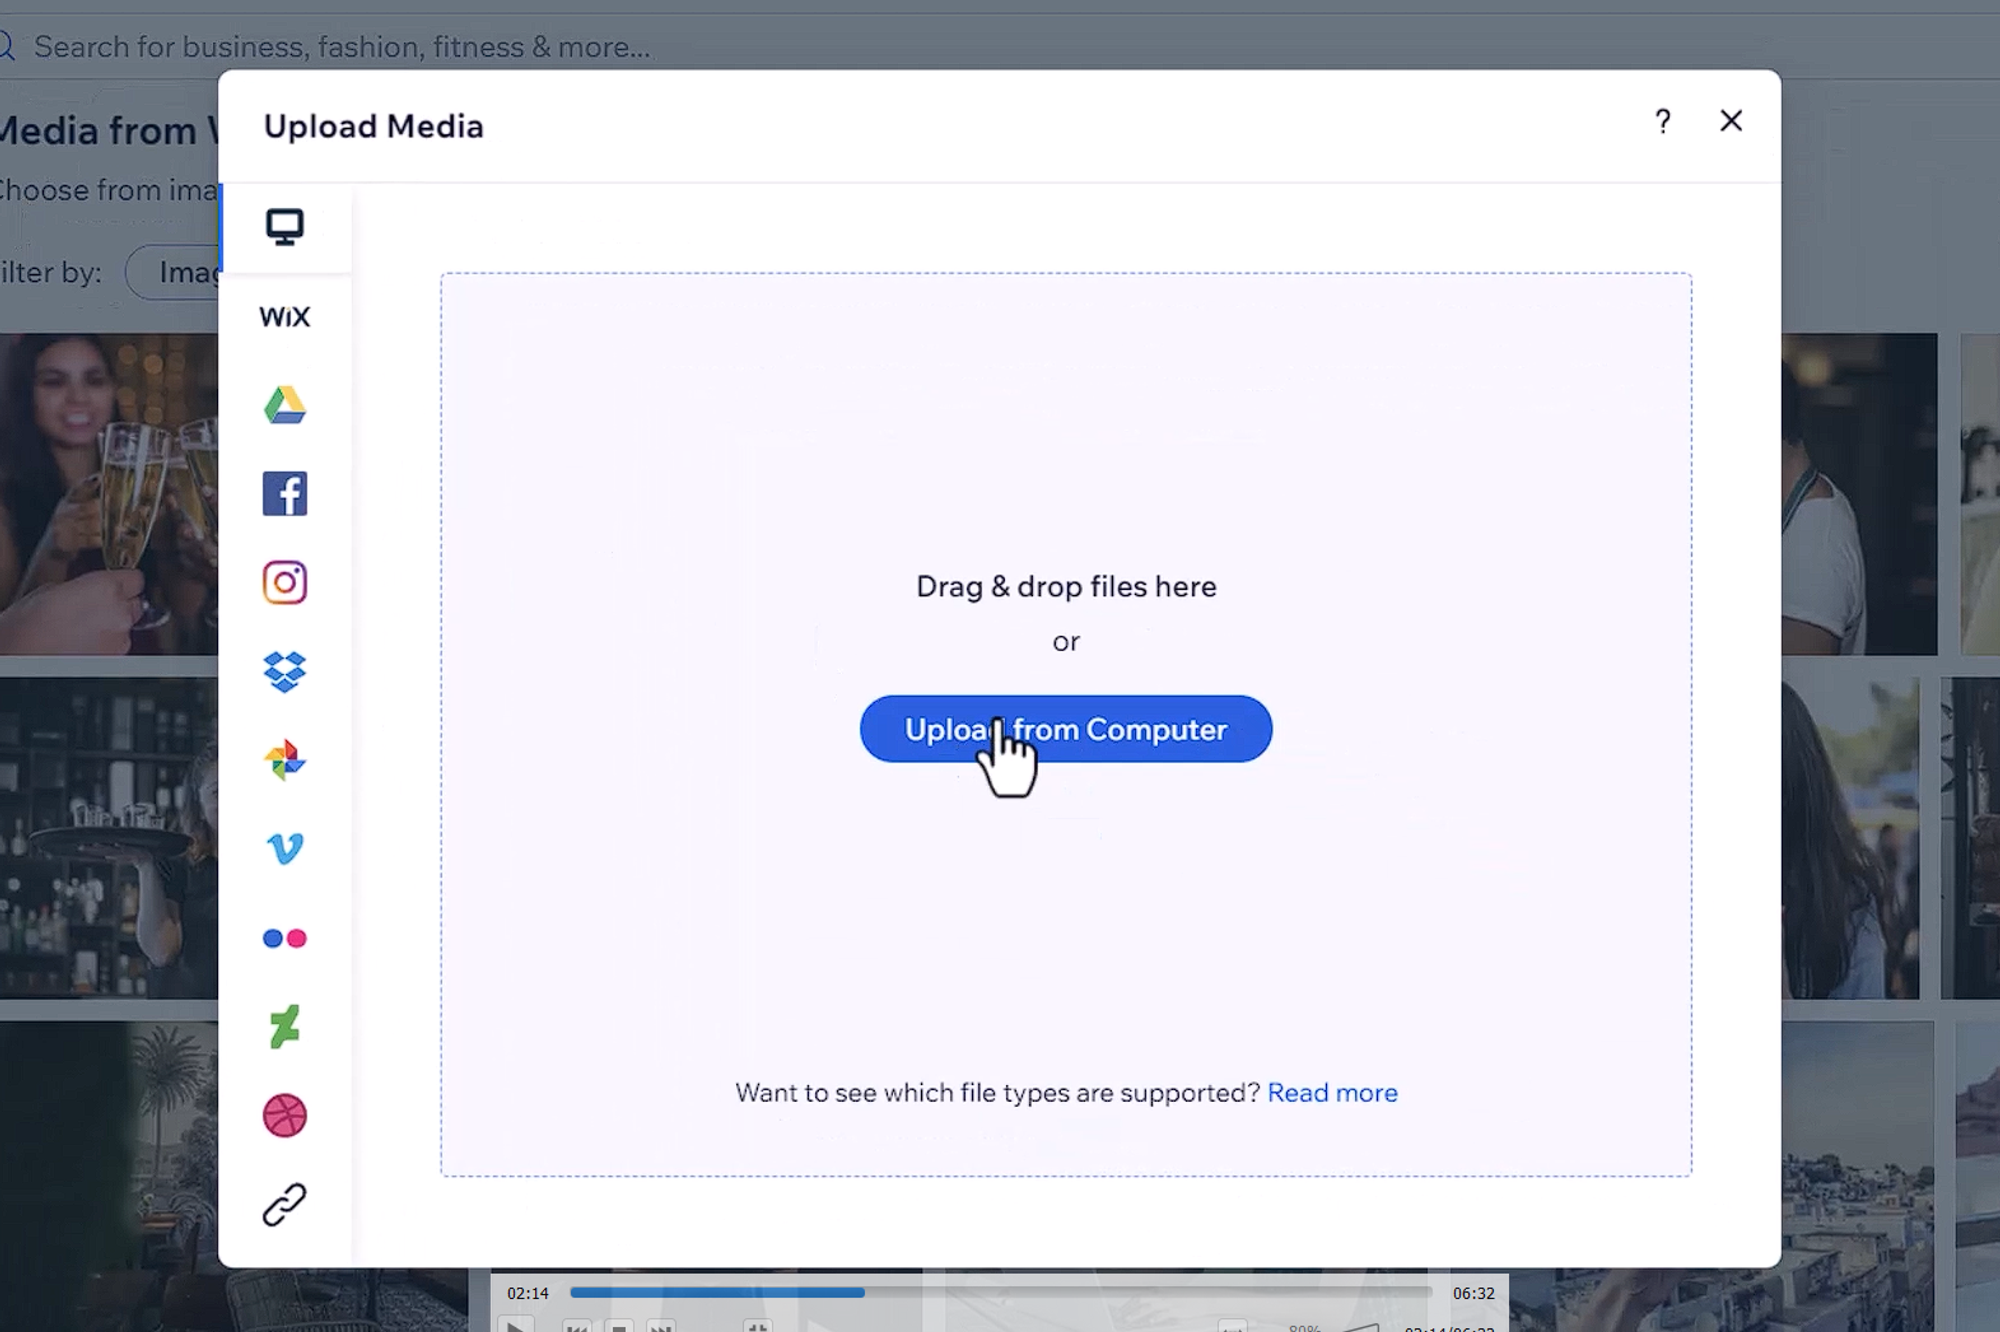
Click on Upload from Computer
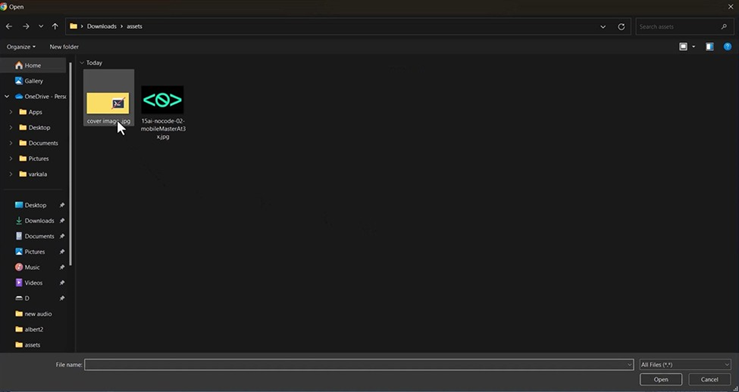
Select your desired image and click on open
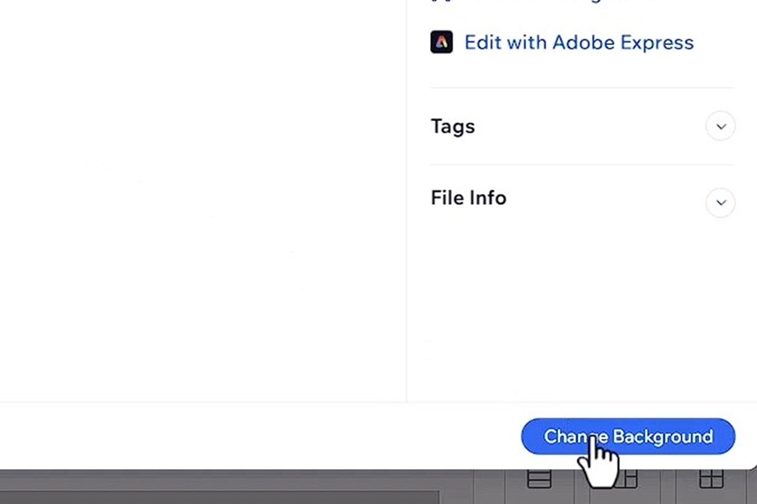
Wait for the image to upload and Once uploaded, click "Change Background" to apply it
You can see the newly uploaded background image.
Adding More Content
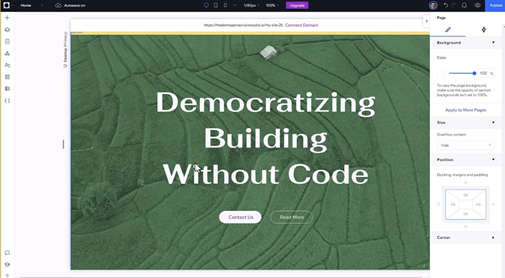
Let’s try inserting Text into the Website.
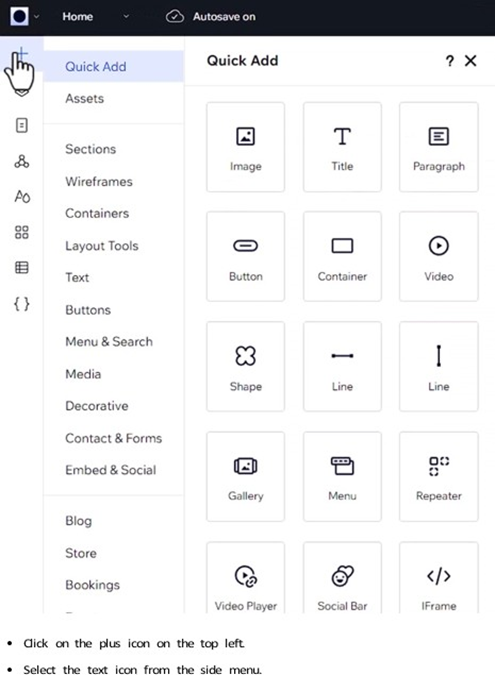
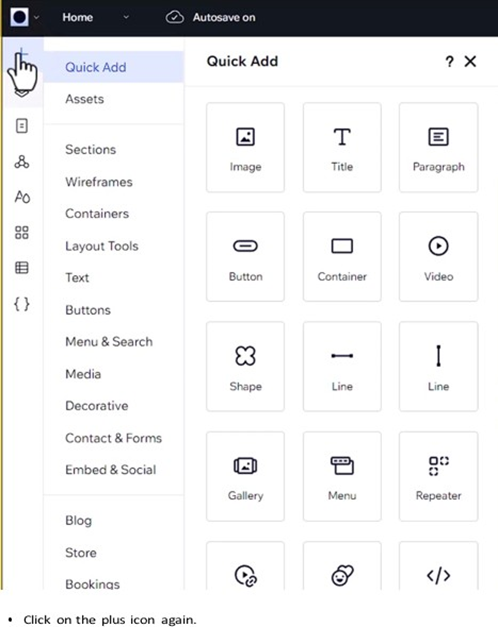
Click on the plus icon on the top left.
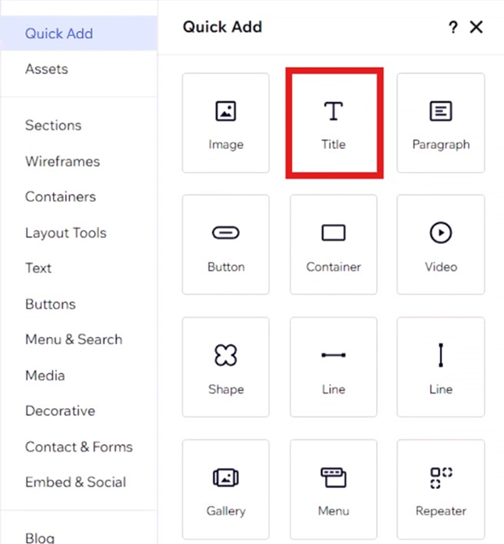
Select the text icon from the side menu.
You can see the text box that has been added to the website
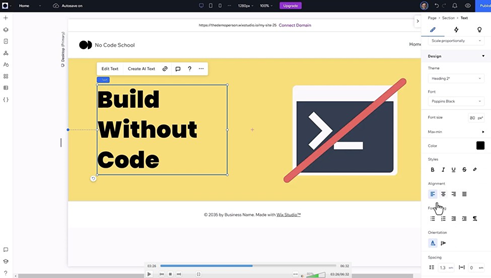
Position and customize the text using the options on the right.
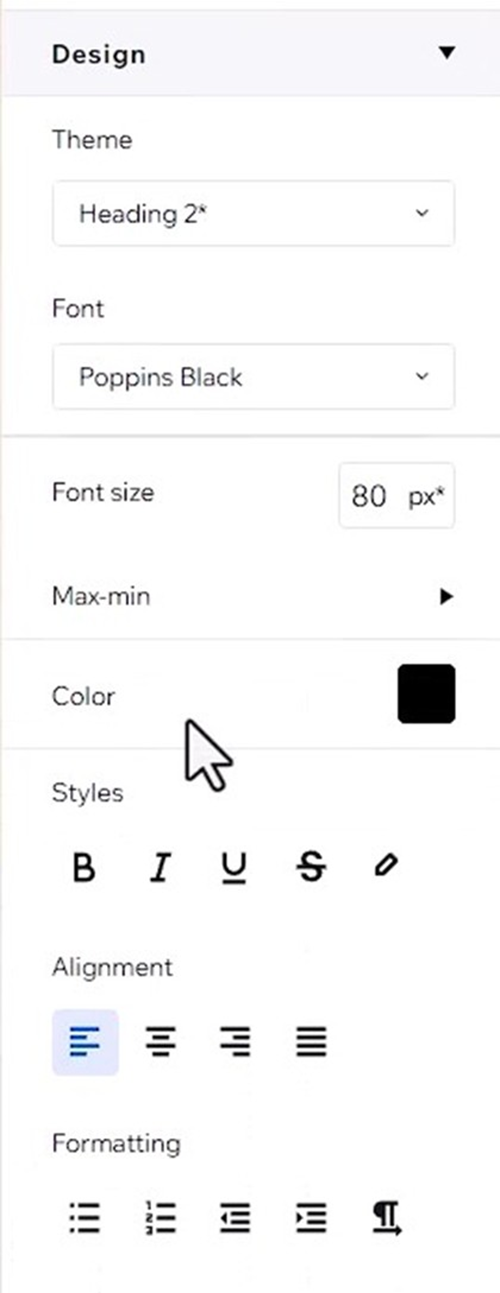
You have options to change the Font, Color, Alignment and much More.
Responsive Design
Wix allows you to design for different screen sizes with just a click
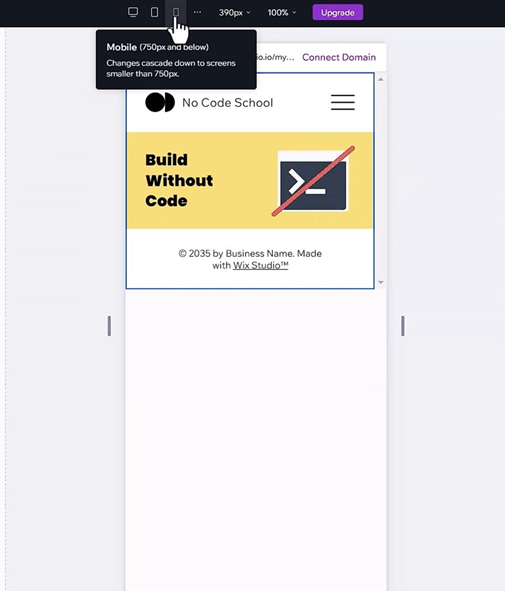
Use the default breakpoints for desktop, tablet, and mobile views to preview how it looks in different screen sizes
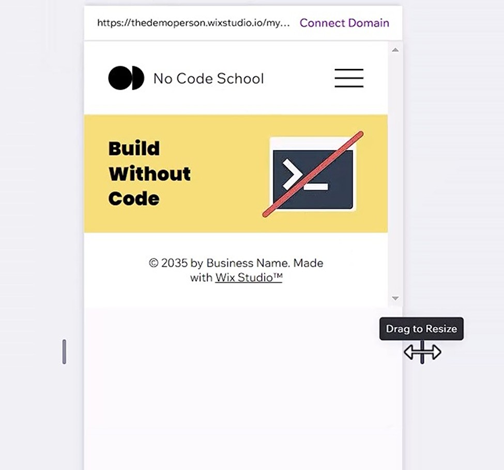
Drag resize handles to preview your design on various screen sizes.
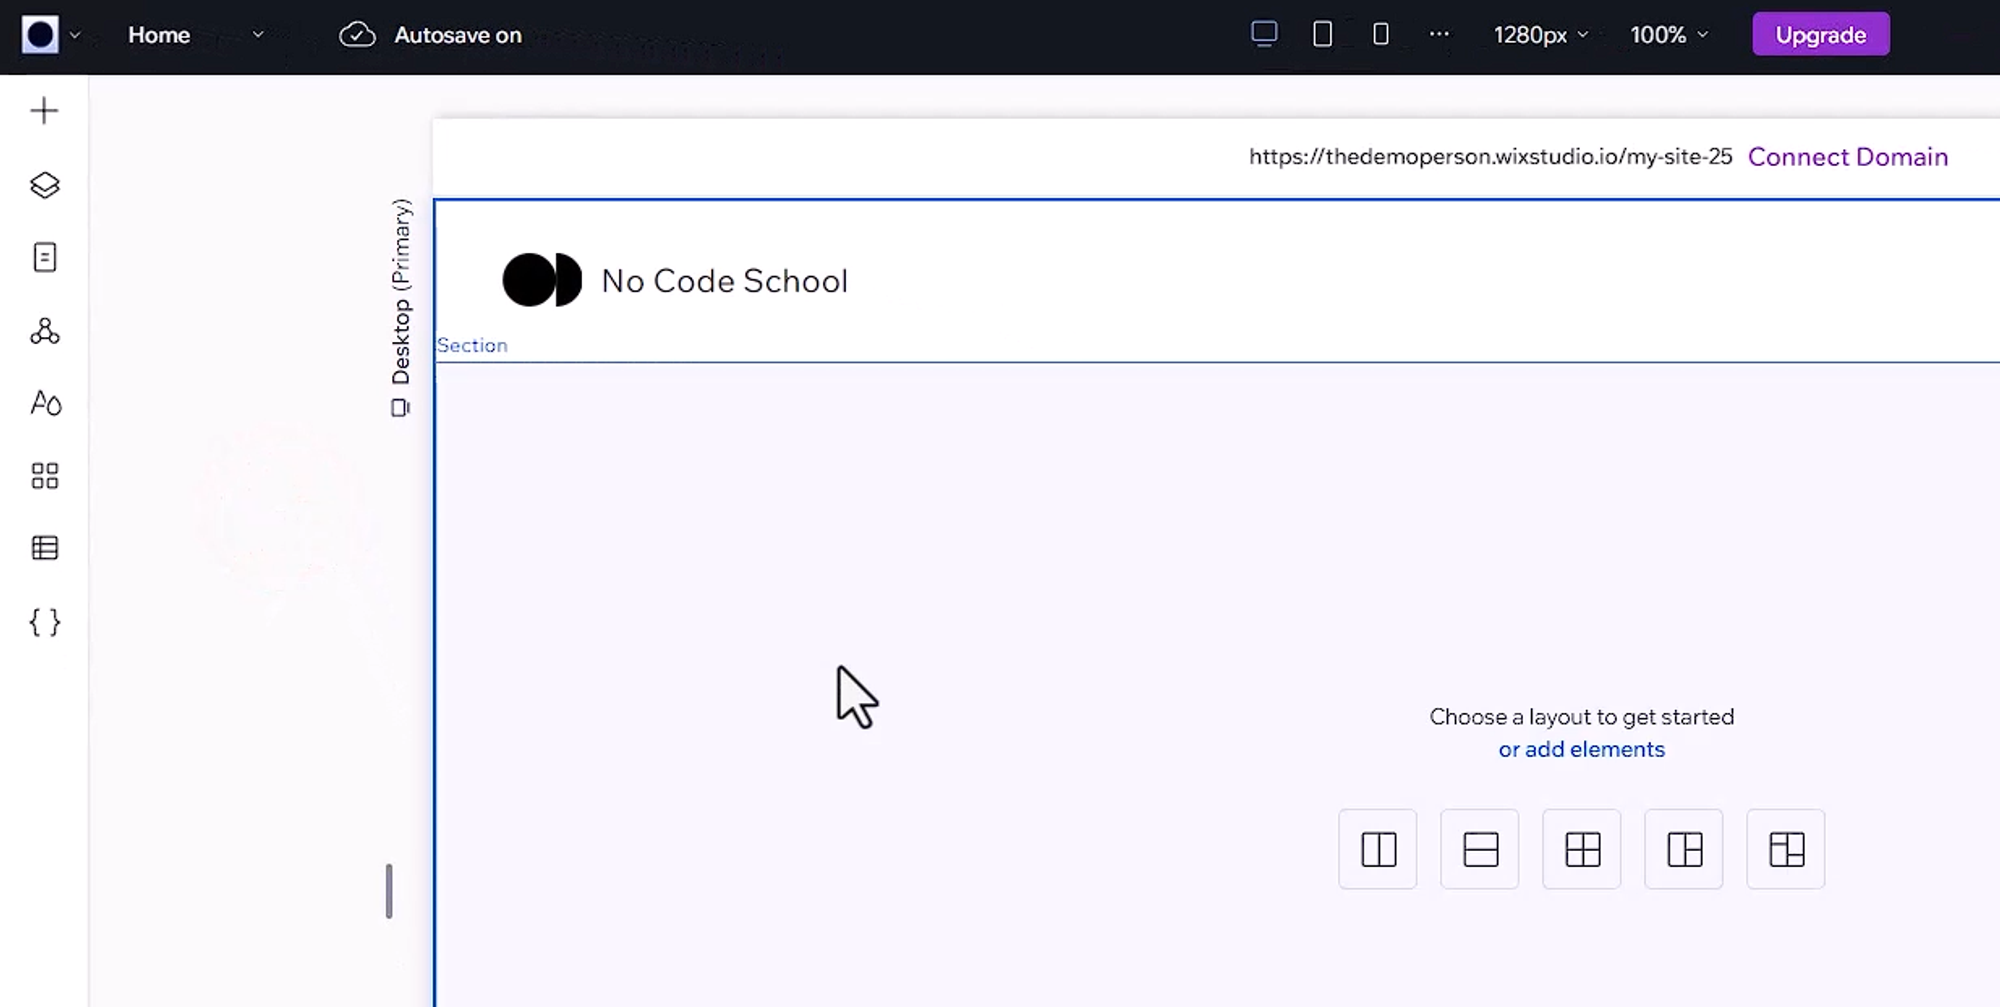
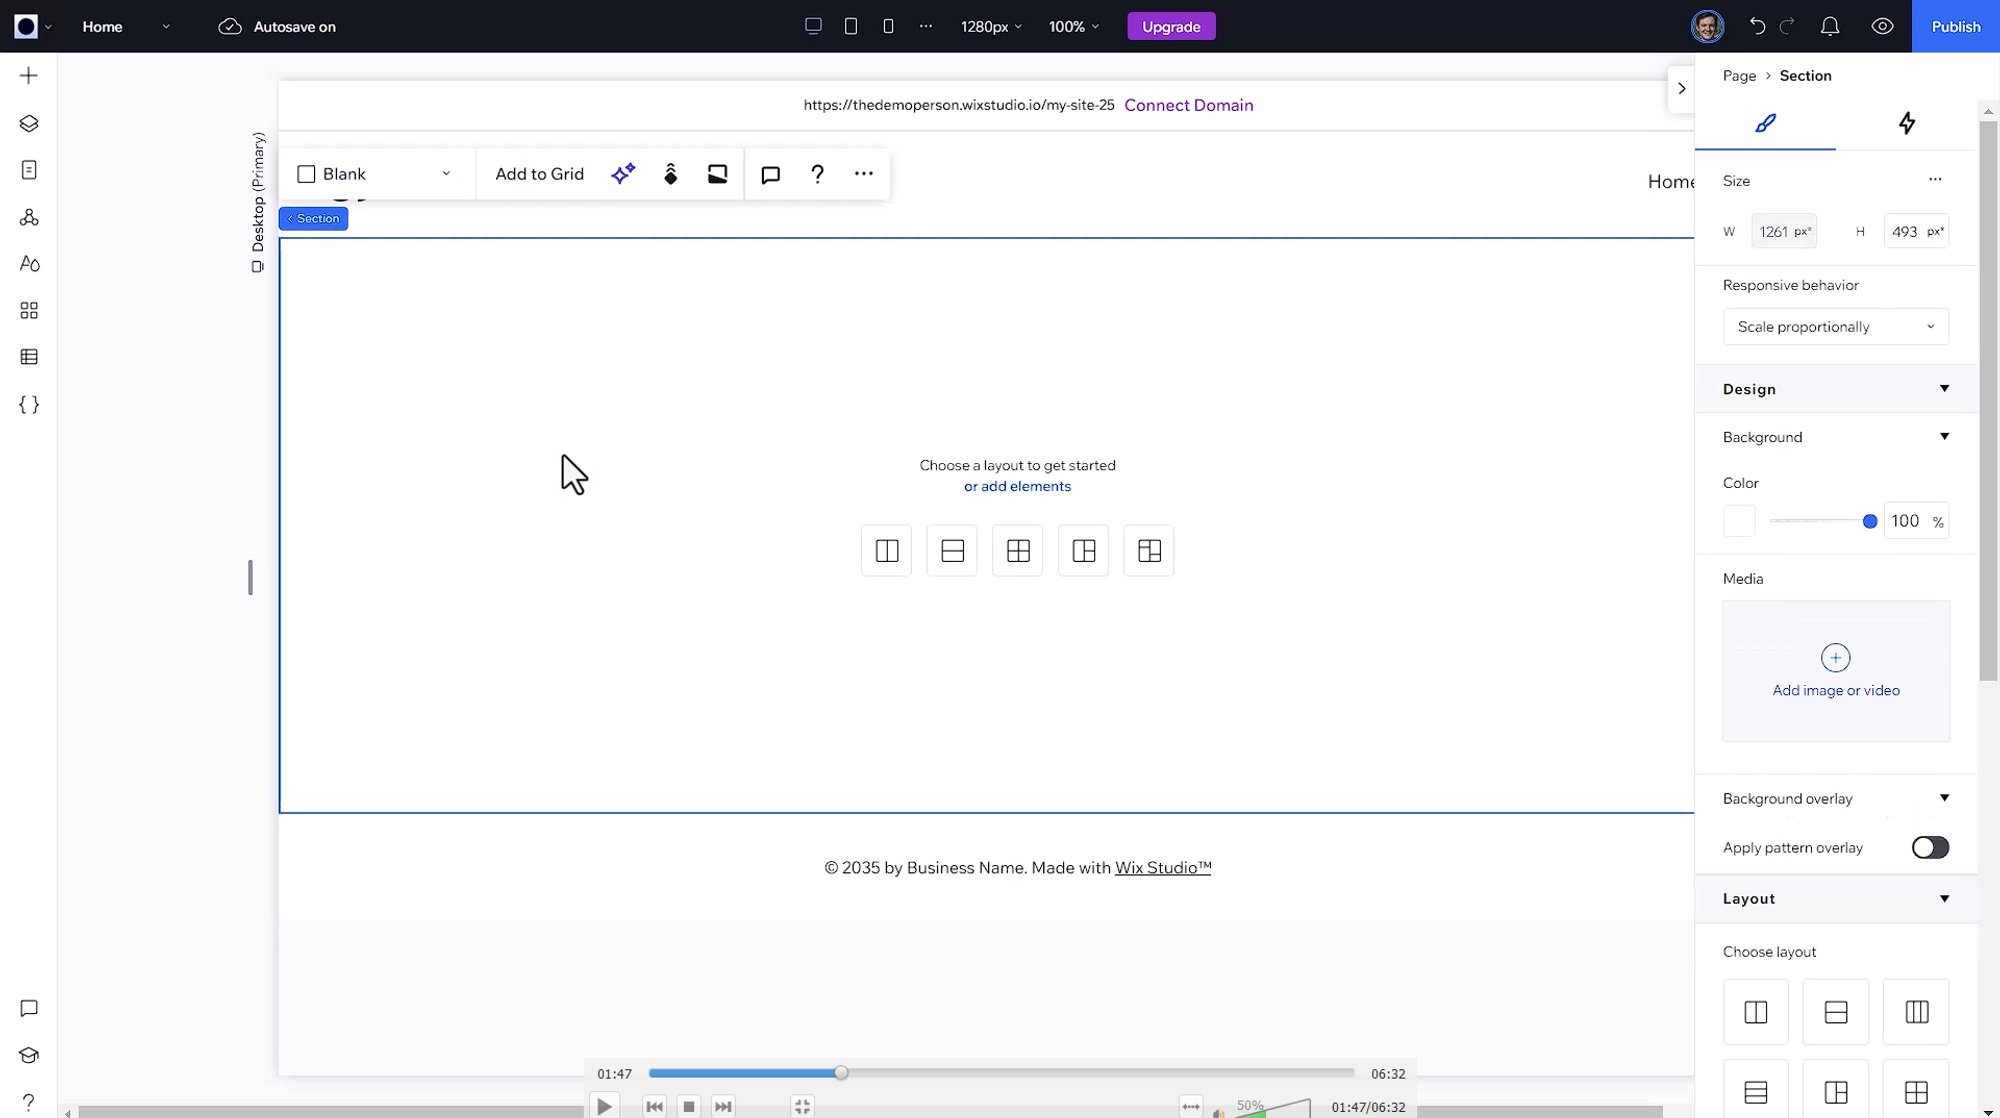
Adding Sections
Wix offers prebuilt sections that you can insert into your layout. A lot of reusable elements are included in the library so that you don’t have to create everything from scratch.
To add a section to our website, Click on the plus icon again.
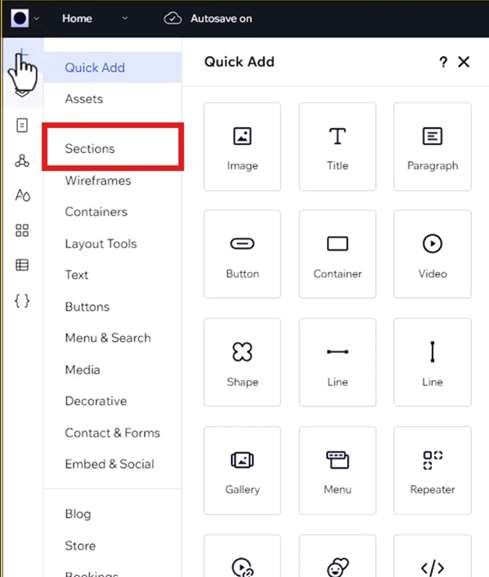
Navigate to "Sections"
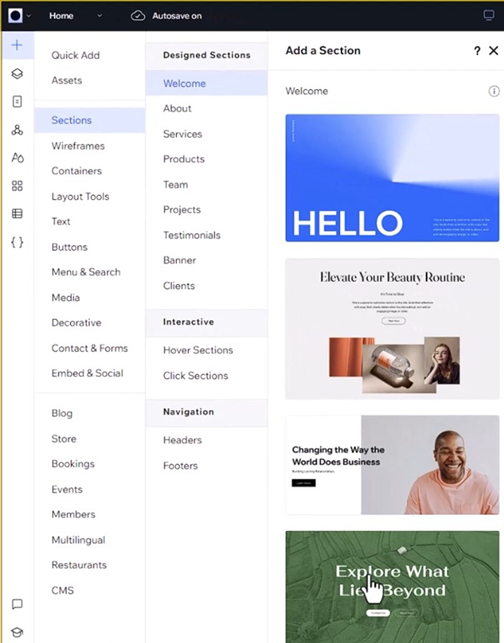
You can see the different categories and the available components for the same
Choose a section of your liking and Drag and drop the section onto your webpage.
Customize the content as desired similar to how we edited the Header Element
Adding a Footer Element
Footers are an important part of every website. Next, let's move on with adding a footer to our website.

First Remove the default footer by clicking on it and pressing the Delete Key on your keyboard
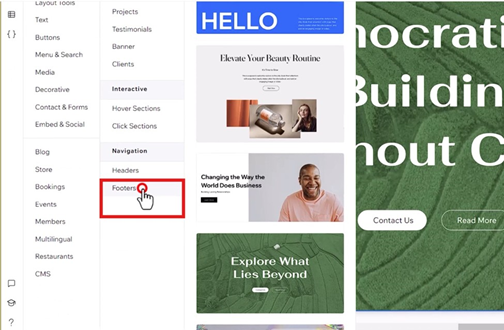
To Insert a new footer click on the plus icon, navigate to Sections>footers and select a footer of your choosing.

Drag and drop the selected footer style onto your webpage.

Customize the footer details to match your website content.
Preview and Publish
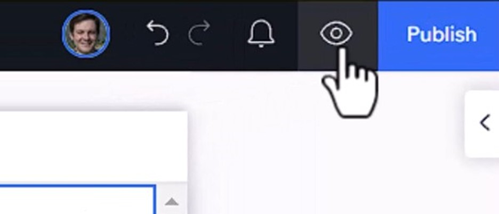
Click on the "Preview" icon on the top right to see how your site looks in real time.
This is where you can have a Live preview of how the website will look before publishing it
Publishing your website:
After you have made all the necessary changes and done with the designing part. It is now time to Publish it for the world to see.
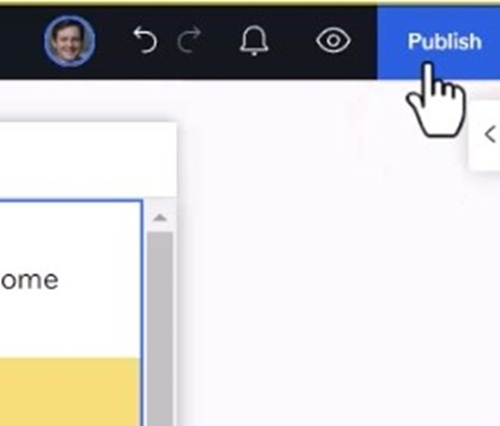
Click on the "Publish" button located at the top right.
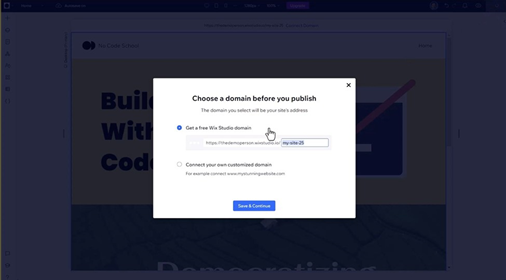
You can either use the free domain provided by Wix or add a custom domain of your choice.For the scope of this tutorial let's go with choosing the free domain.
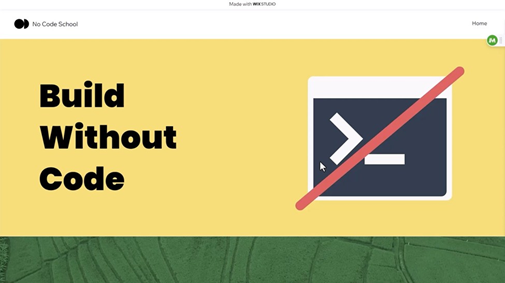
And that’s it. This is how easy it is to create a website with Wix and that too without any Code!
Additionally, Wix also offers prebuilt Website Templates that you can use to make the process even easier, and here's how you can do that.
Go to the Dashboard and click on Create New Site
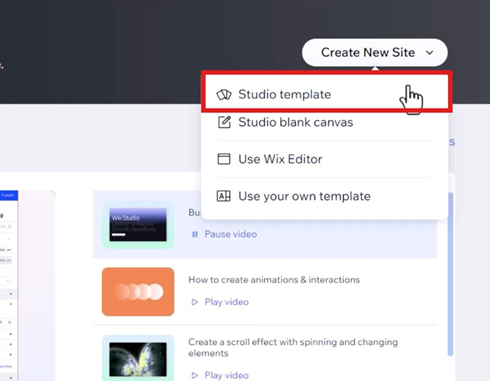
Click on Studio Template
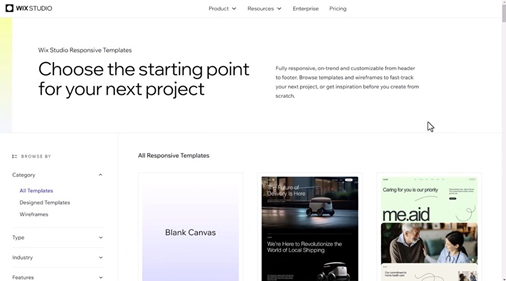
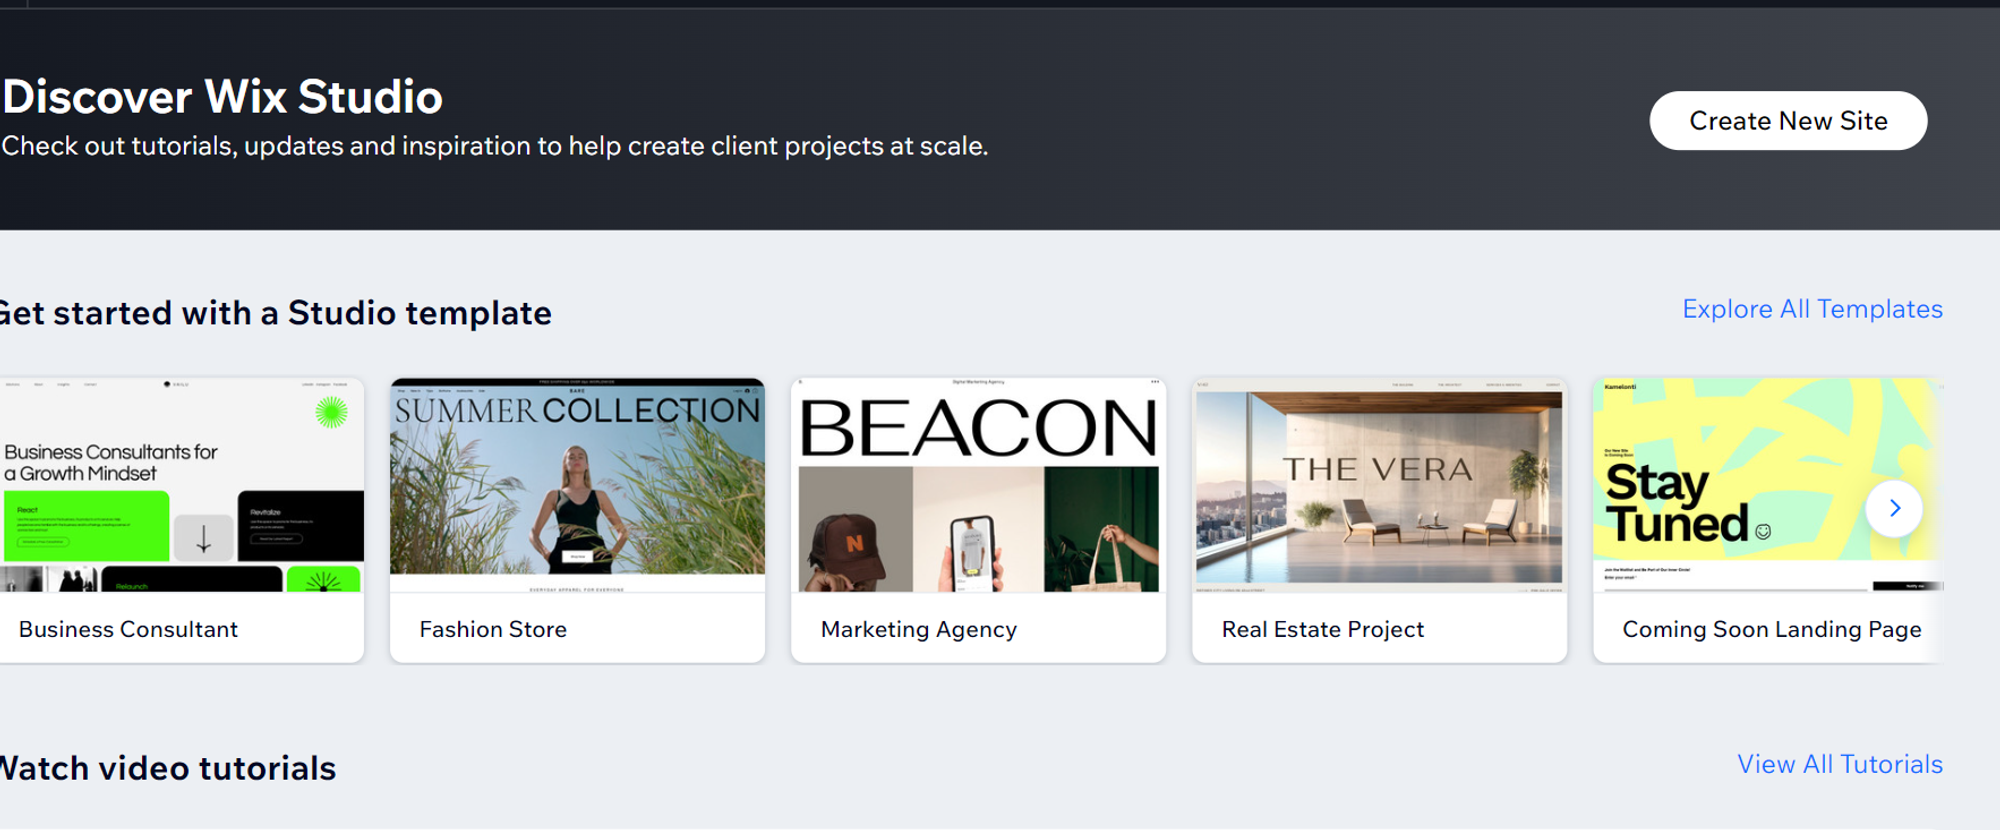
Here you will be able to a collection of website Templates that you can edit to make the process even easier. You can filter or search the templates according to your preferences.
So is this the WebFlow Killer?
Not quite, Web flow has surged ahead with its wealth of components. While Wix appears to be lagging behind the race.
Despite its strong contenders, WebFlow with its strong ecosystem and dedicated communities still maintains its lead
But that's just our take...
What's Yours?
Watch the full video on the link above!